Start here
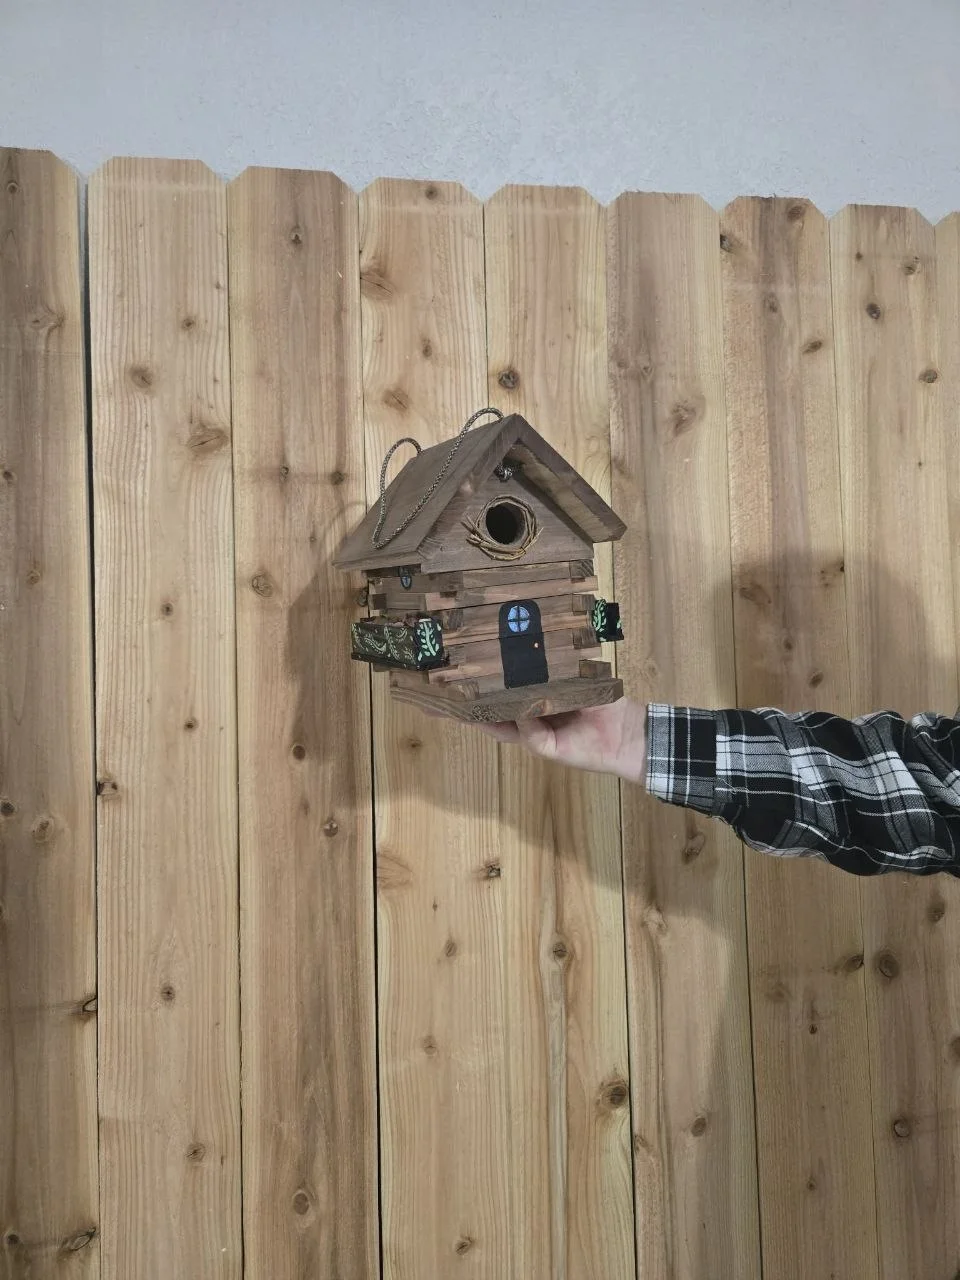
This bird feeder has the same cozy, handmade feel as the birdhouse build, but it gives you a practical little project you can hang outside and enjoy right away.
We kept this page simple and visual so you can follow the build in the same natural order it happened: a couple fun workshop shots, the cut sequence, the assembly flow, and the finished result.
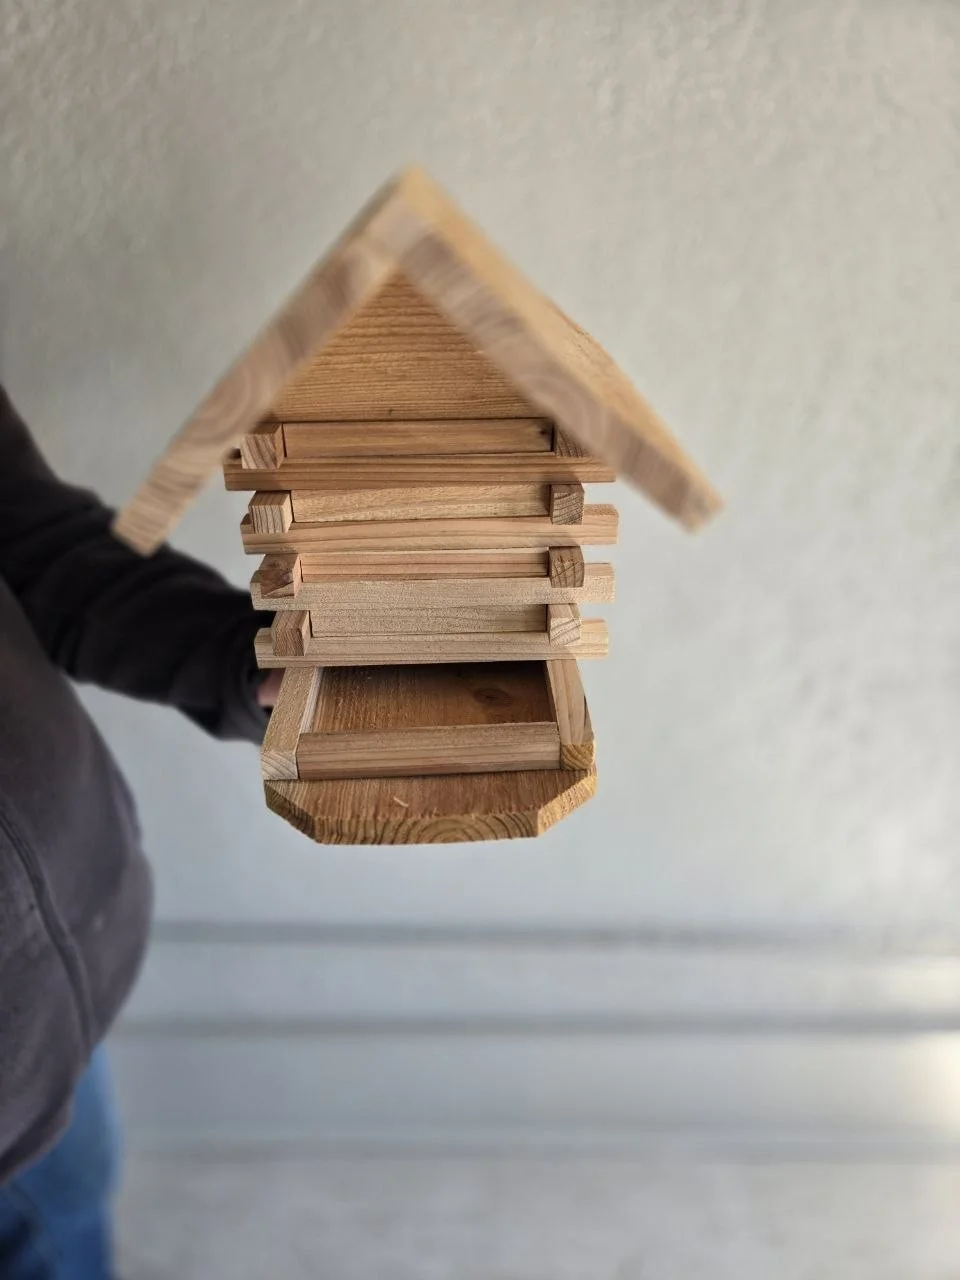
Workshop mood and project start
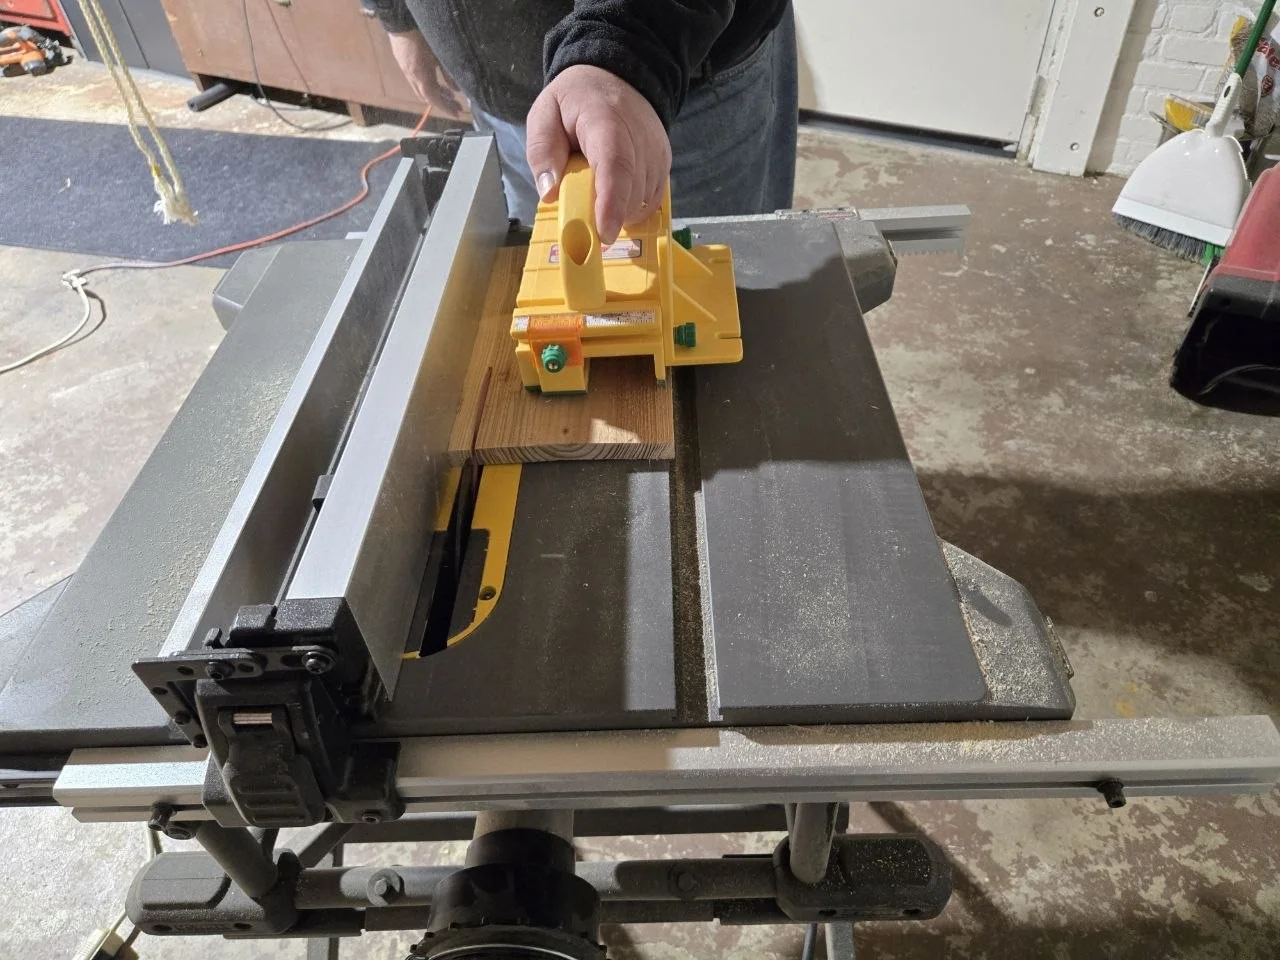
Fun cut pic 1
A good little scene-setter before the build starts in earnest.
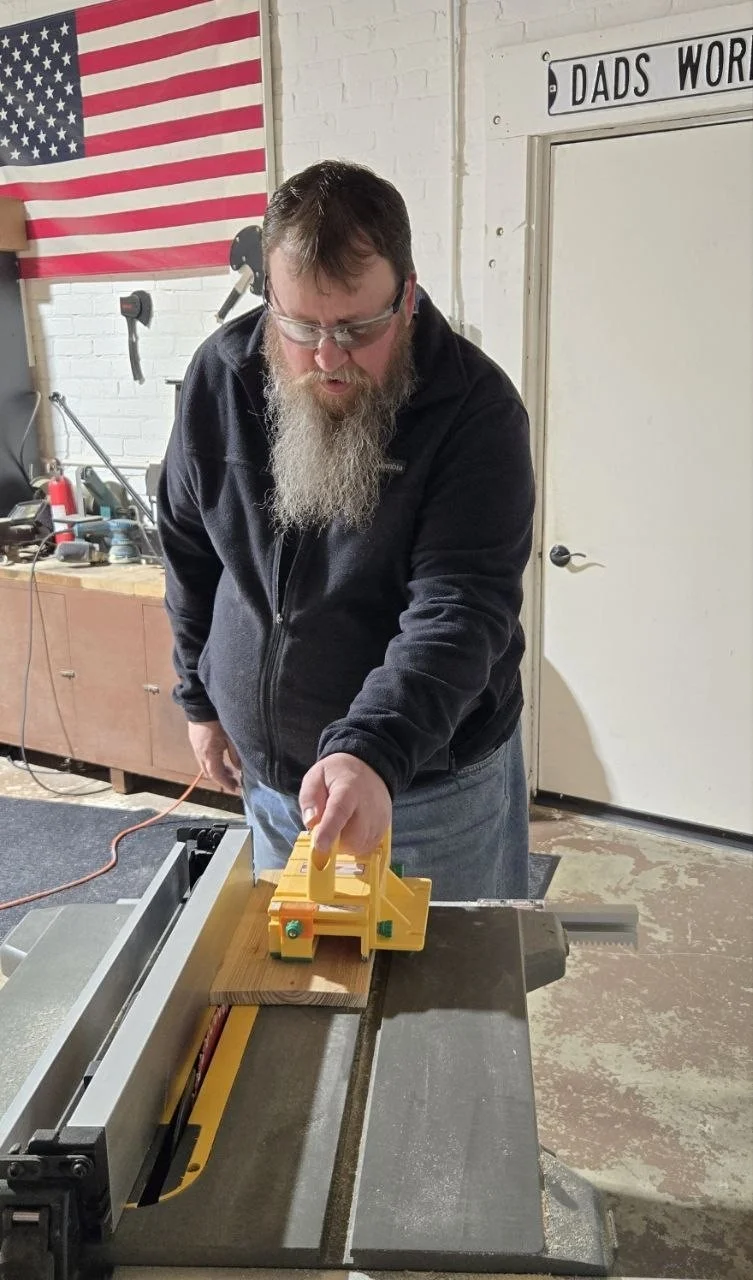
Fun cut pic 2
Another workshop moment that gives the page some life and personality.
Cut steps
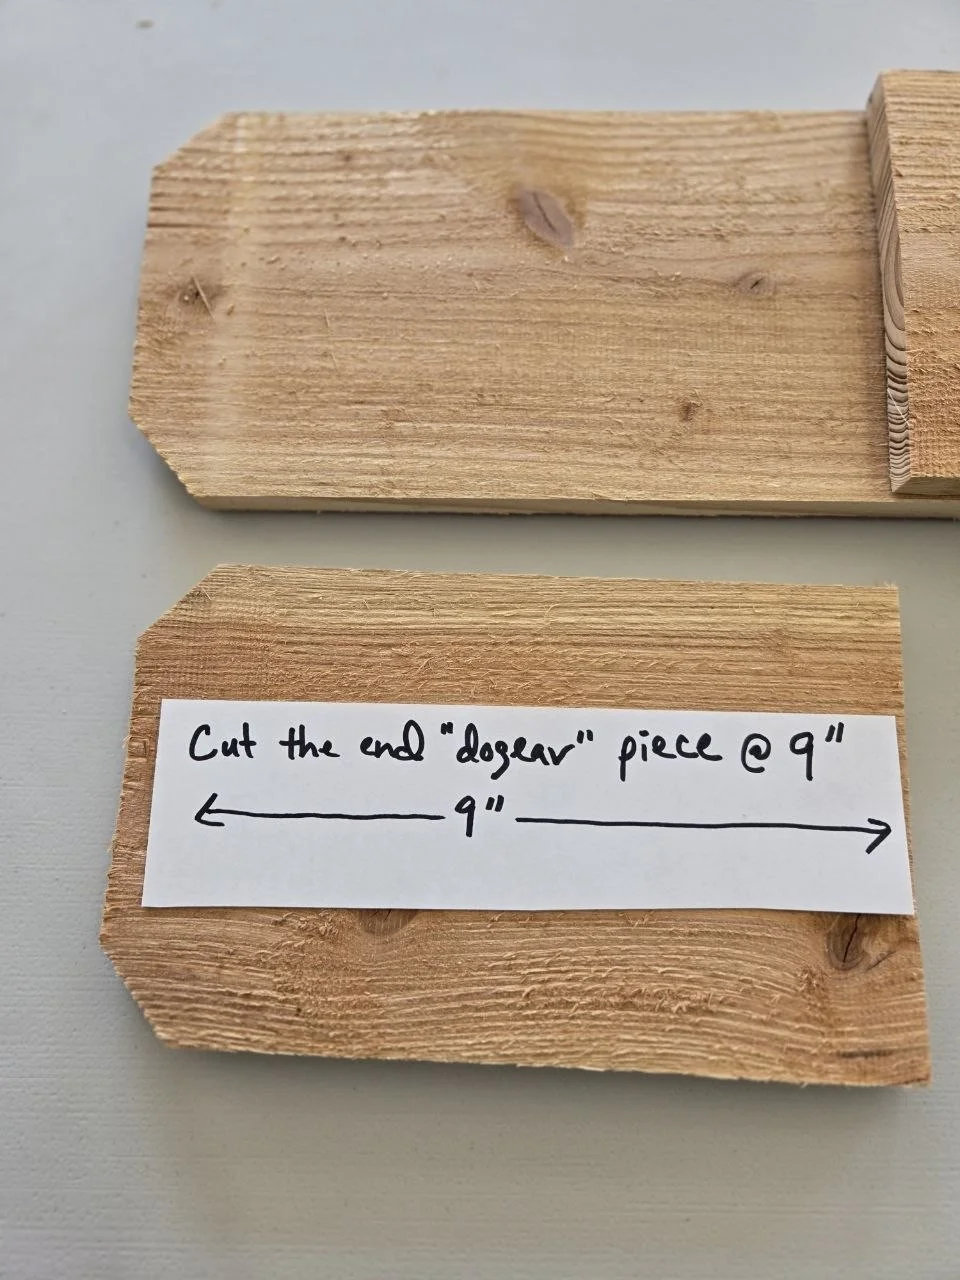
Cut step 1
Start laying out the first cuts for the feeder pieces.
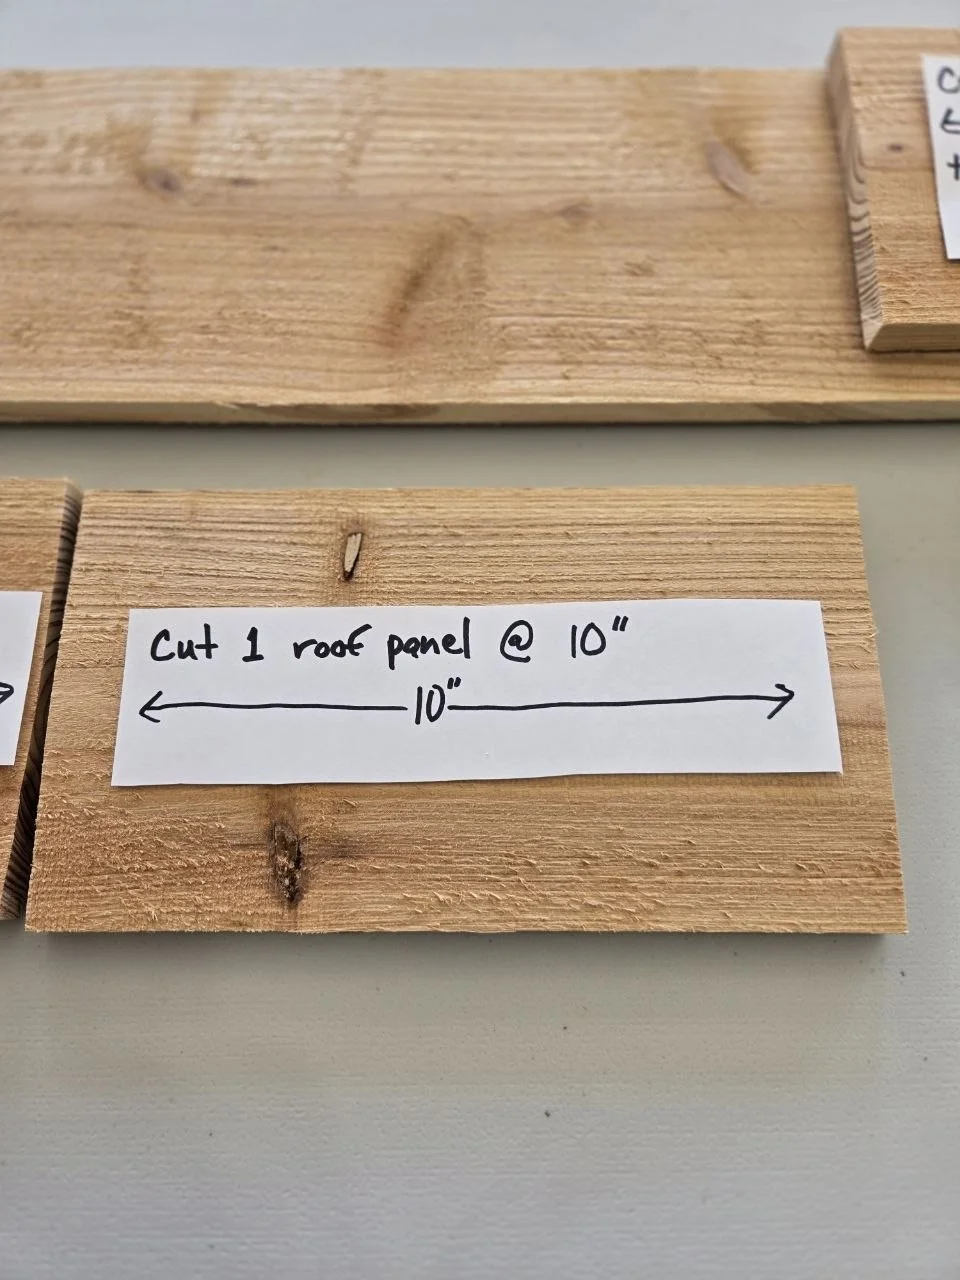
Cut step 2
Continue working through the cedar picket piece by piece.
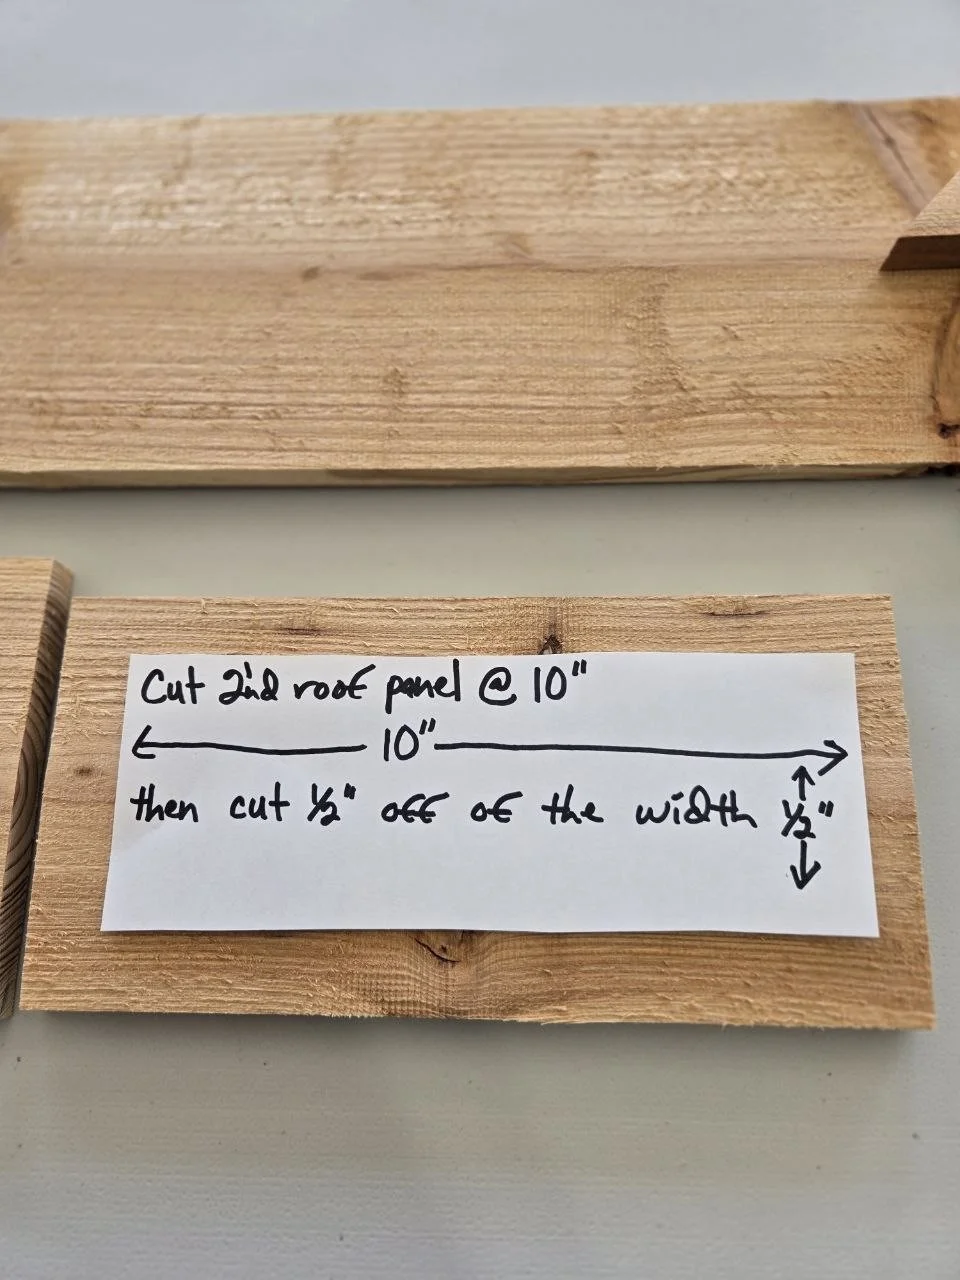
Cut step 3
The feeder parts start taking shape once the main cuts are done.
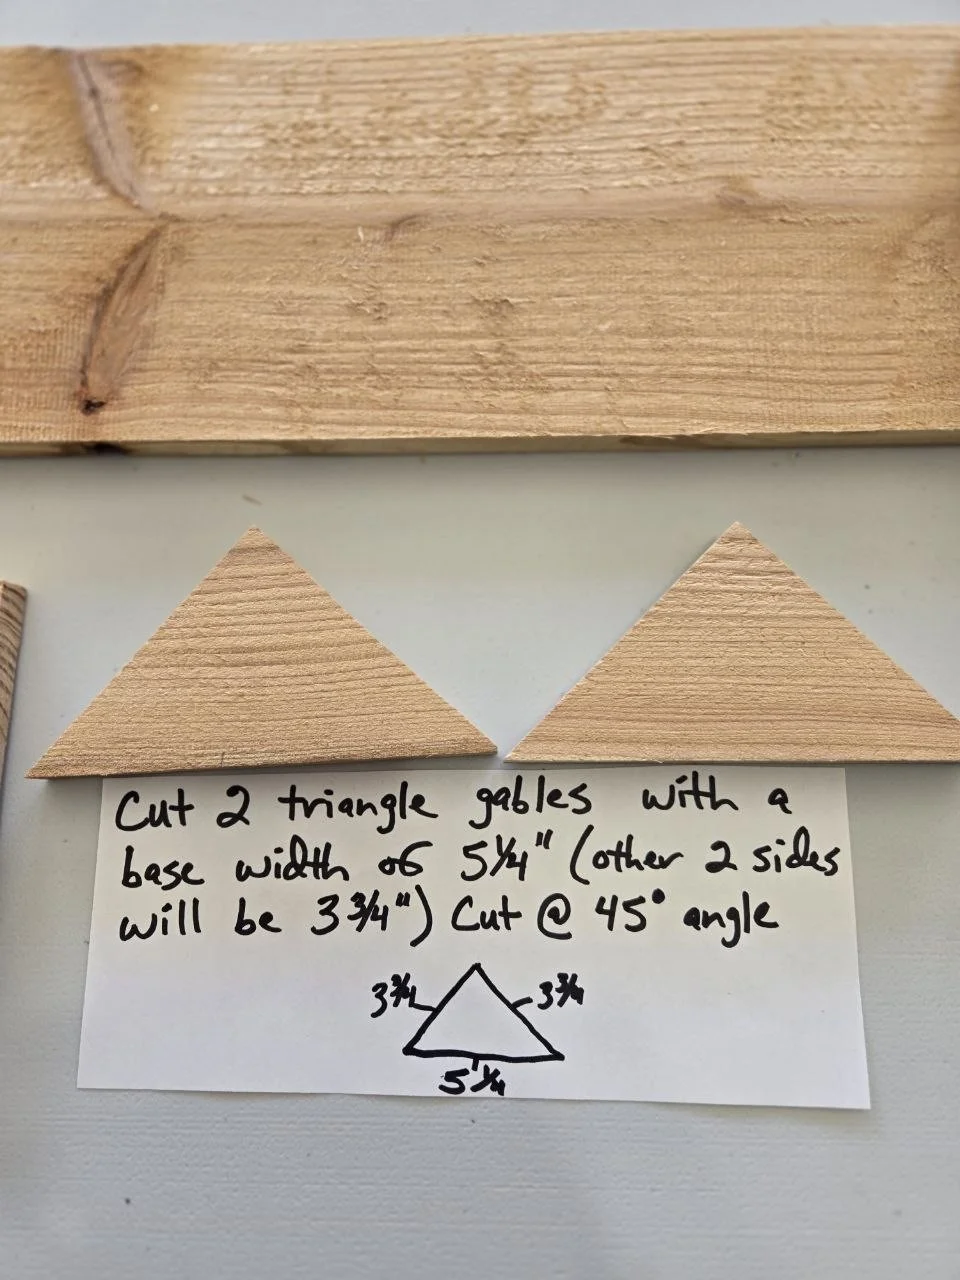
Cut step 4
Another useful workshop view in the cutting sequence.
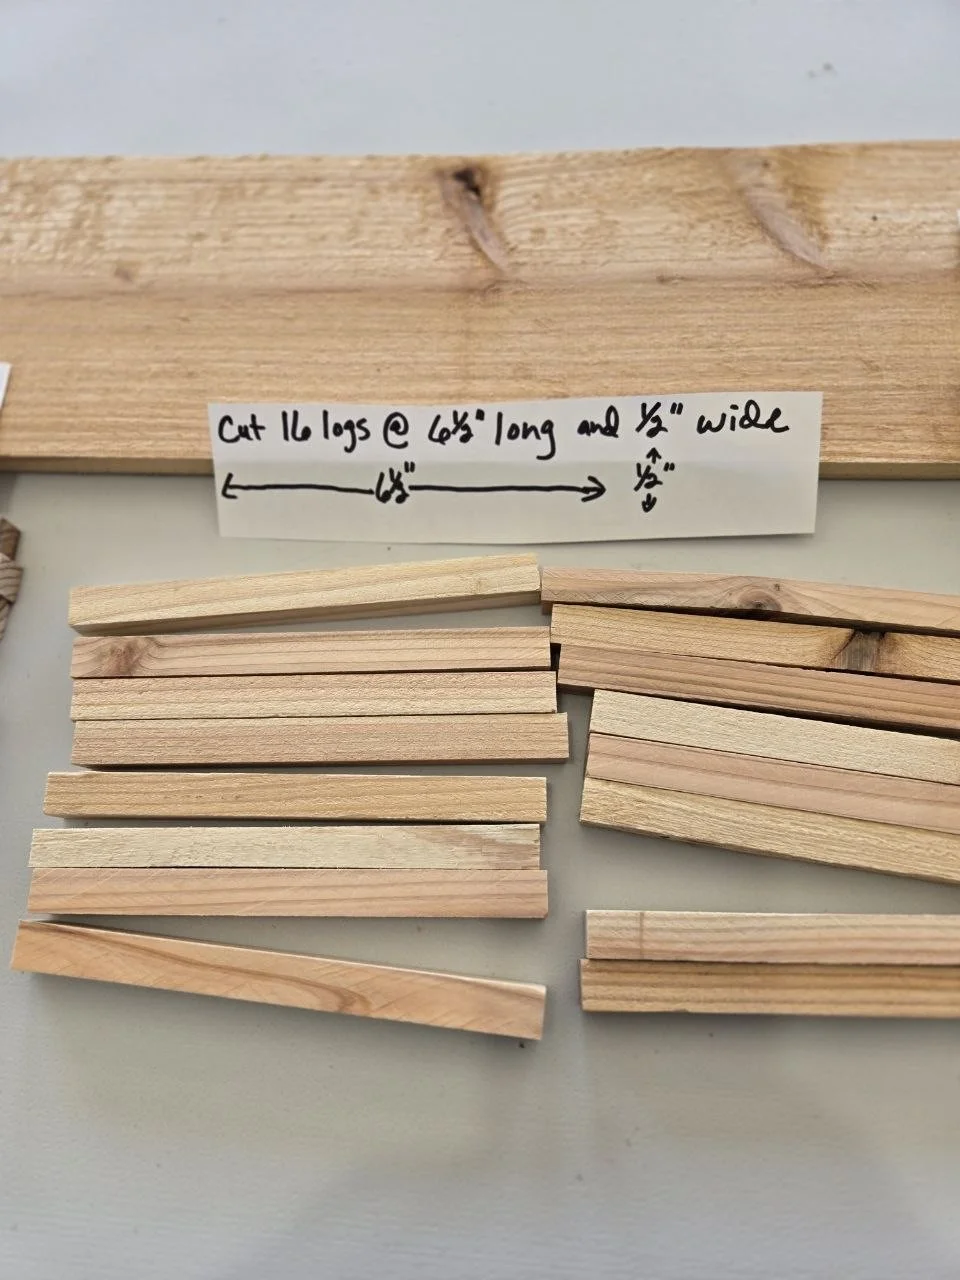
Cut step 5
Keep sorting and cutting until the smaller pieces are ready too.
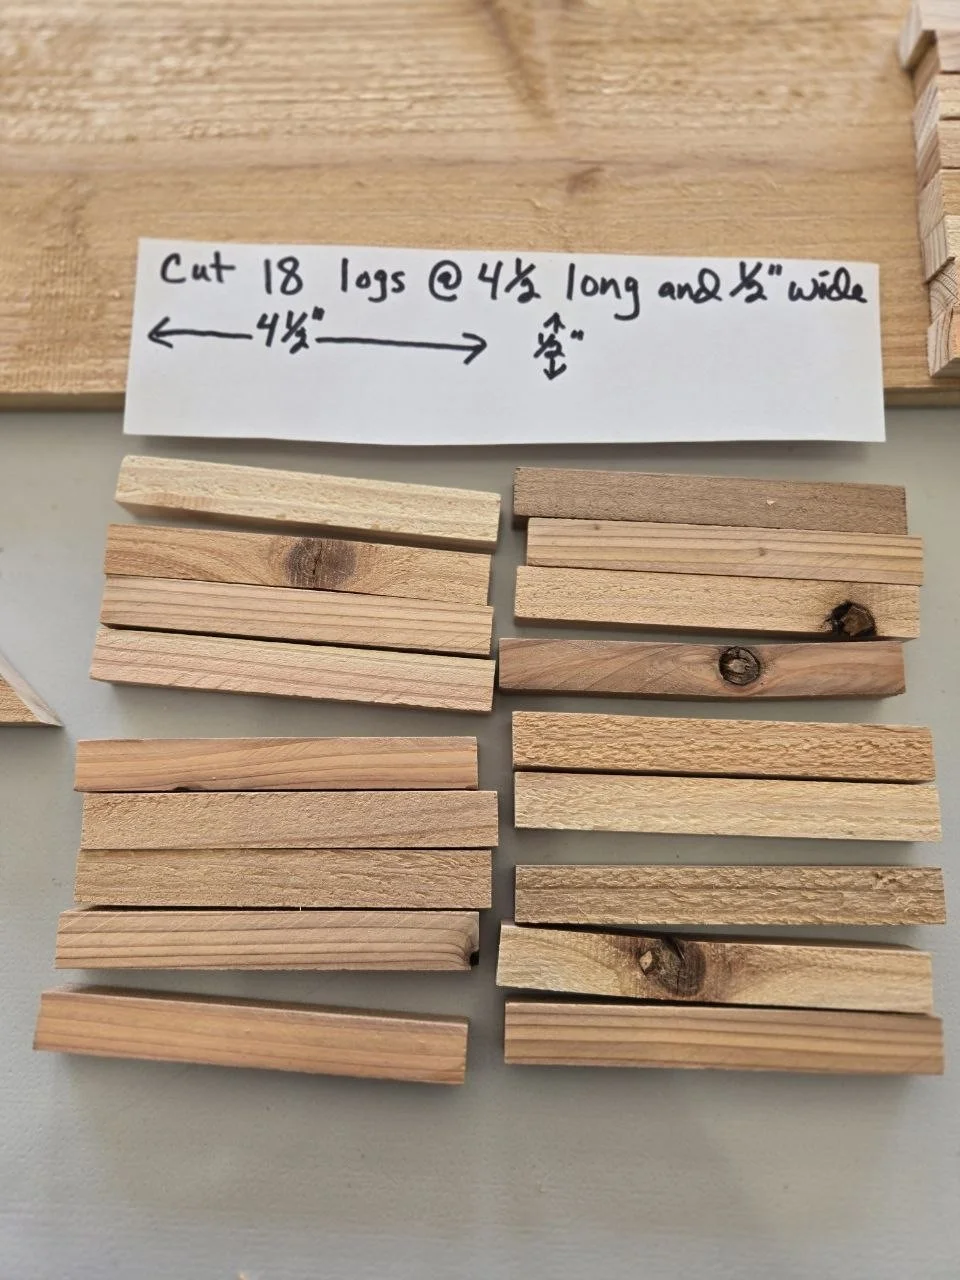
Cut step 6
This is where the build starts feeling more real.
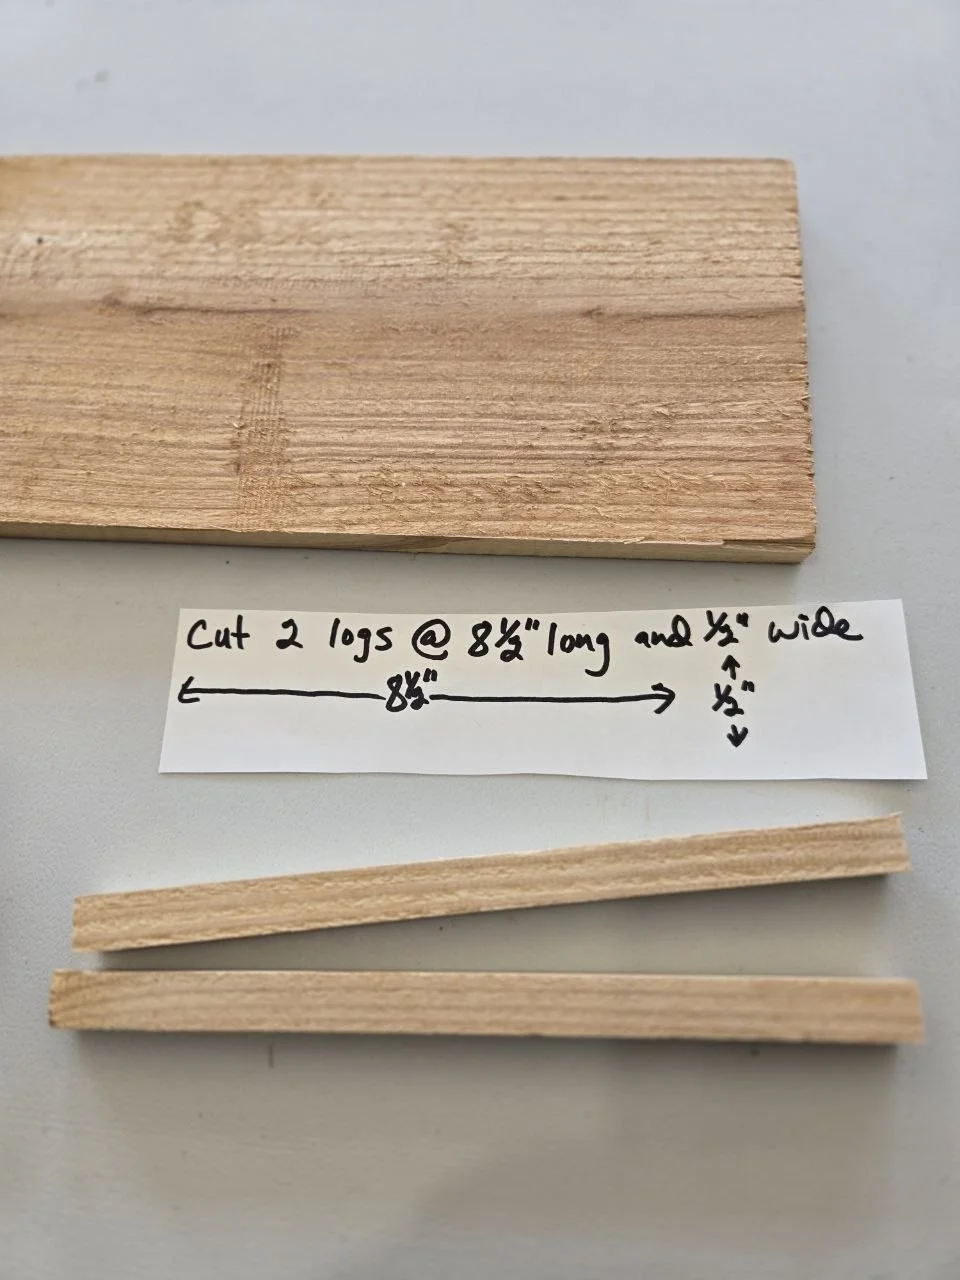
Cut step 7
Last cut-stage shot before moving into assembly.
Assembly section
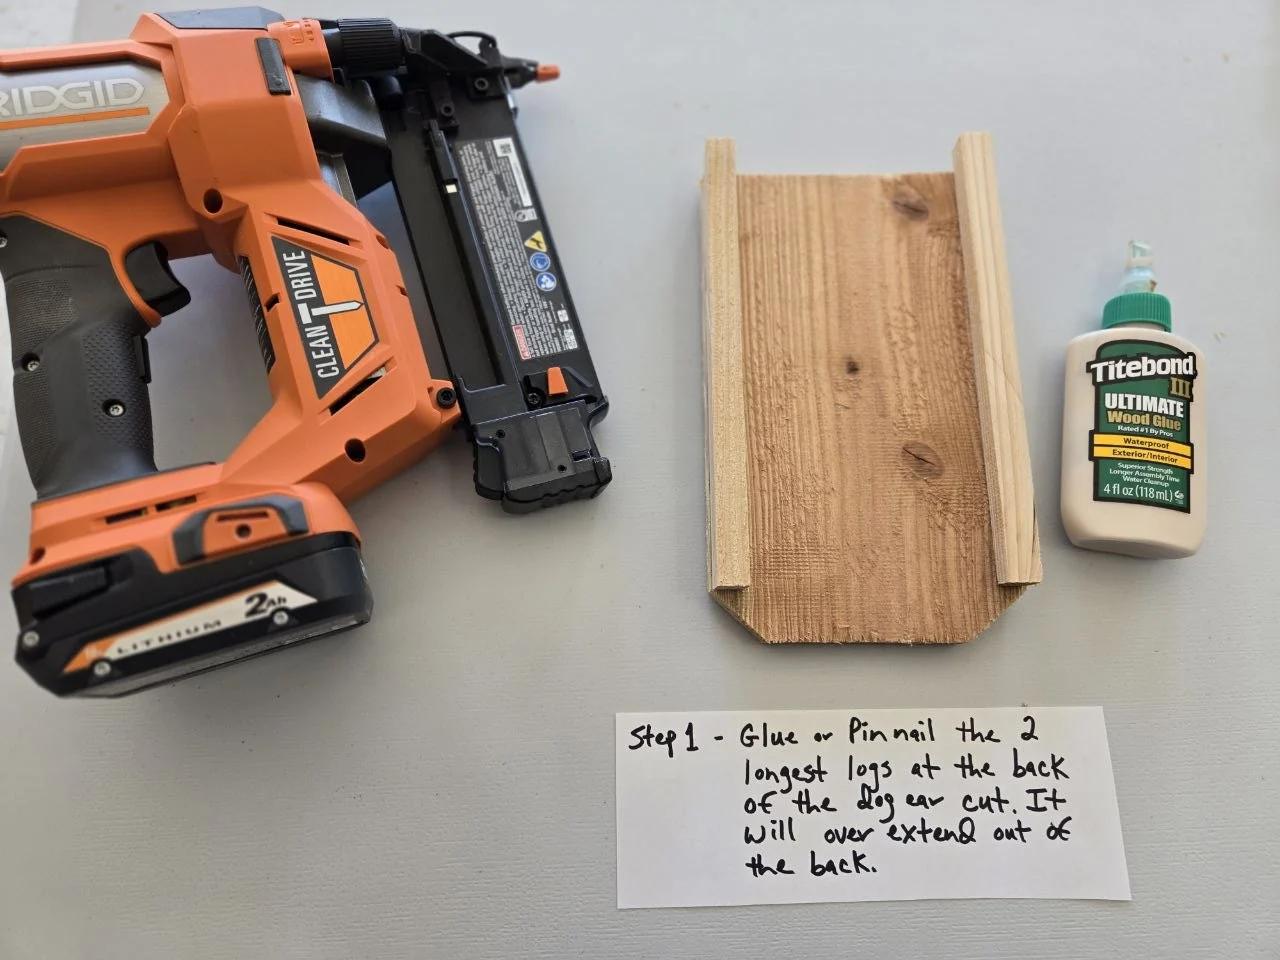
Assembly 1
The first real assembly stage as the feeder starts coming together.
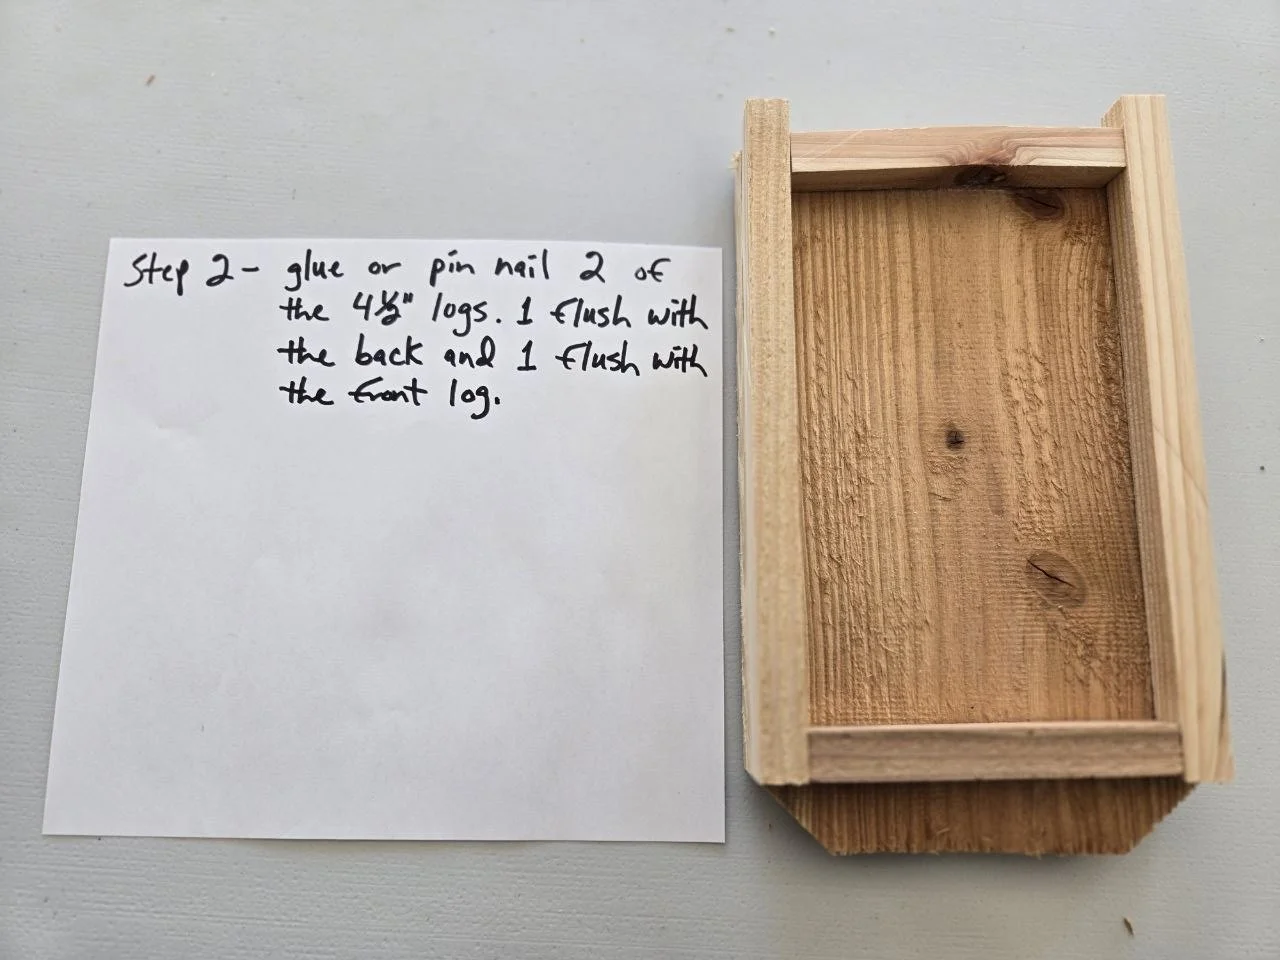
Assembly 2
The structure starts to show itself more clearly here.
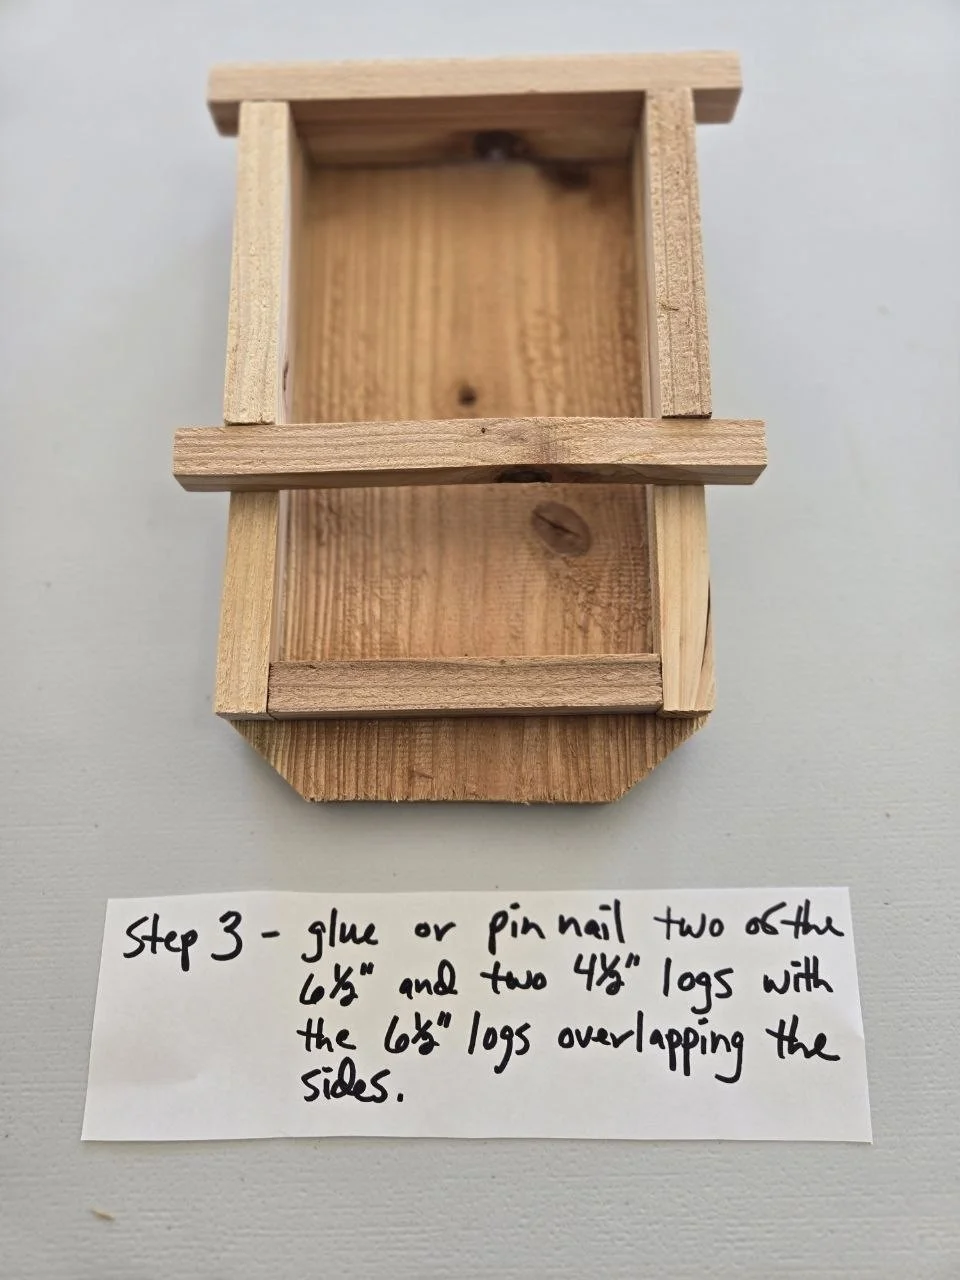
Assembly 3
More progress and more of the little log cabin character.
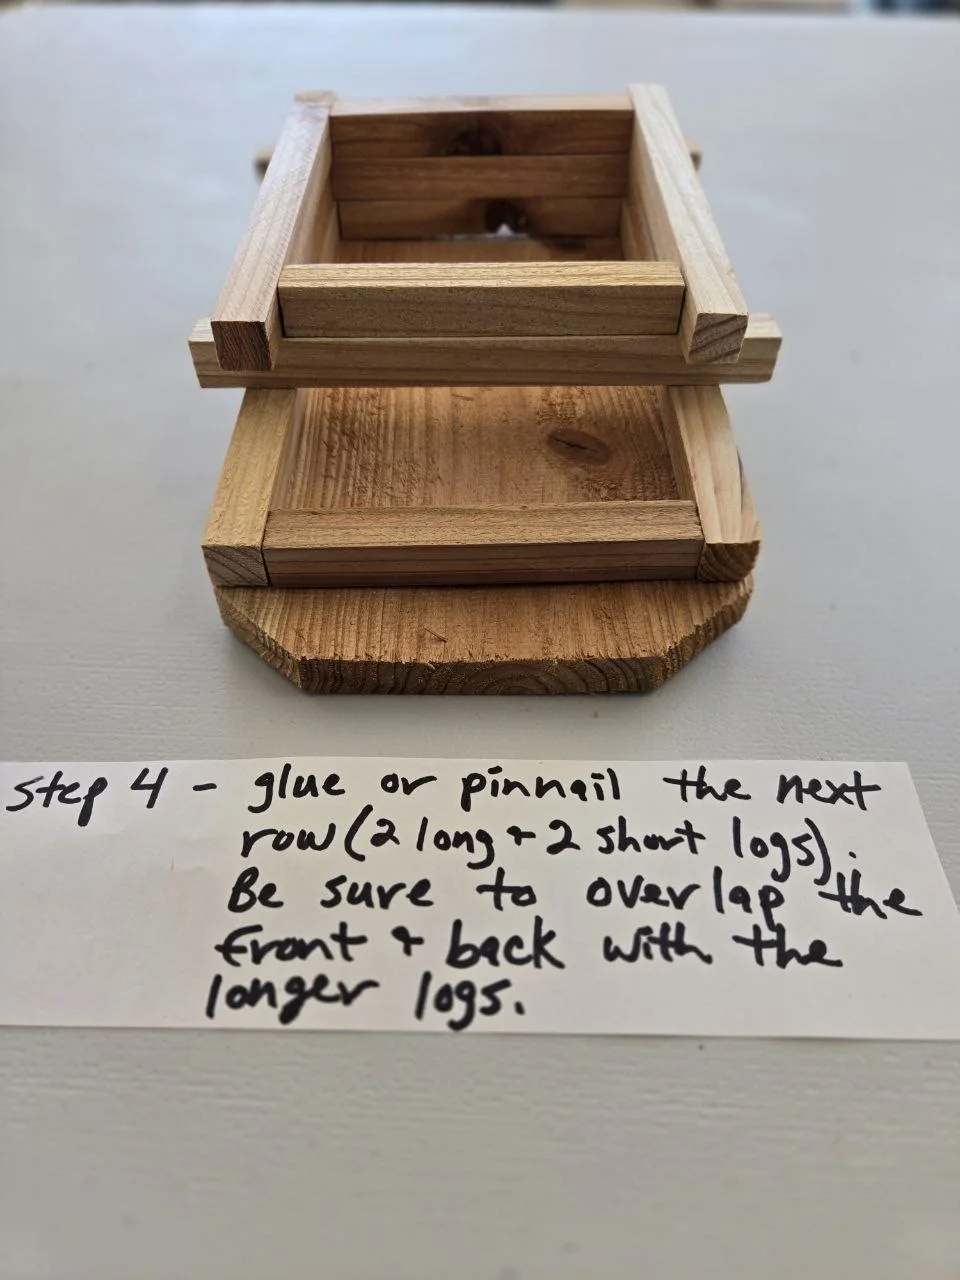
Assembly 4
Another middle-stage photo in the real build flow.
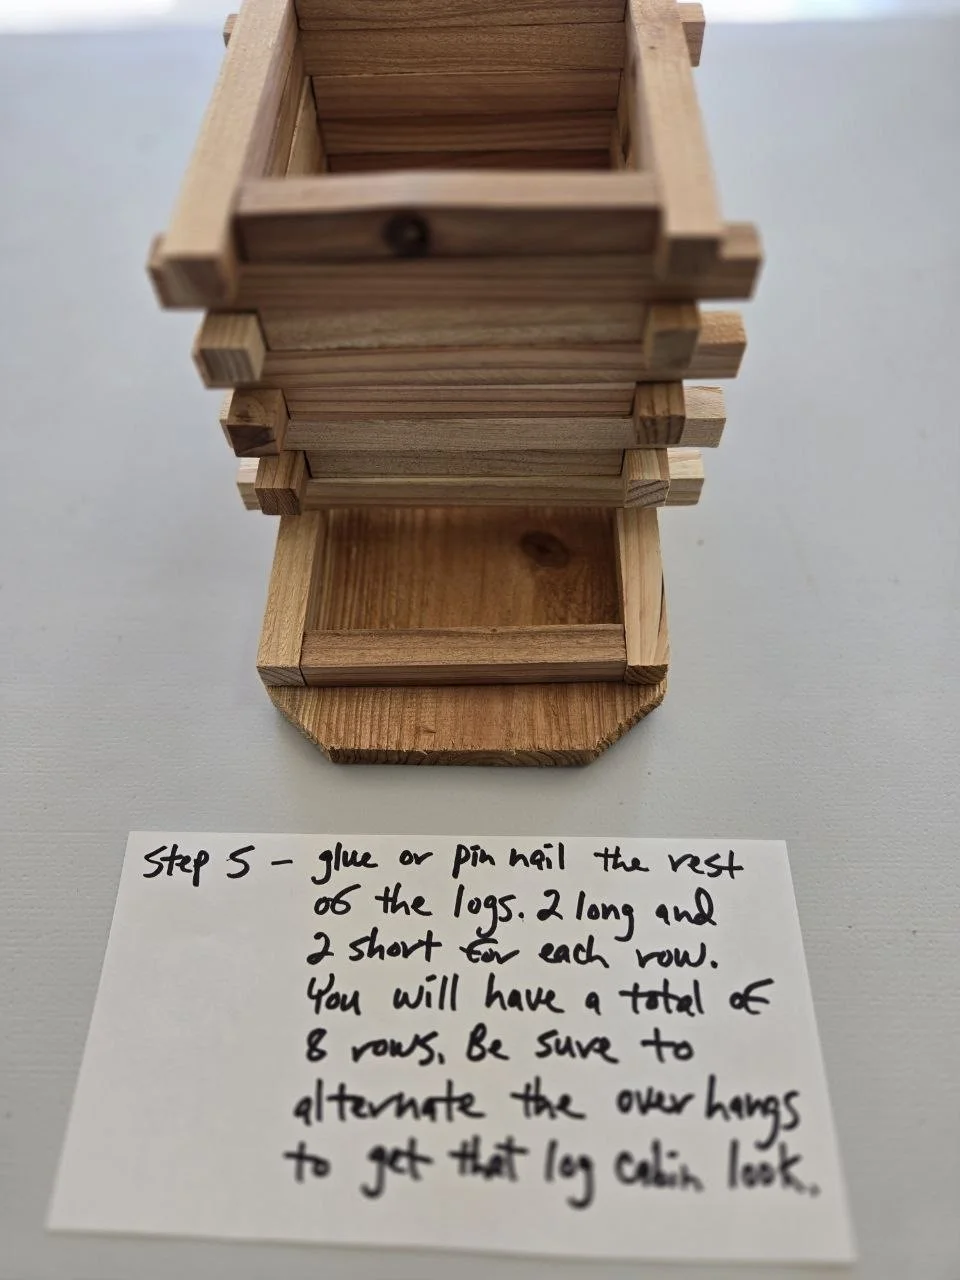
Assembly 5
The feeder is looking close to finished at this point.
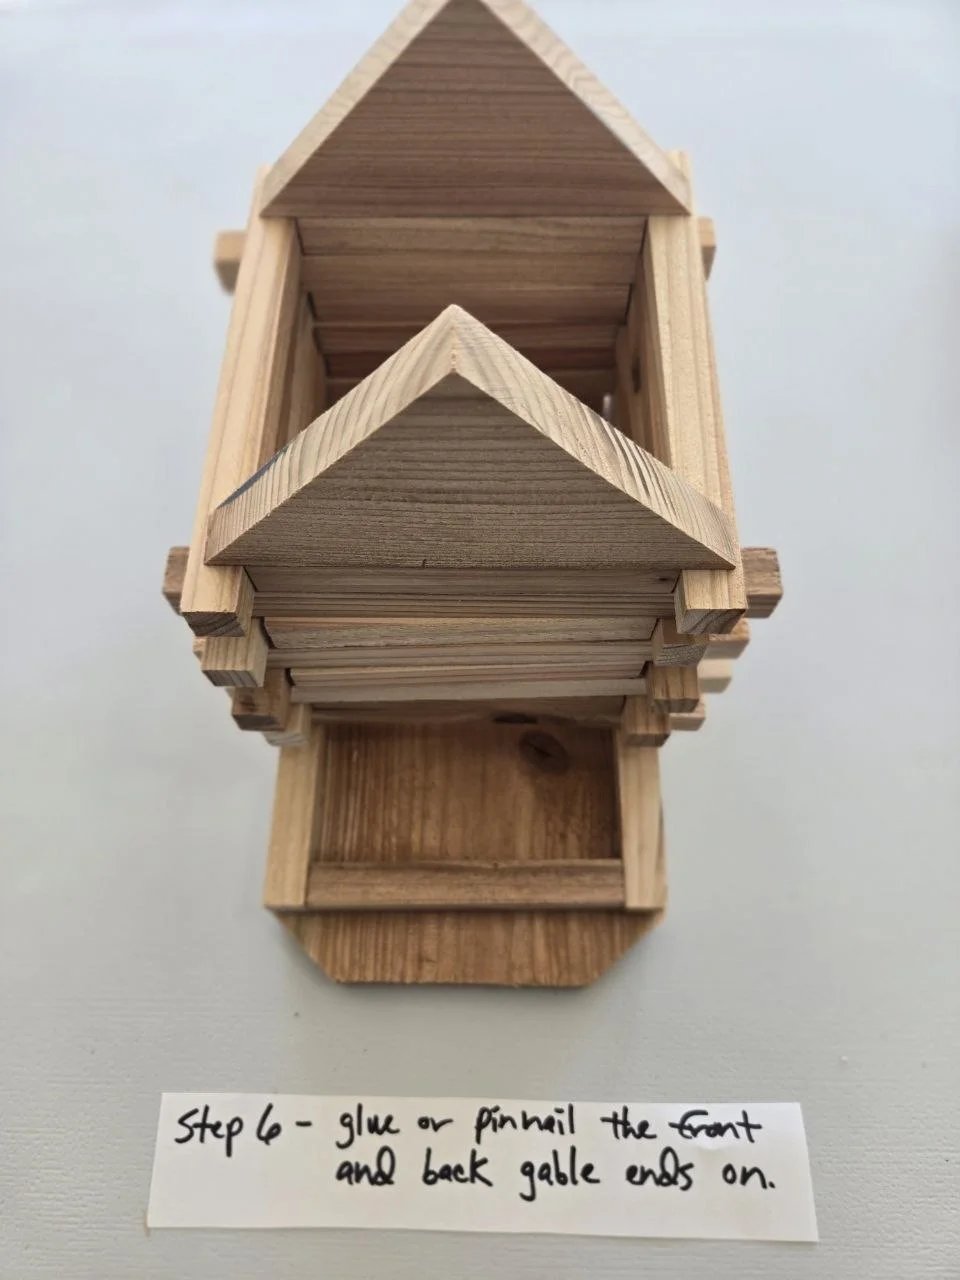
Assembly 6
A strong late-stage photo before the final details.
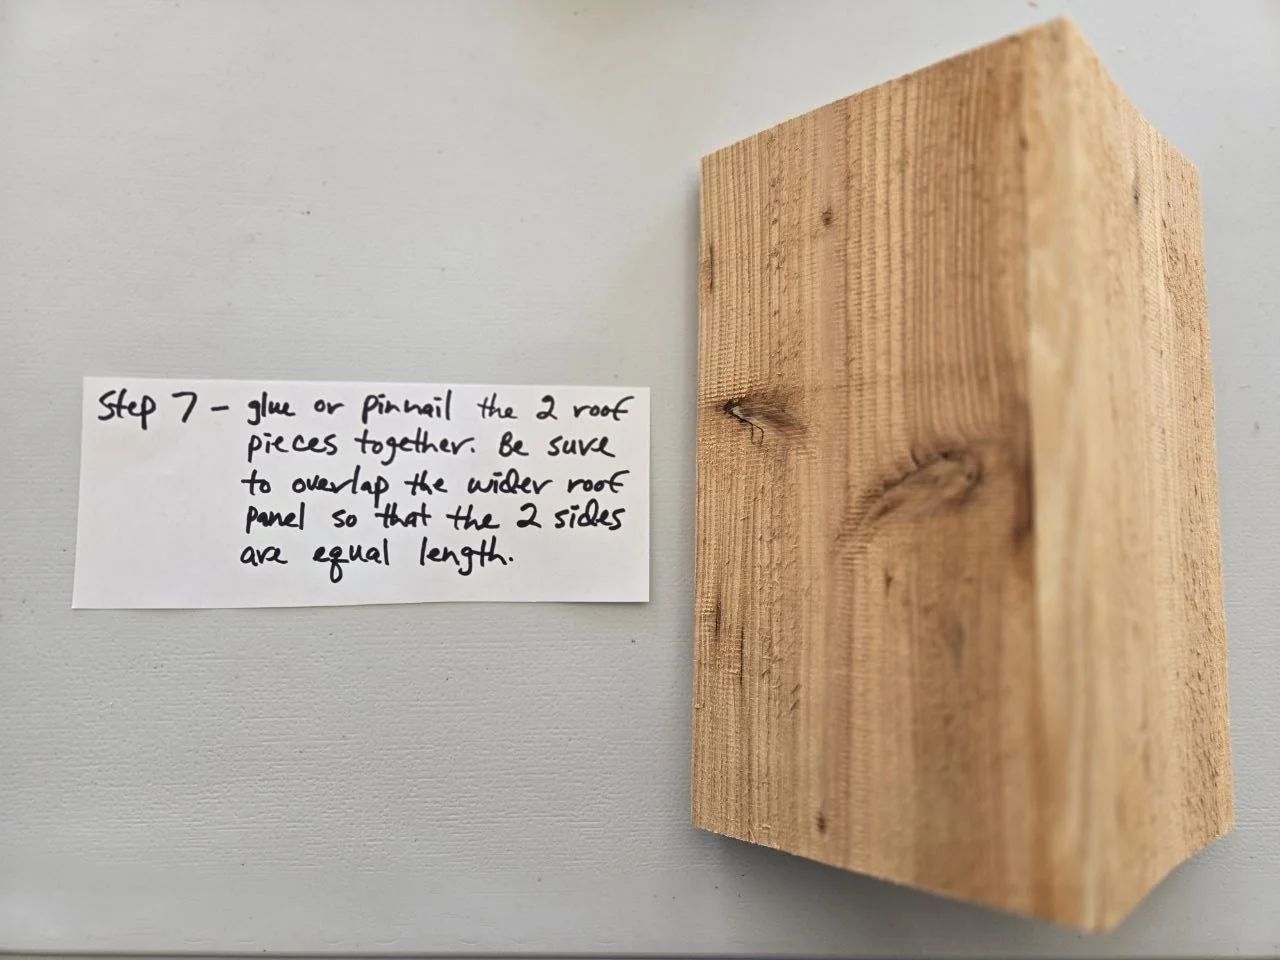
Assembly 7a
One of the last detail shots in the build sequence.
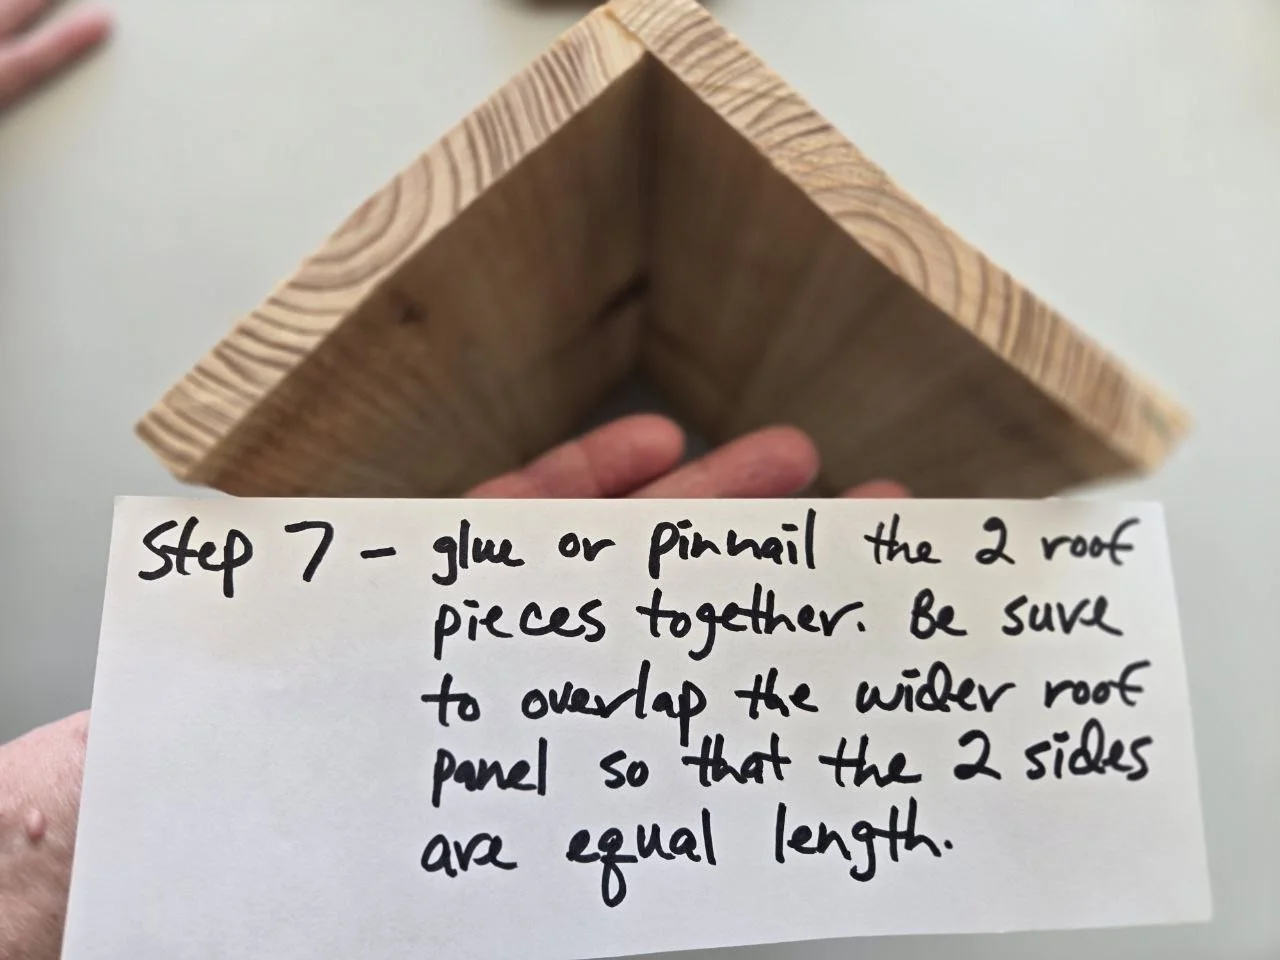
Assembly 7b
Another final-stage look before the reveal.
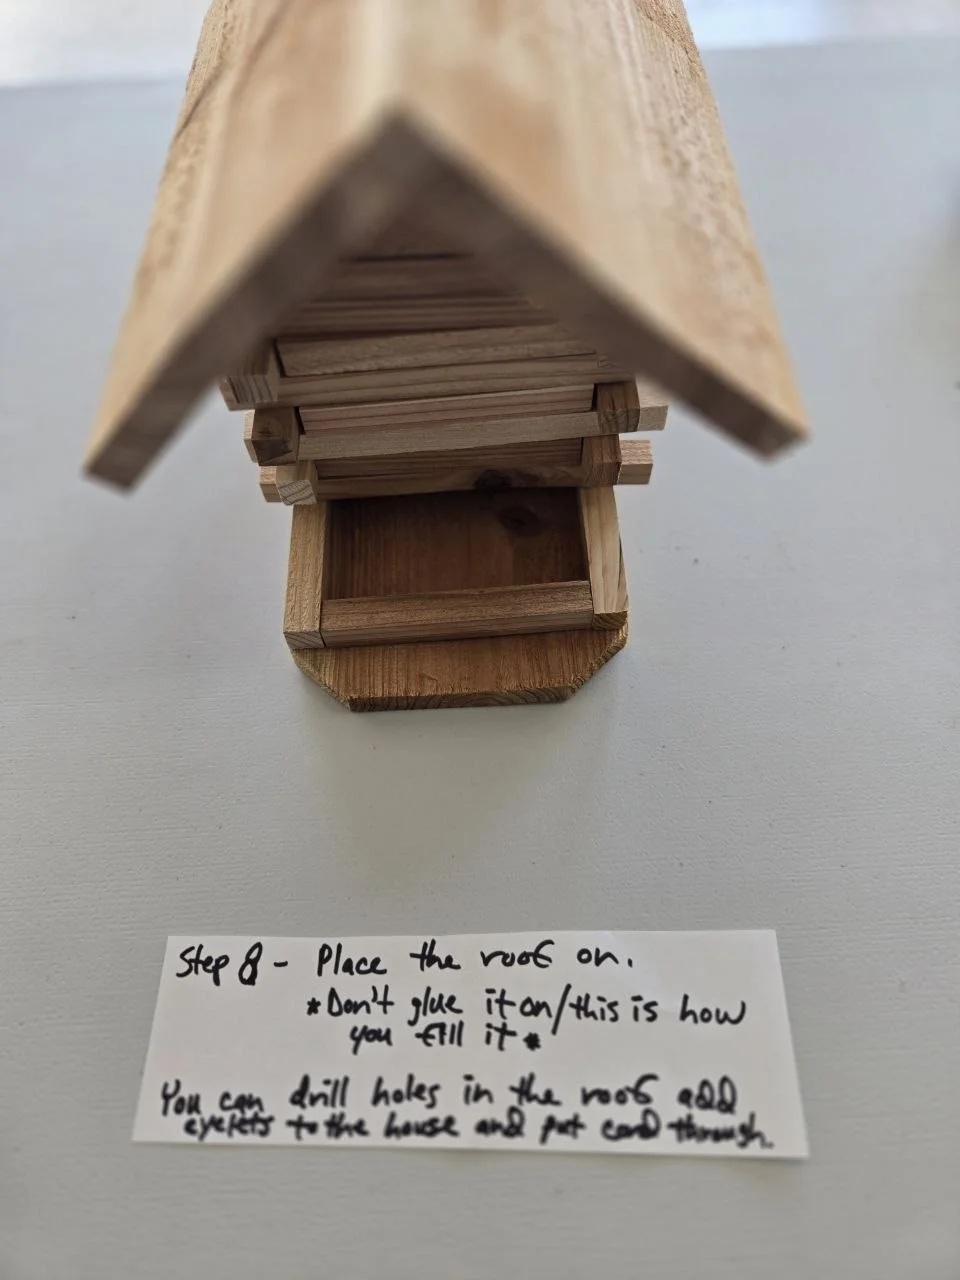
Finished 1
The project done and ready to hang outside.
Finished bird feeder
Finished 2
A final look at the completed feeder in all its rustic little glory.