Start here
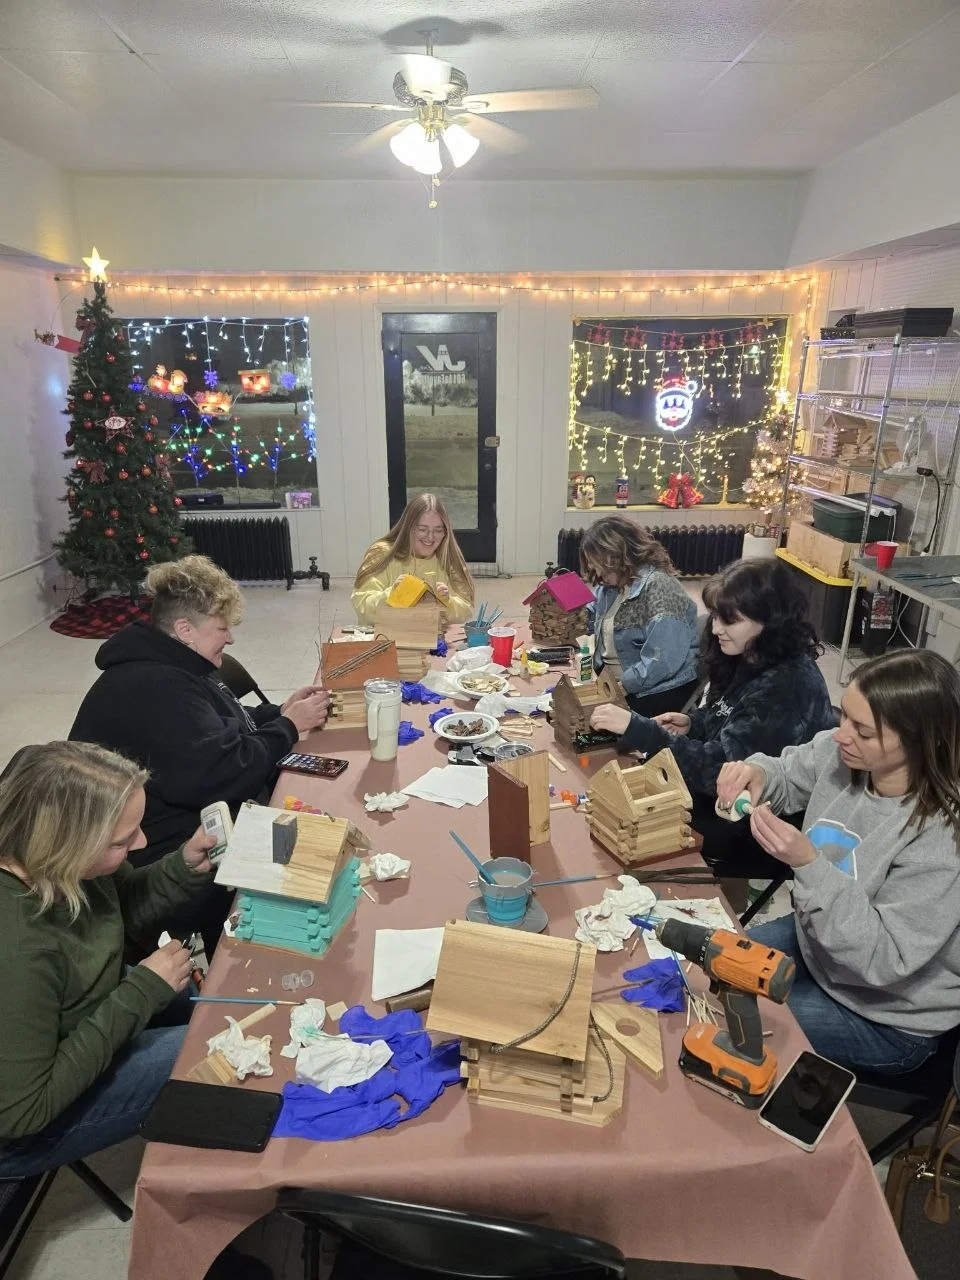
This project is simple, fun, and perfect for a family-and-friends build day. Everyone can start with the same basic structure and still end up with a completely different finished birdhouse.
1. Cut layout and starter pieces
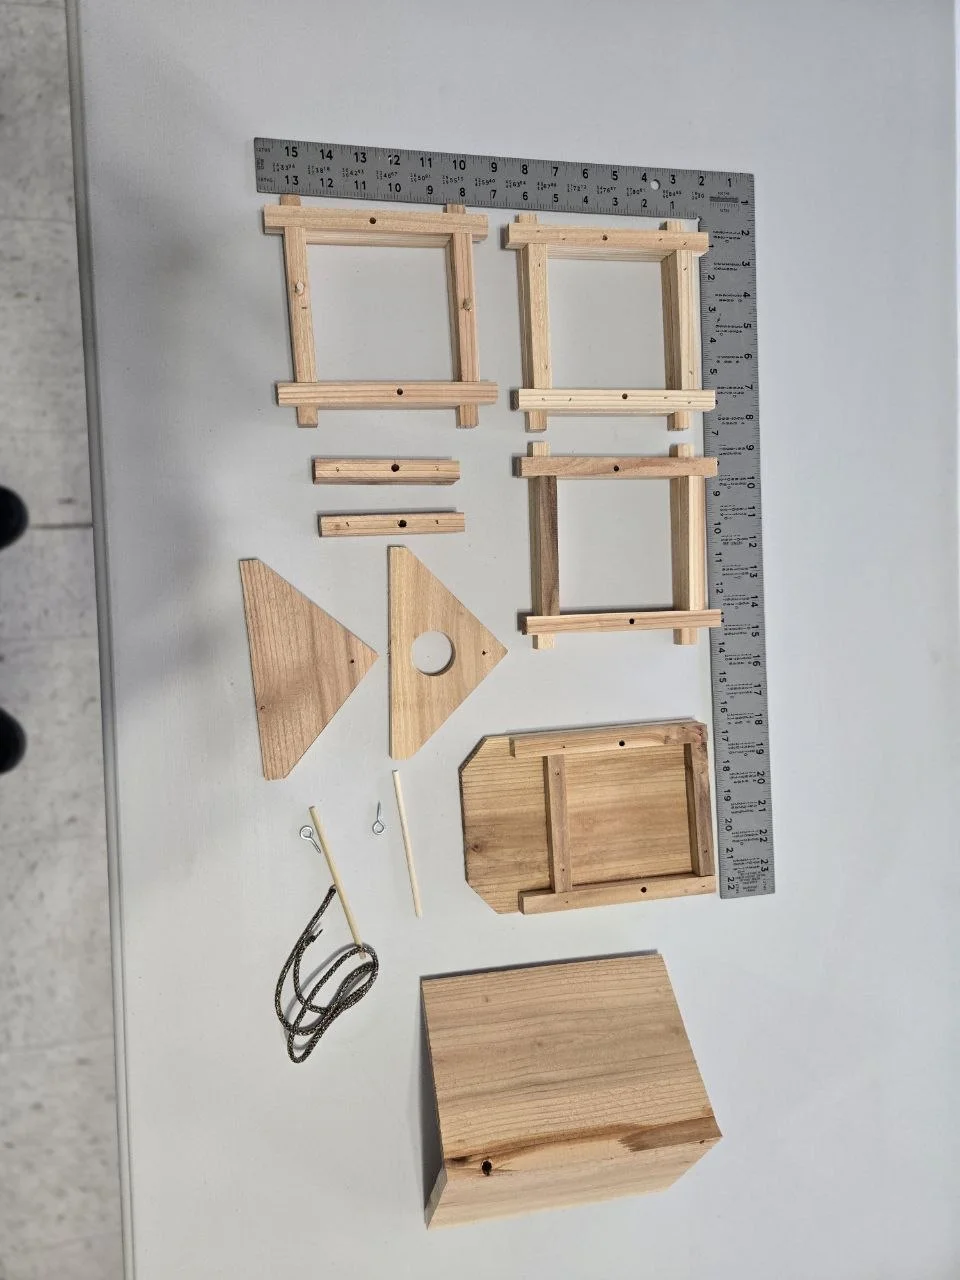
One cedar fence picket
This whole project starts with one cedar fence picket from the big box store.
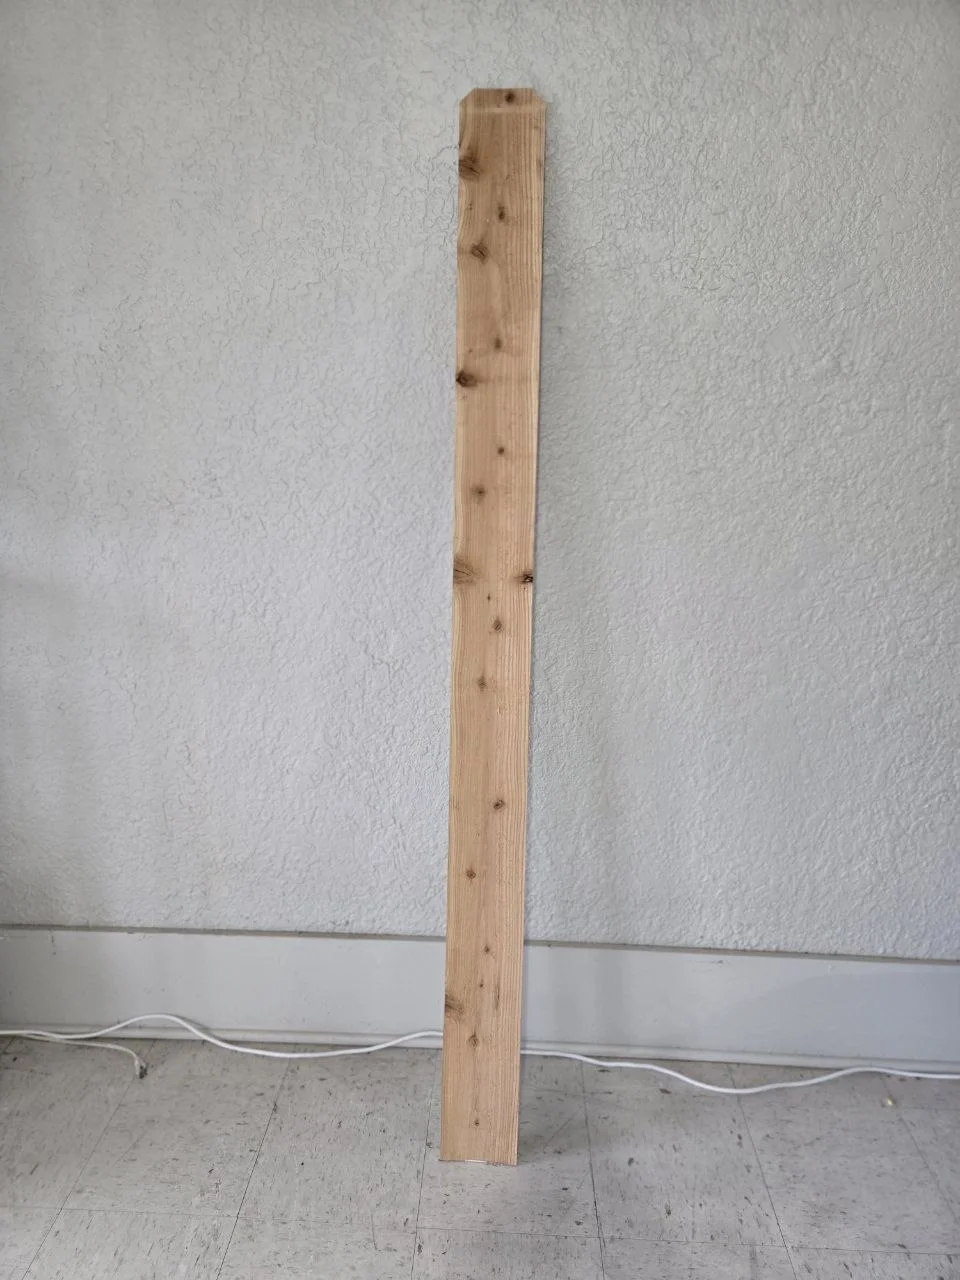
Cut layout reference
Use the cut layout reference to mark the major project parts before cutting.
2. Cut step photos
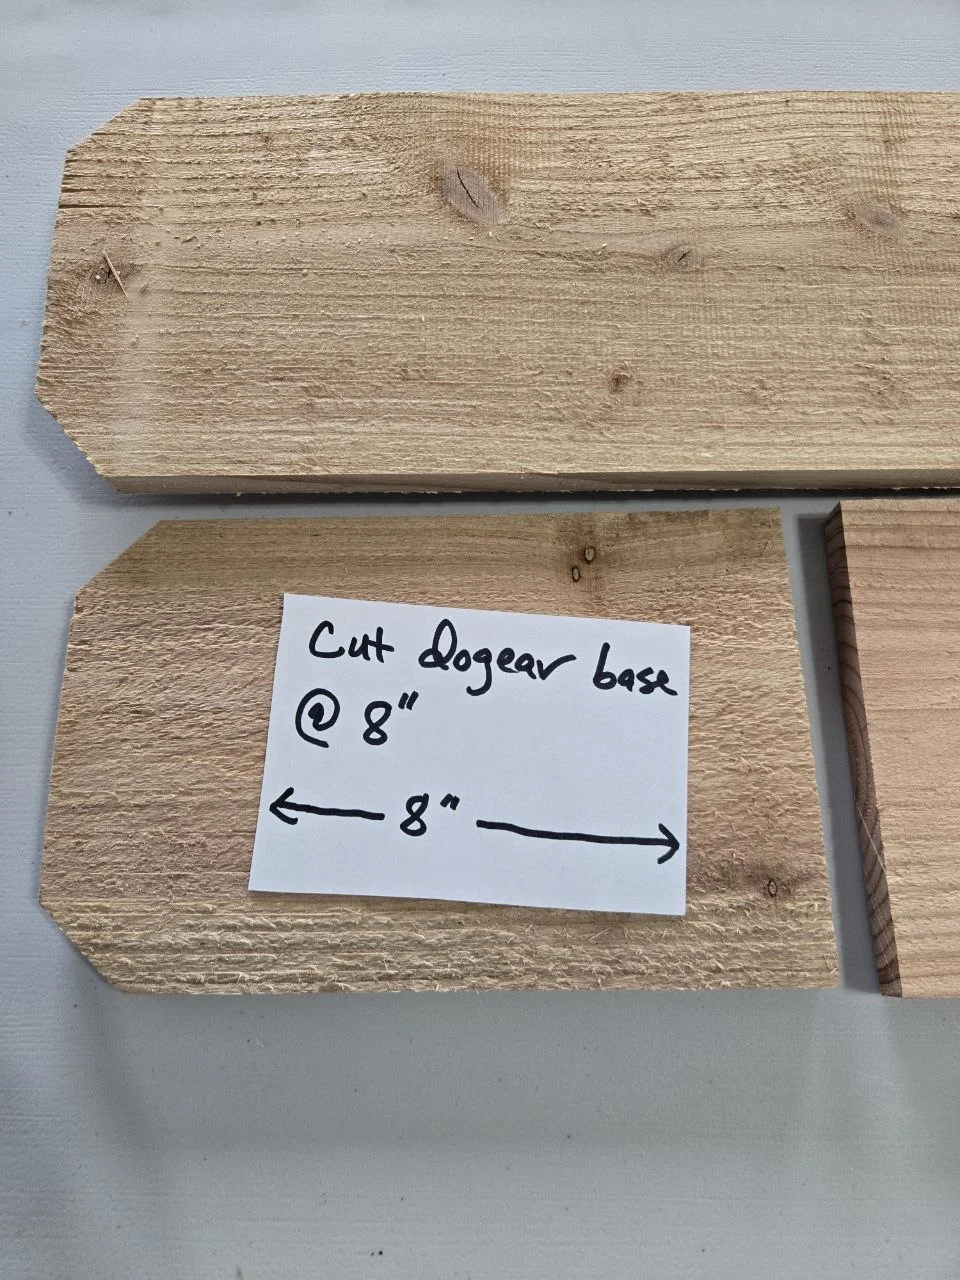
Cut step 1
Begin breaking down the cedar picket into the starter pieces for the project.
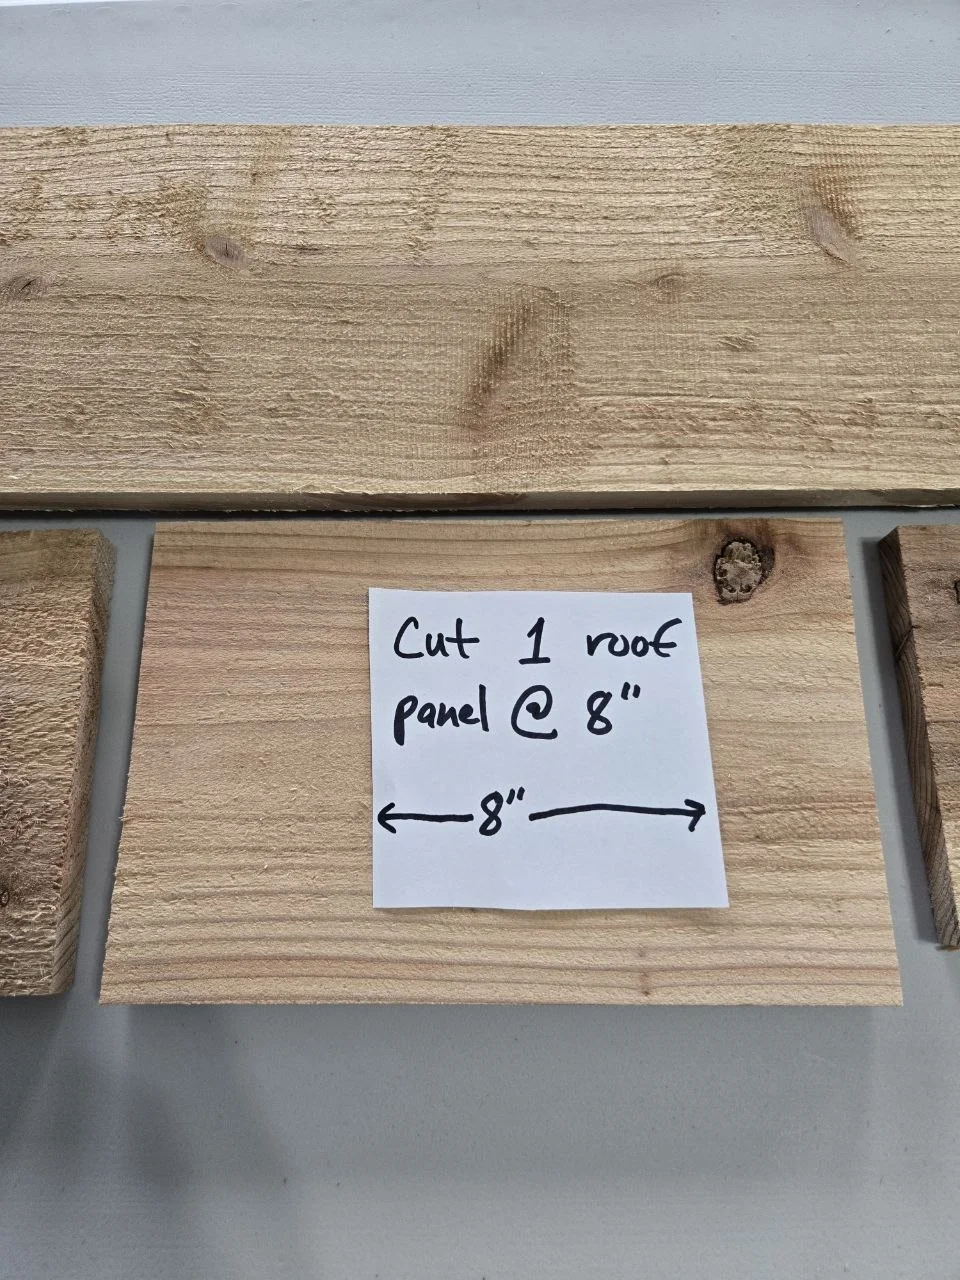
Cut step 2
Continue cutting the stick and panel pieces needed for the build.
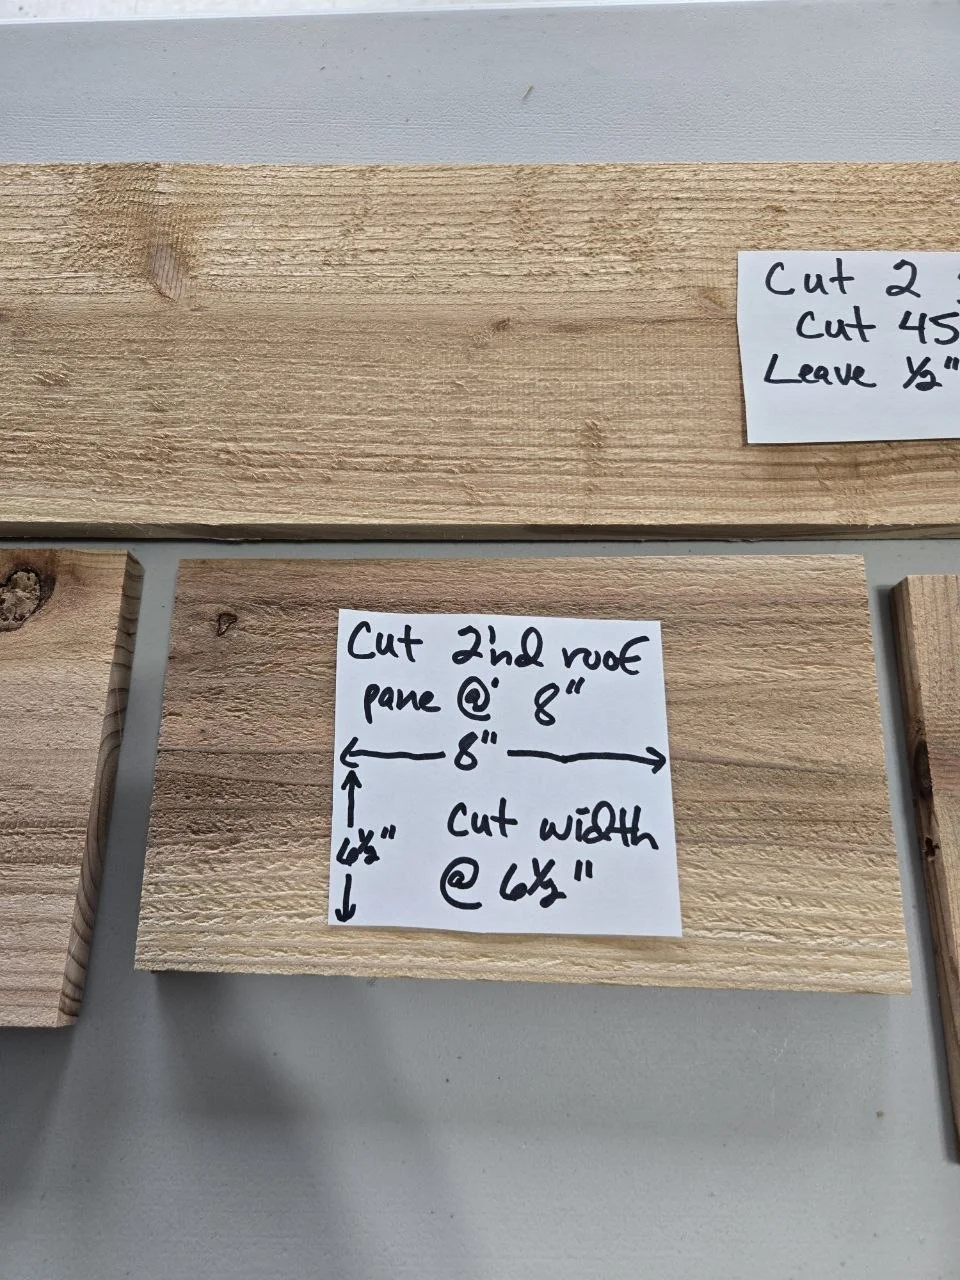
Cut step 3
Work through the measured cuts so the main body pieces are ready.
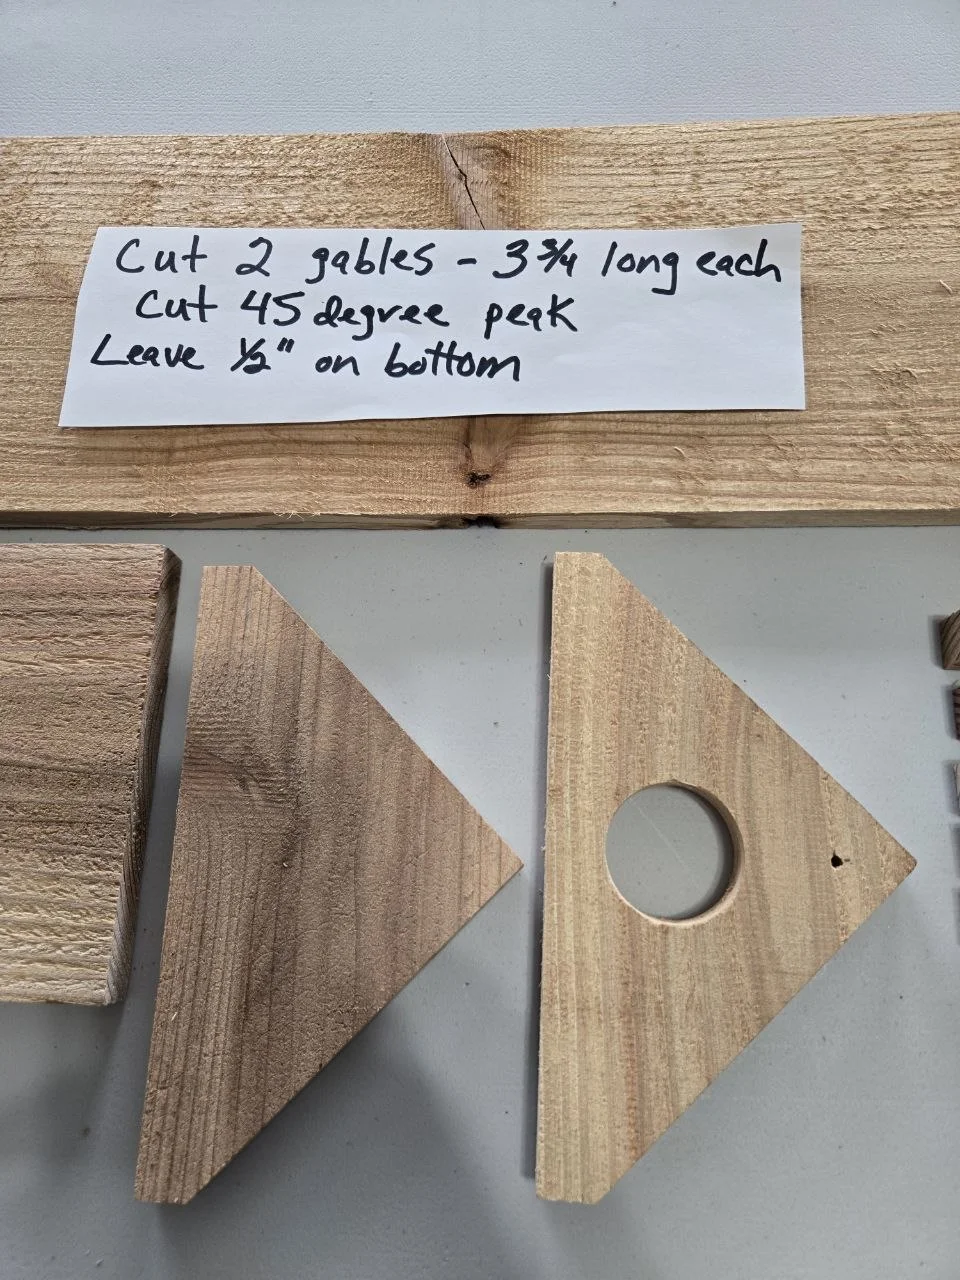
Cut step 4
Cut the gable or roof-related pieces shown in the project notes.
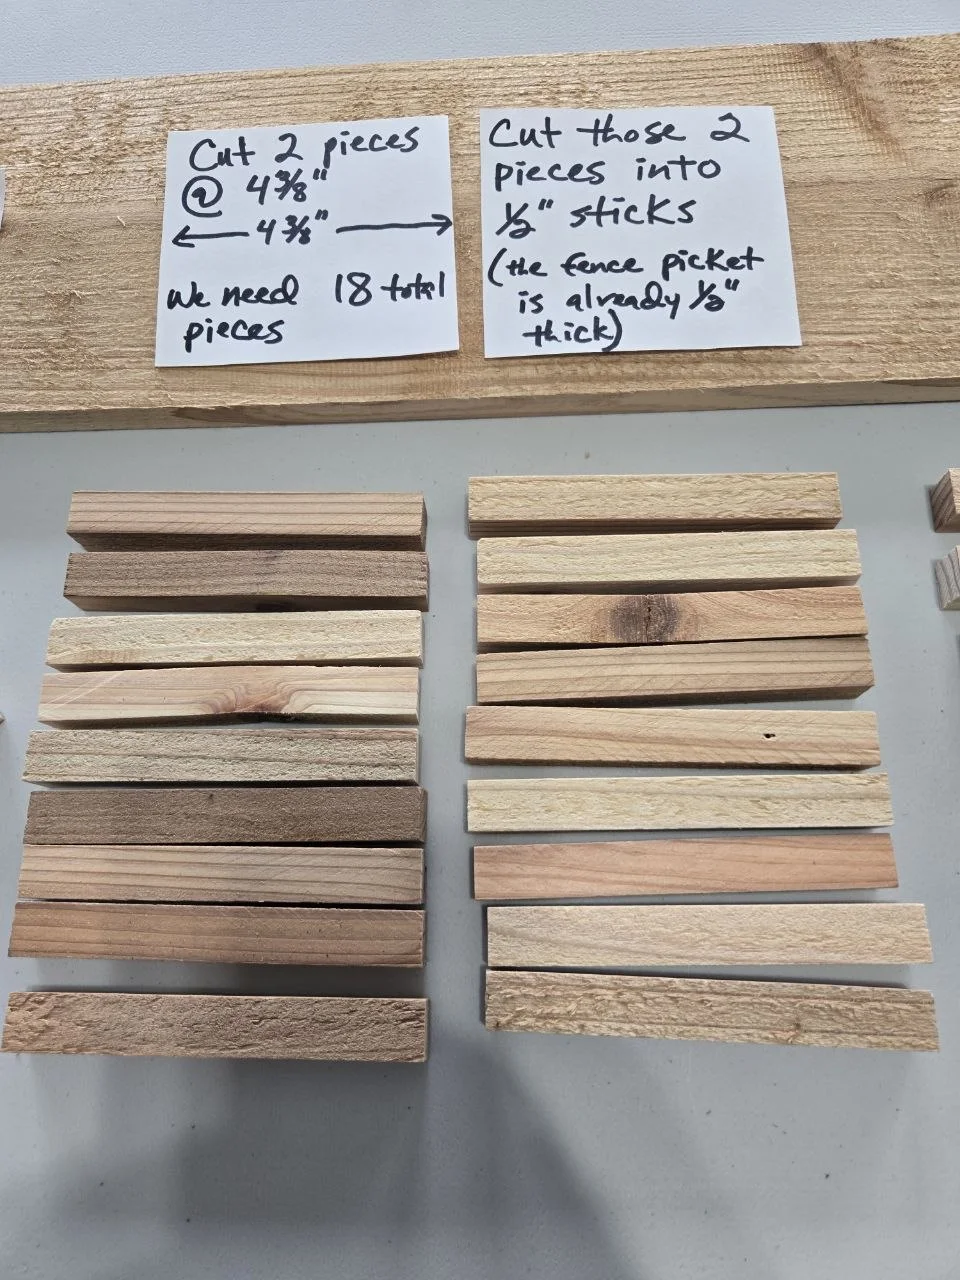
Cut step 5
Finish the smaller project cuts and organize the pieces by use.
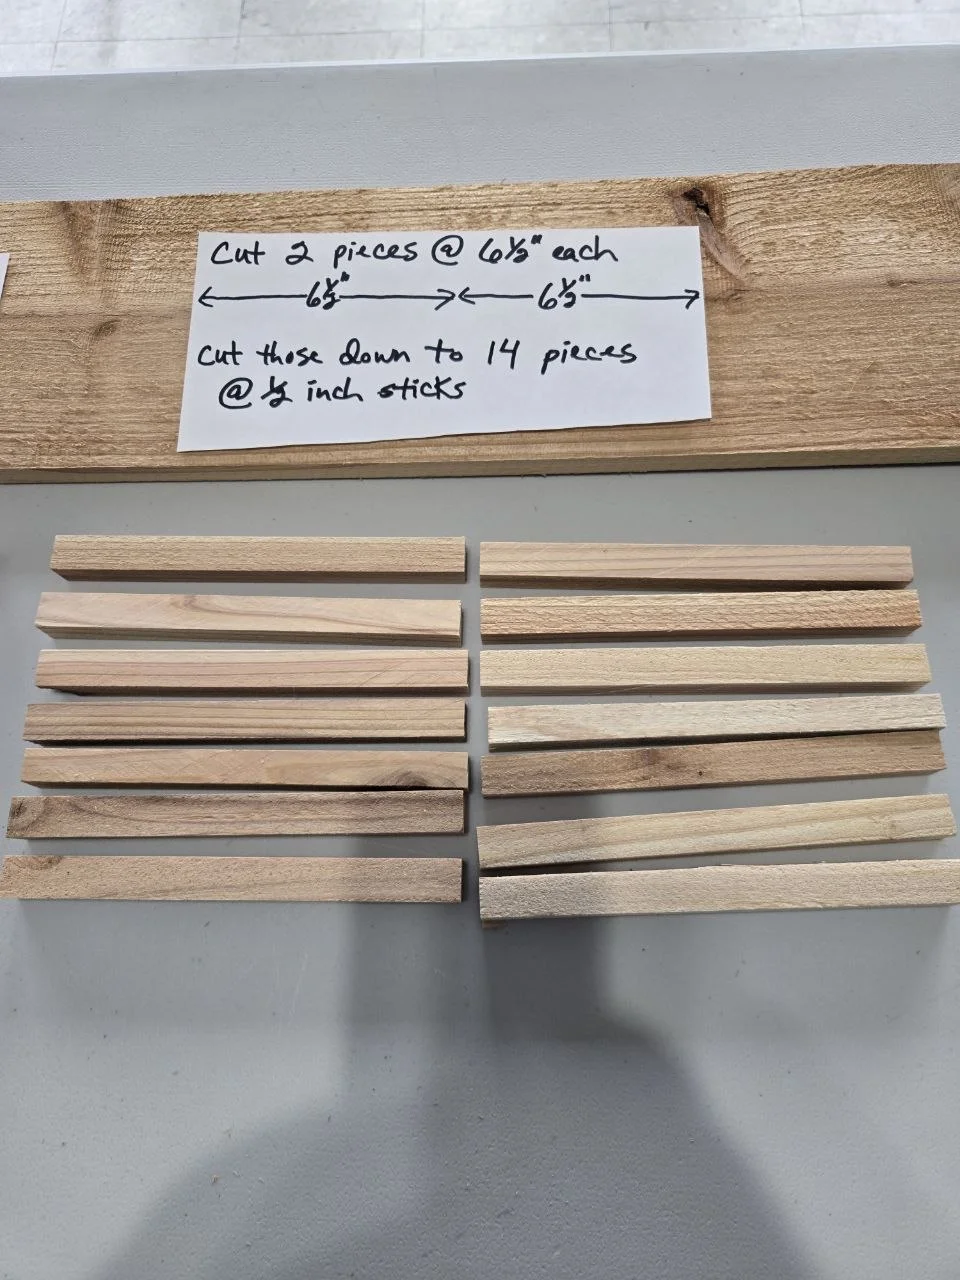
Cut step 6
Check your parts against the layout so you are ready for assembly.
3. Assembly step photos
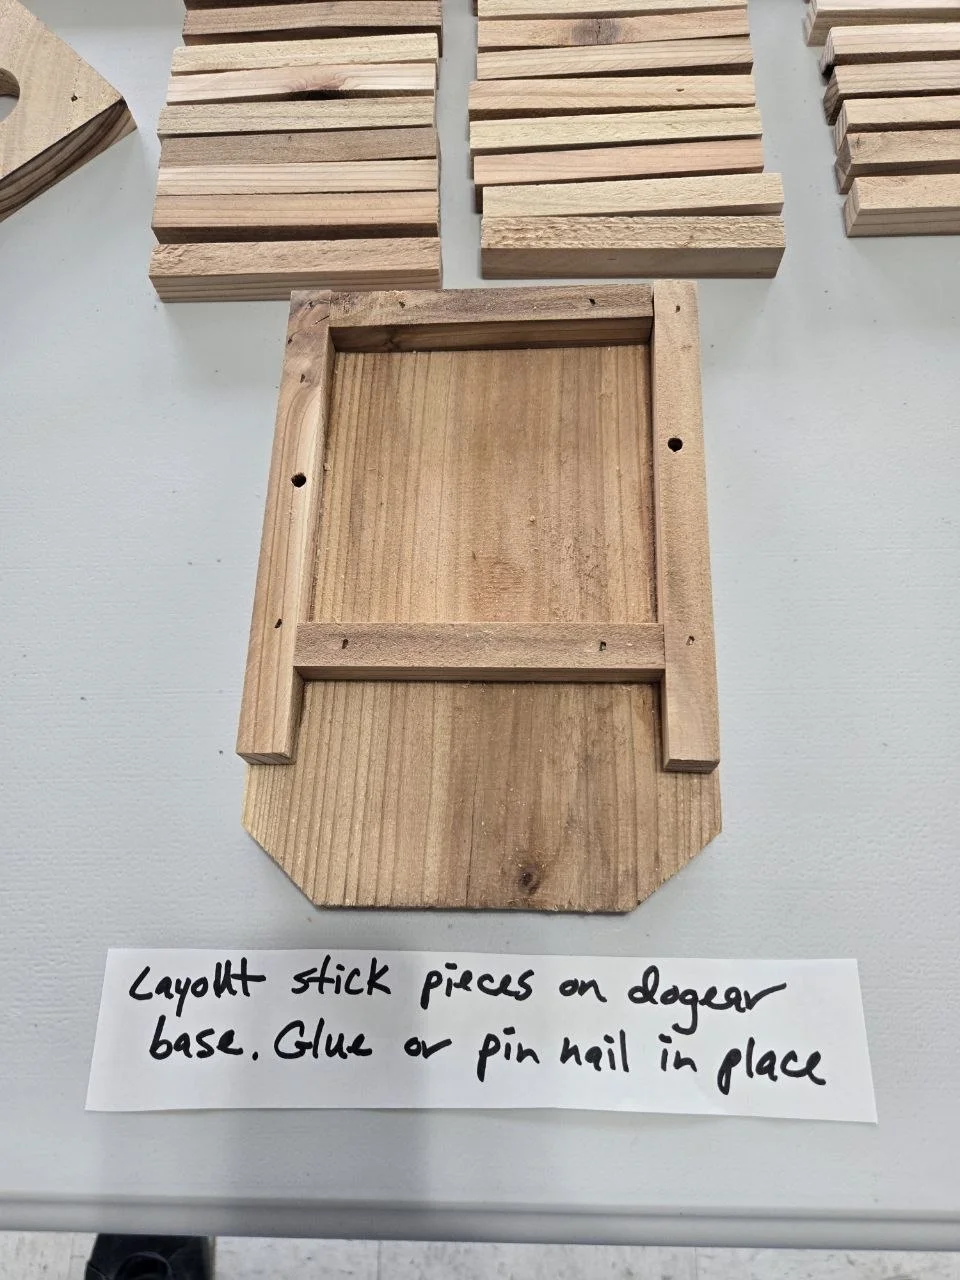
Assembly 1
Lay the first stick pieces onto the base and glue or pin nail them in place.
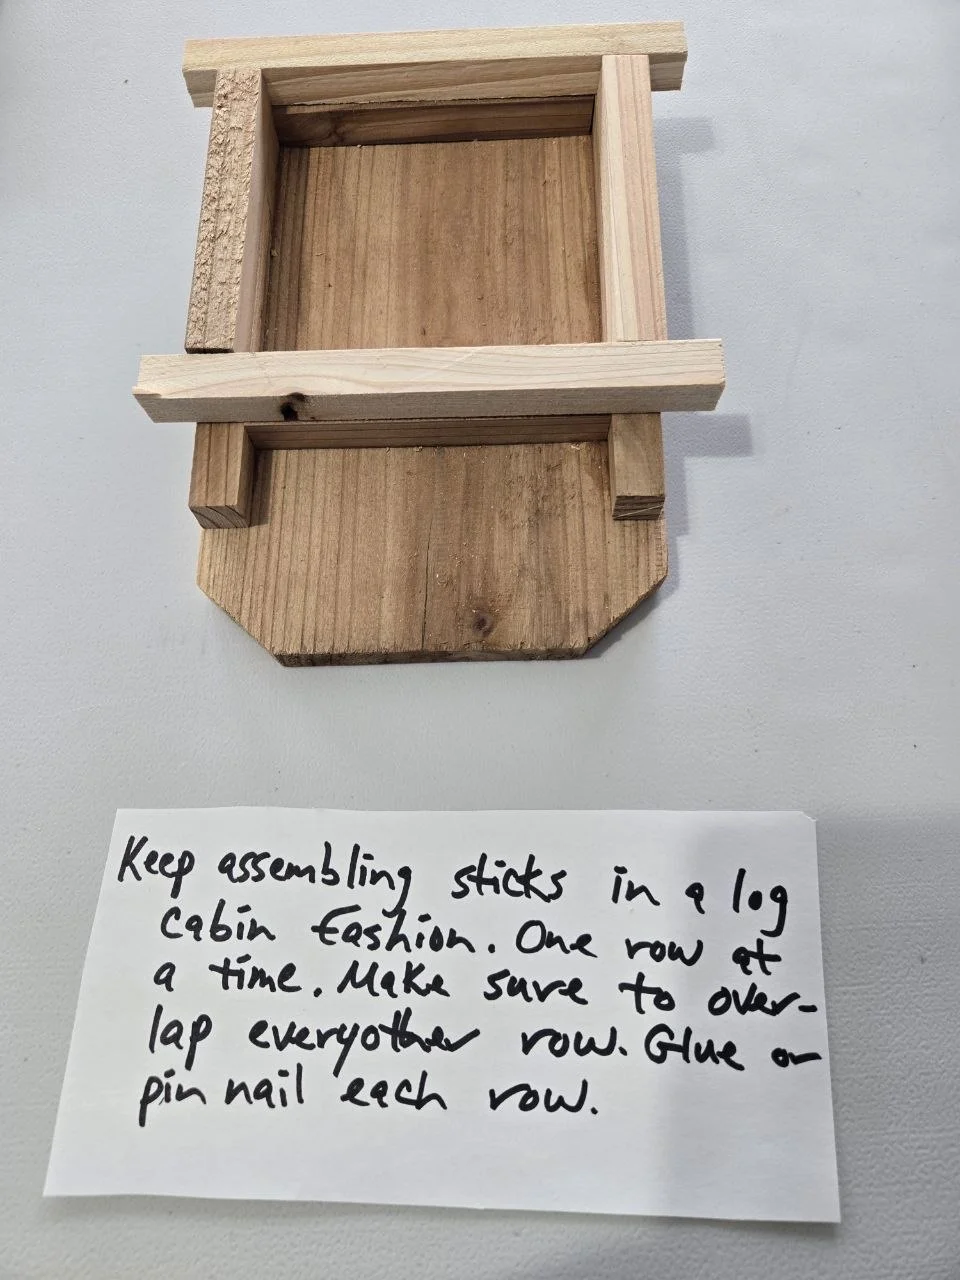
Assembly 2
Build upward one row at a time using a log-cabin style overlap.
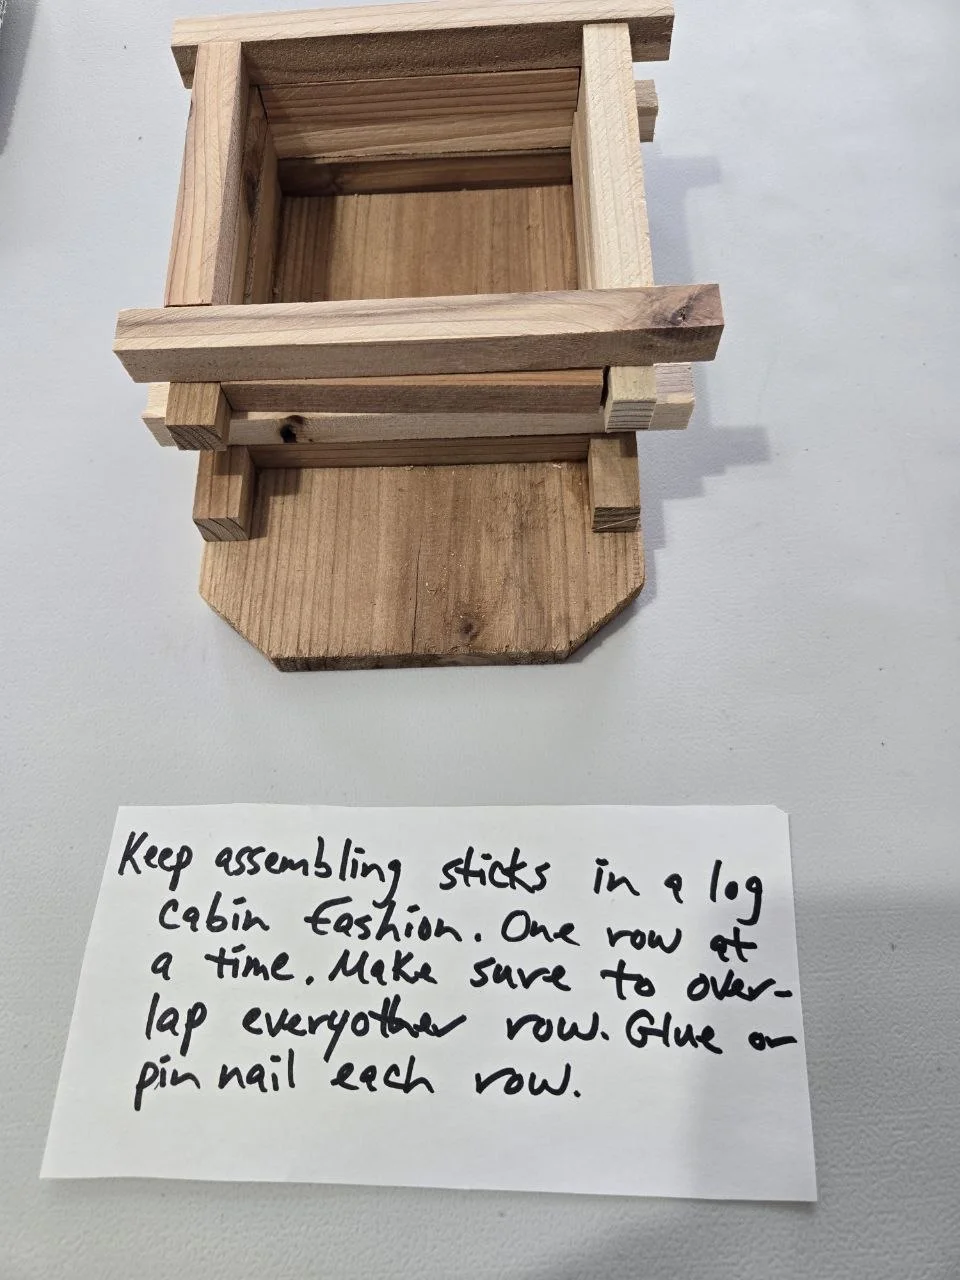
Assembly 3
Continue the overlapping rows until the body starts to take shape.
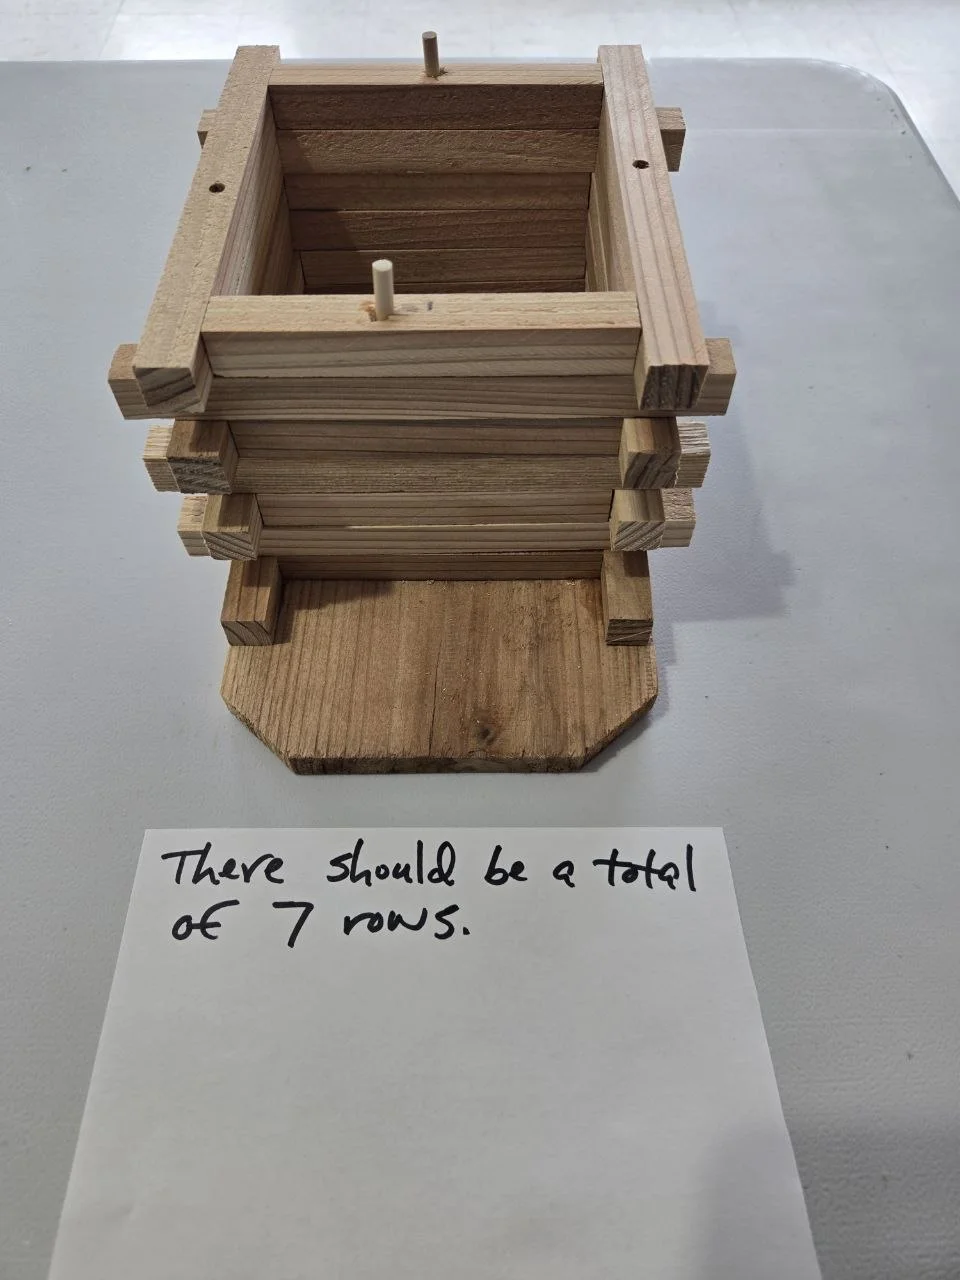
Assembly 4
Work toward the full row count shown in the project notes.
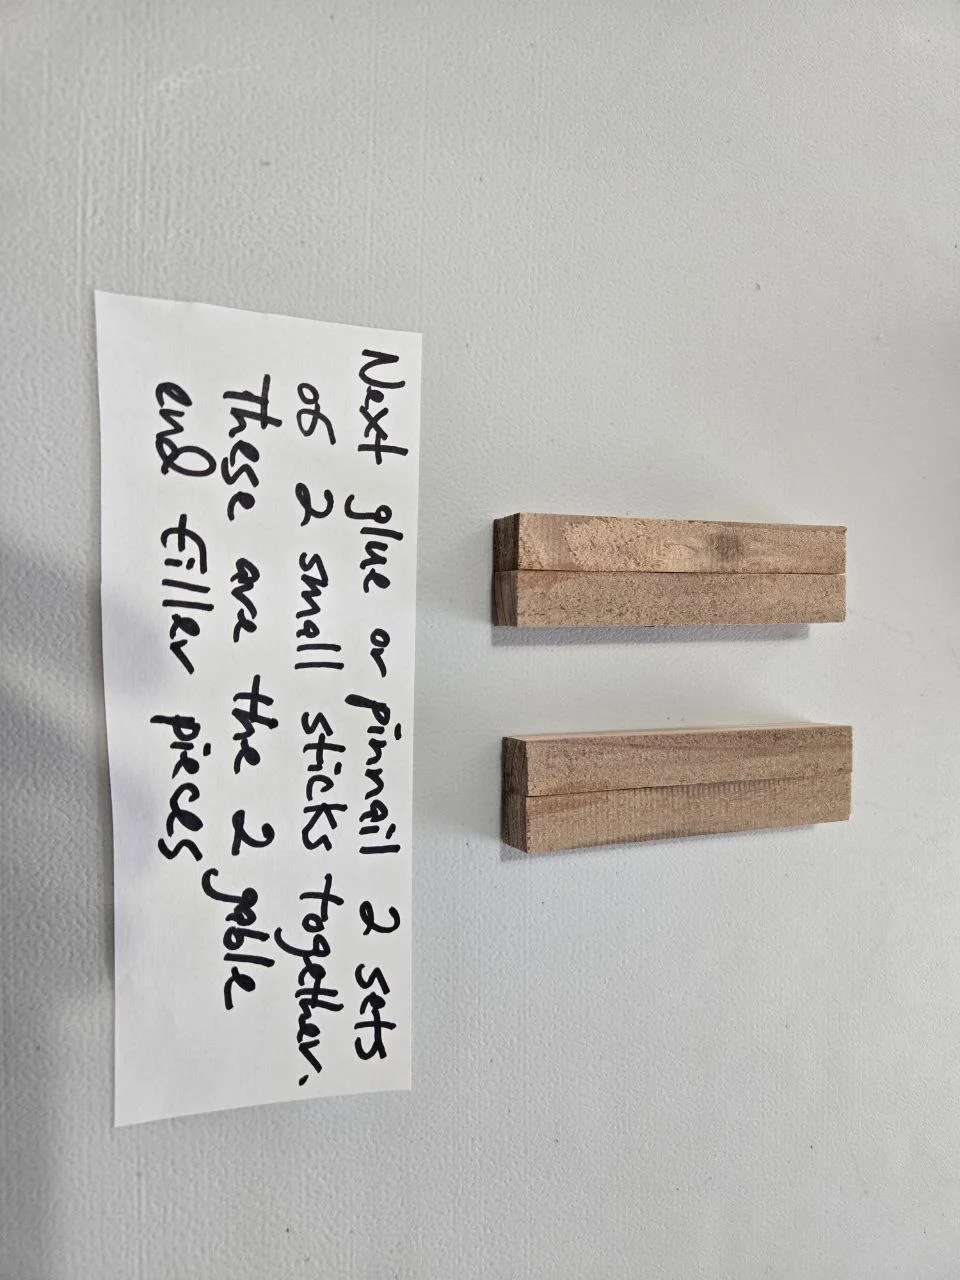
Assembly 5
Create the small gable filler pieces that help close the upper structure.
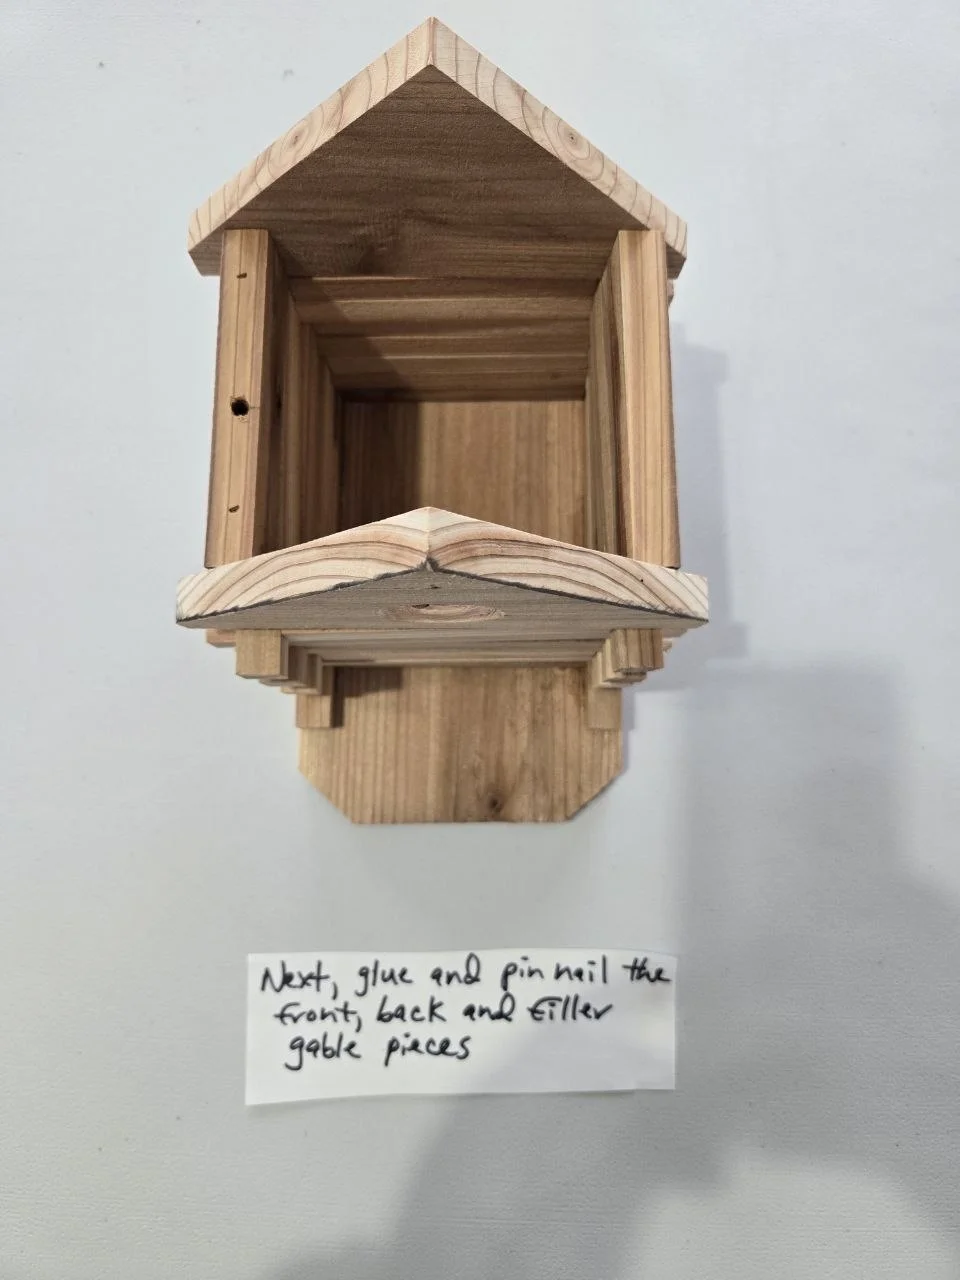
Assembly 6
Attach the front, back, and filler gable pieces.
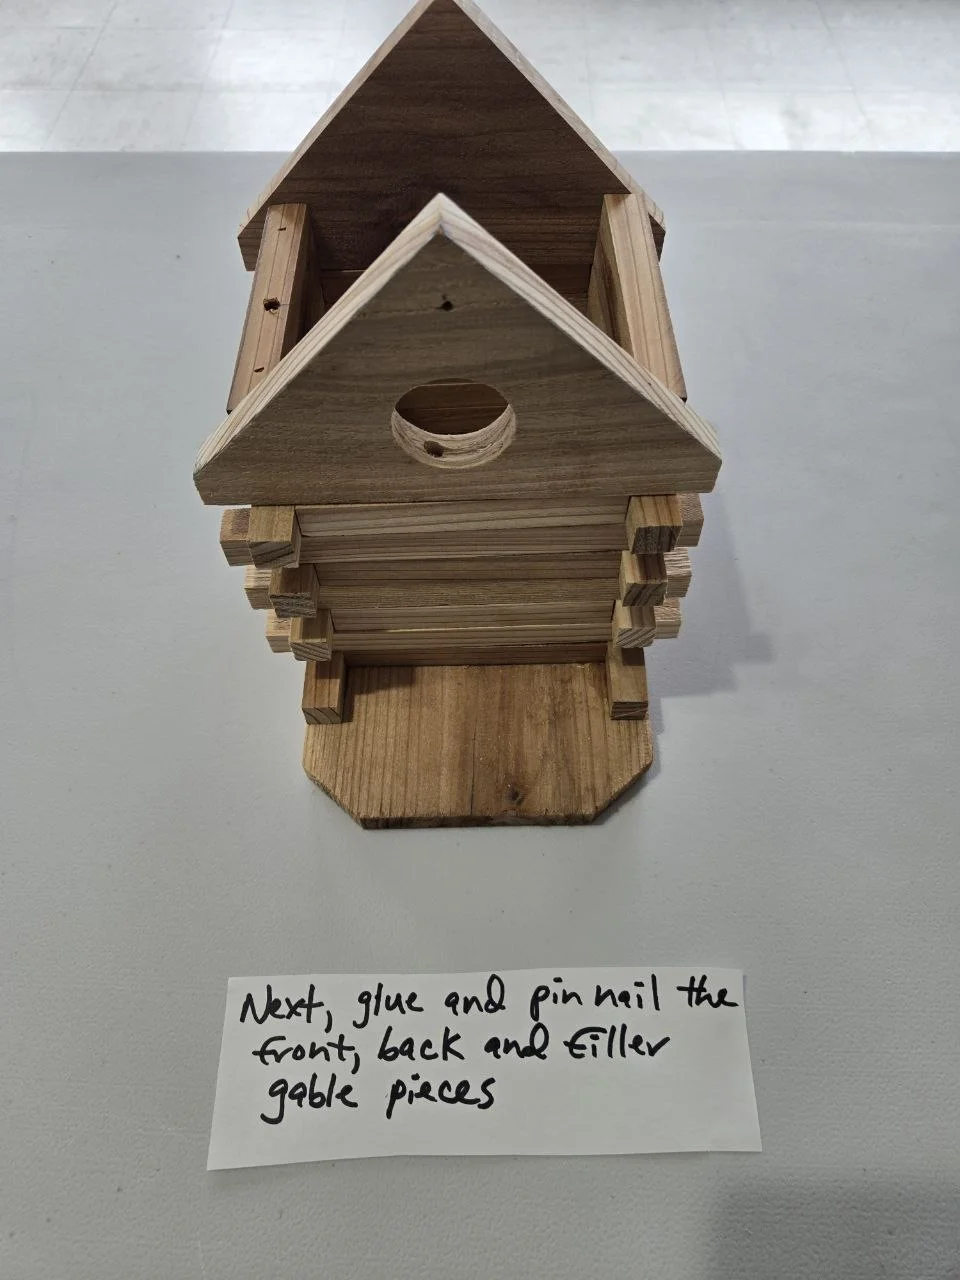
Assembly 7
Glue and pin nail the roof pieces together as a separate small assembly.
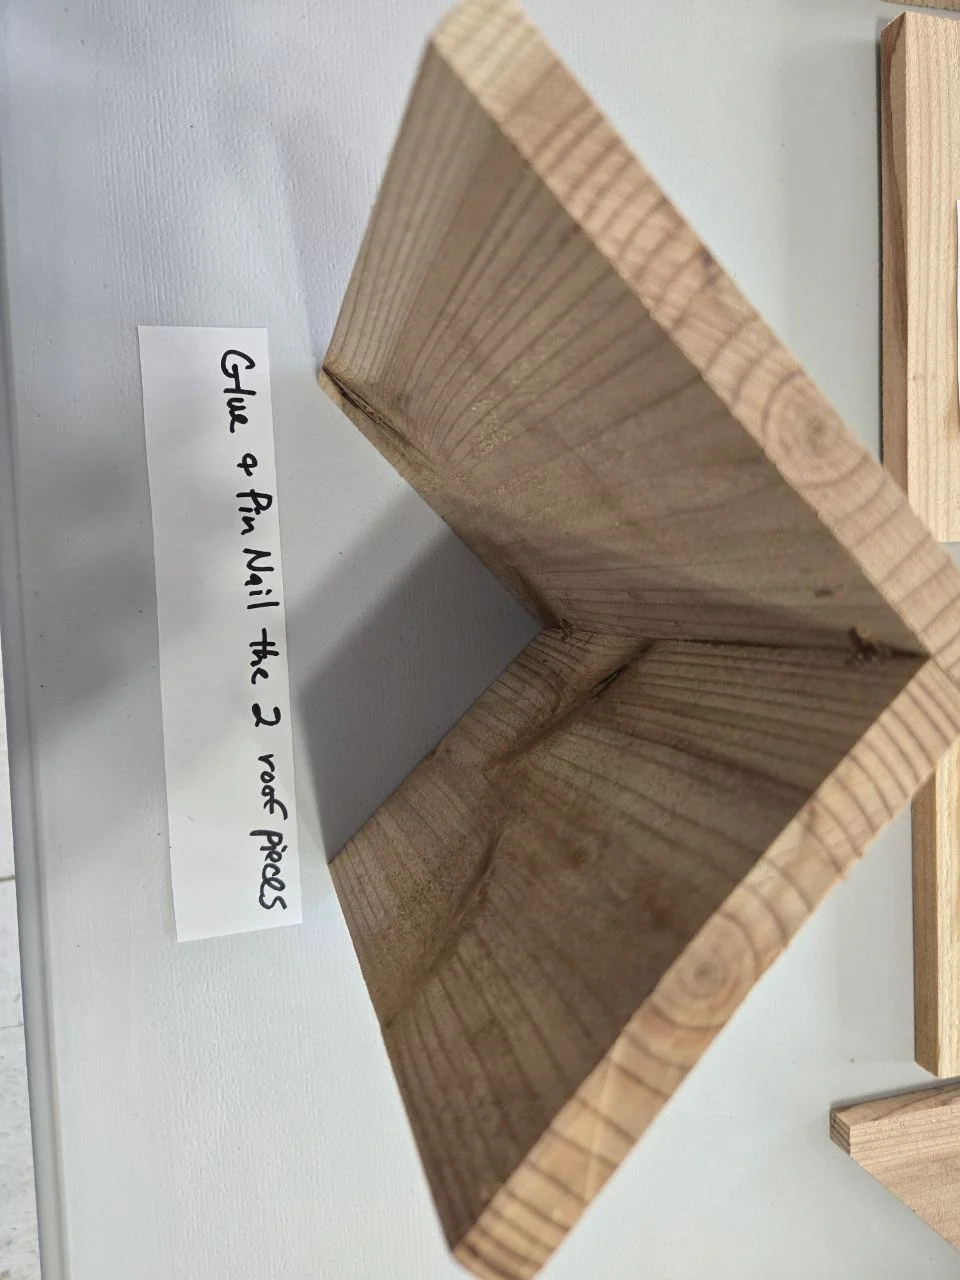
Assembly 8
Check the roof fit and make sure the birdhouse structure is clean and aligned.
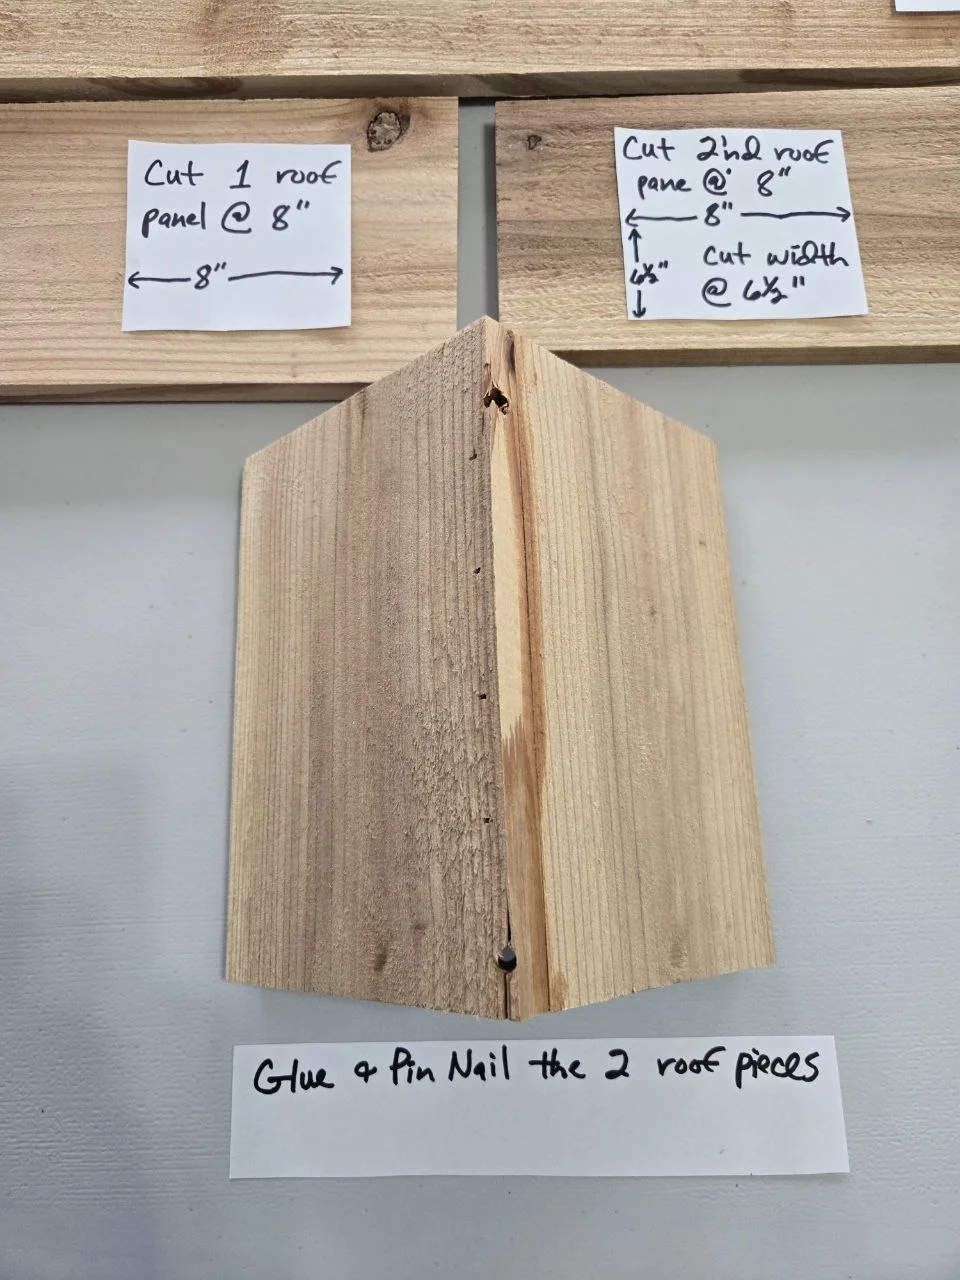
Assembly 9
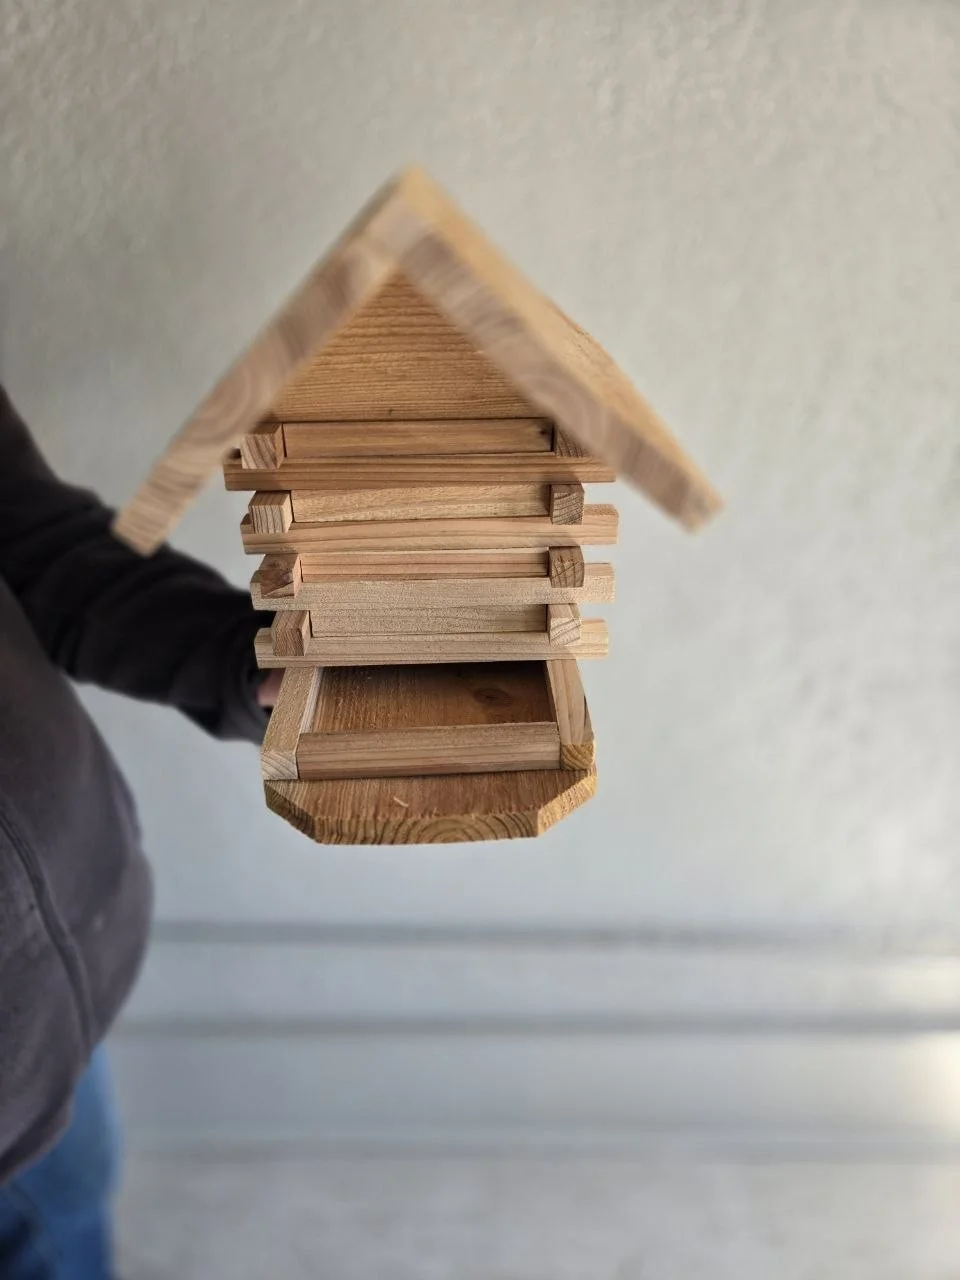
Place the roof last and do not glue it down so the birdhouse can still be cleaned later.
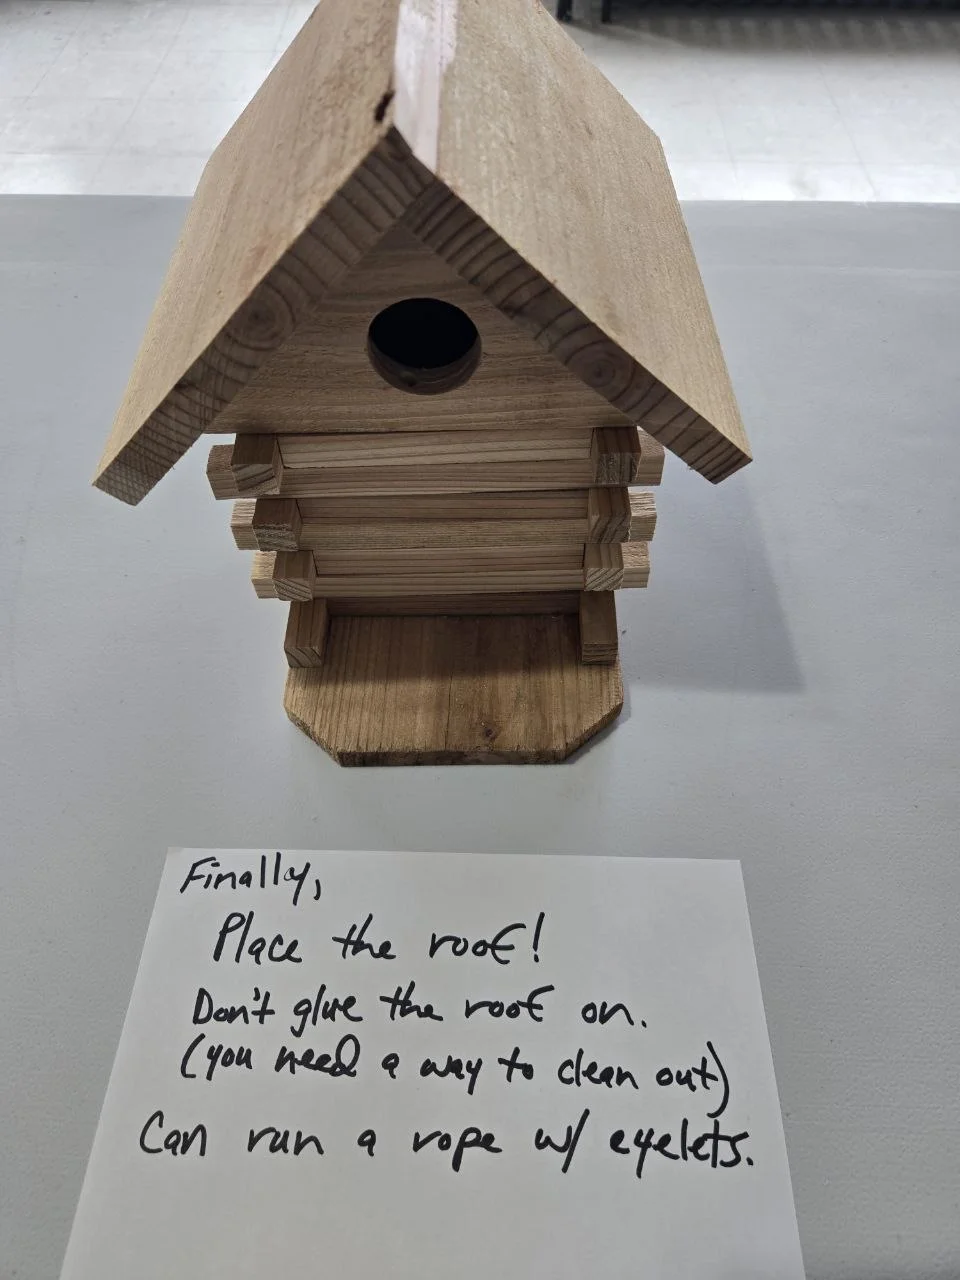
Assembly 10
Now the base build is done and ready for paint, decoration, and personal touches.
4. Finished birdhouse examples
Finished example 1
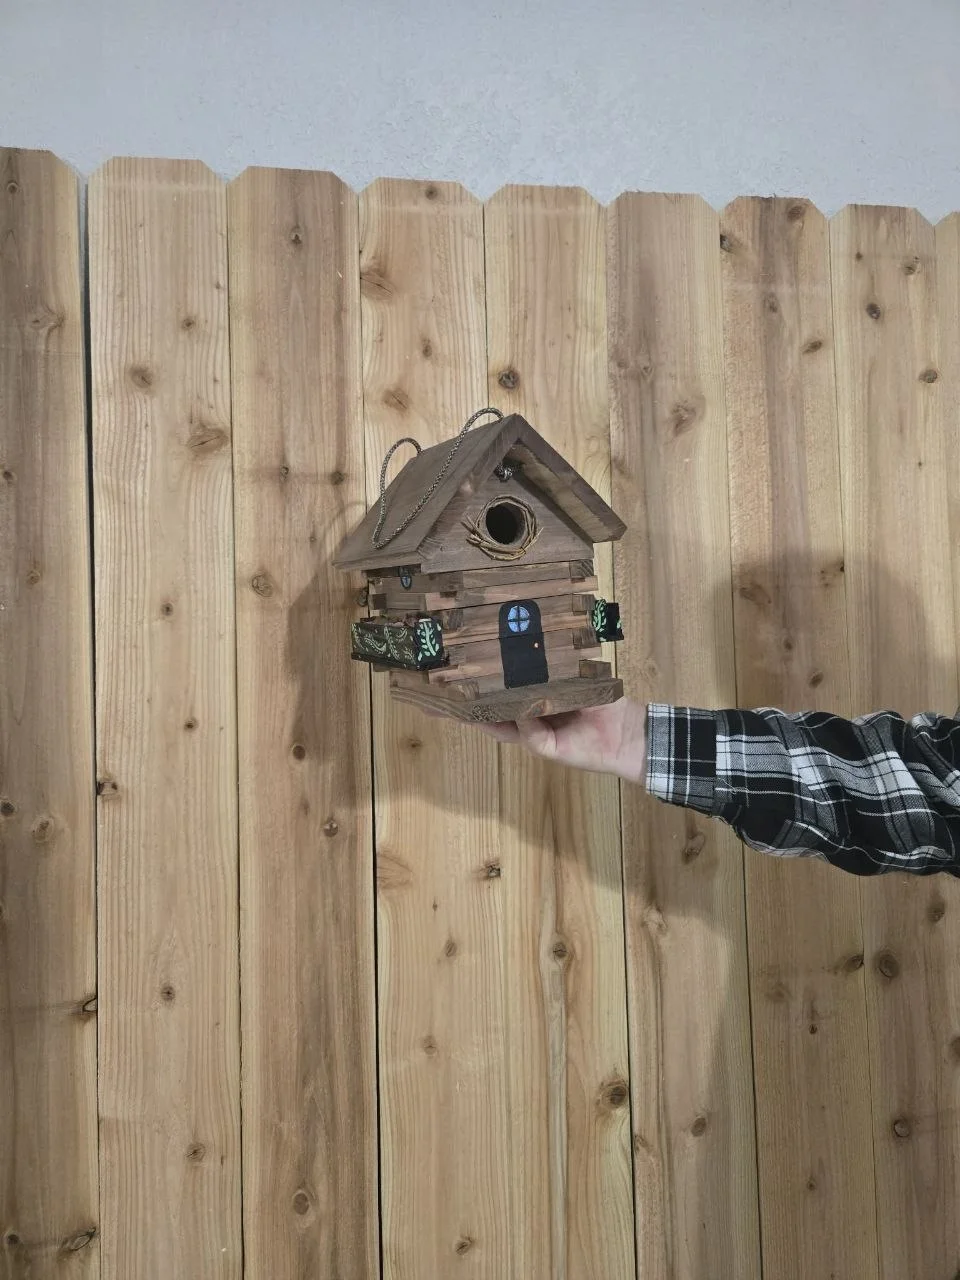
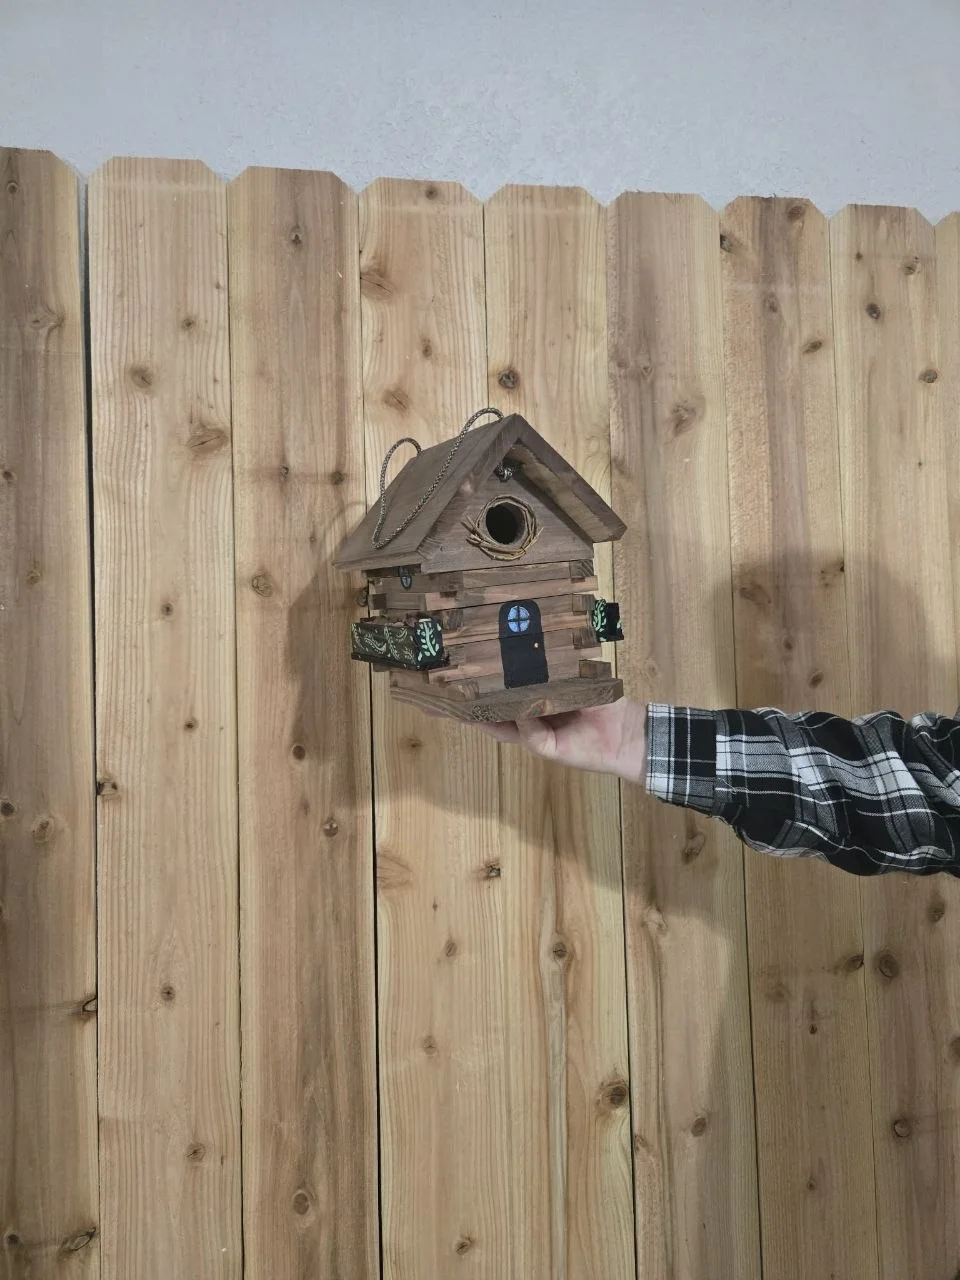
The same basic build can turn into a charming little log cabin look.
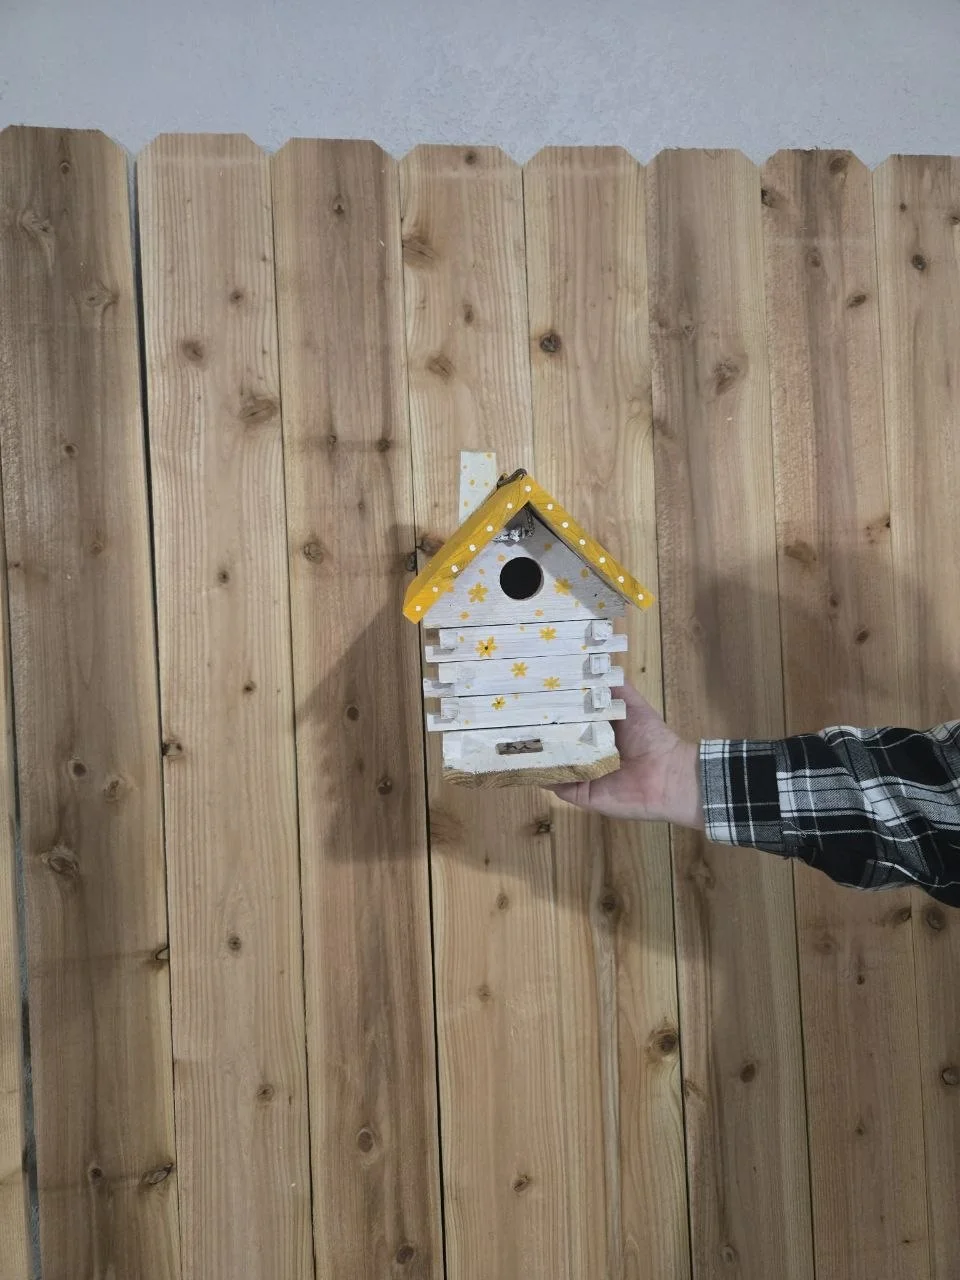
Finished example 2
Different colors and details give every birdhouse its own personality.