You need about a 2 foot section of 4 inch PVC pipe, plus a 2 inch piece cut from one end.
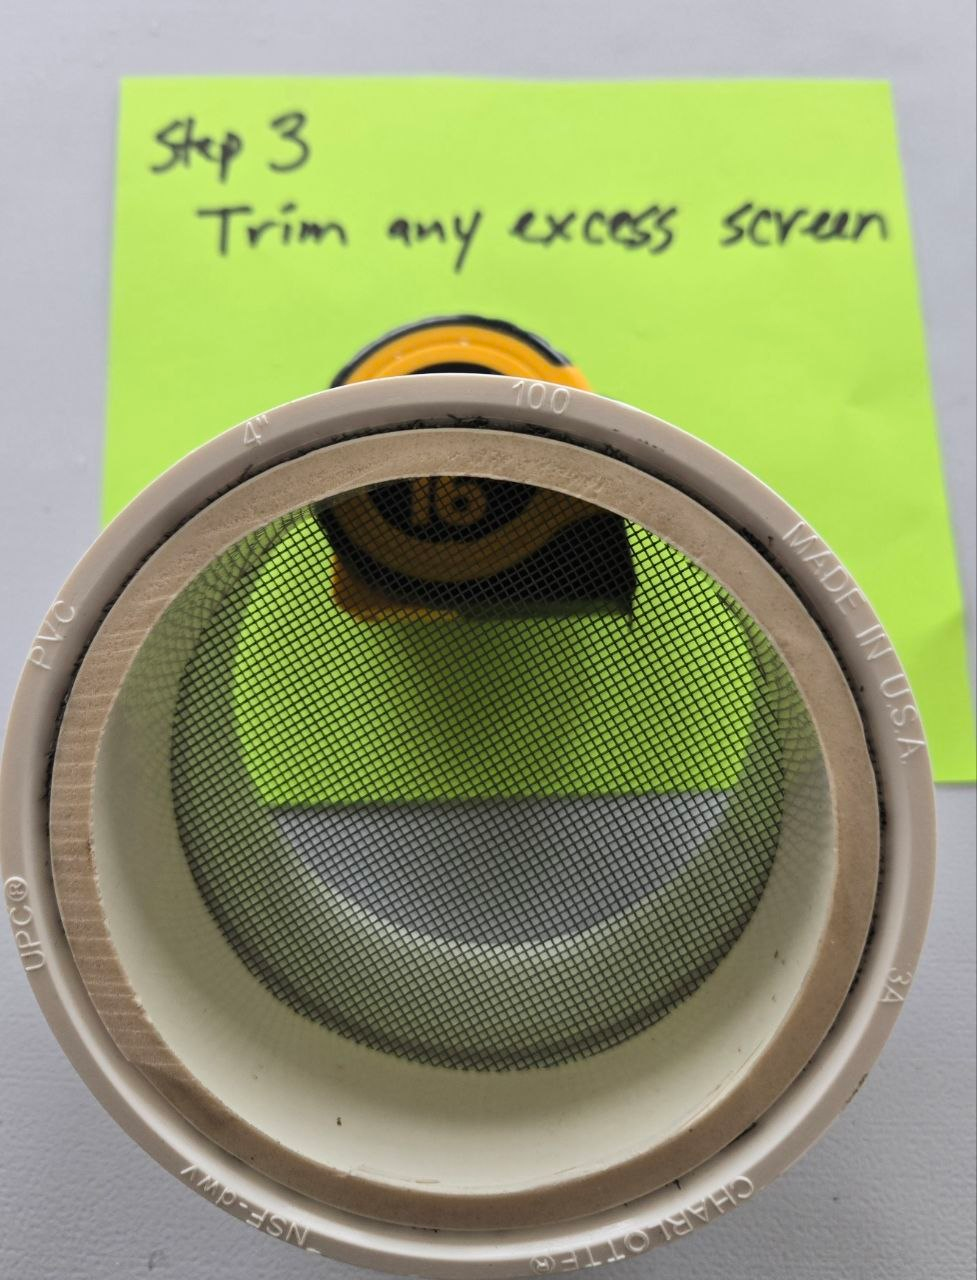
You also need a 4 inch PVC coupler and a small piece of screen or mesh.
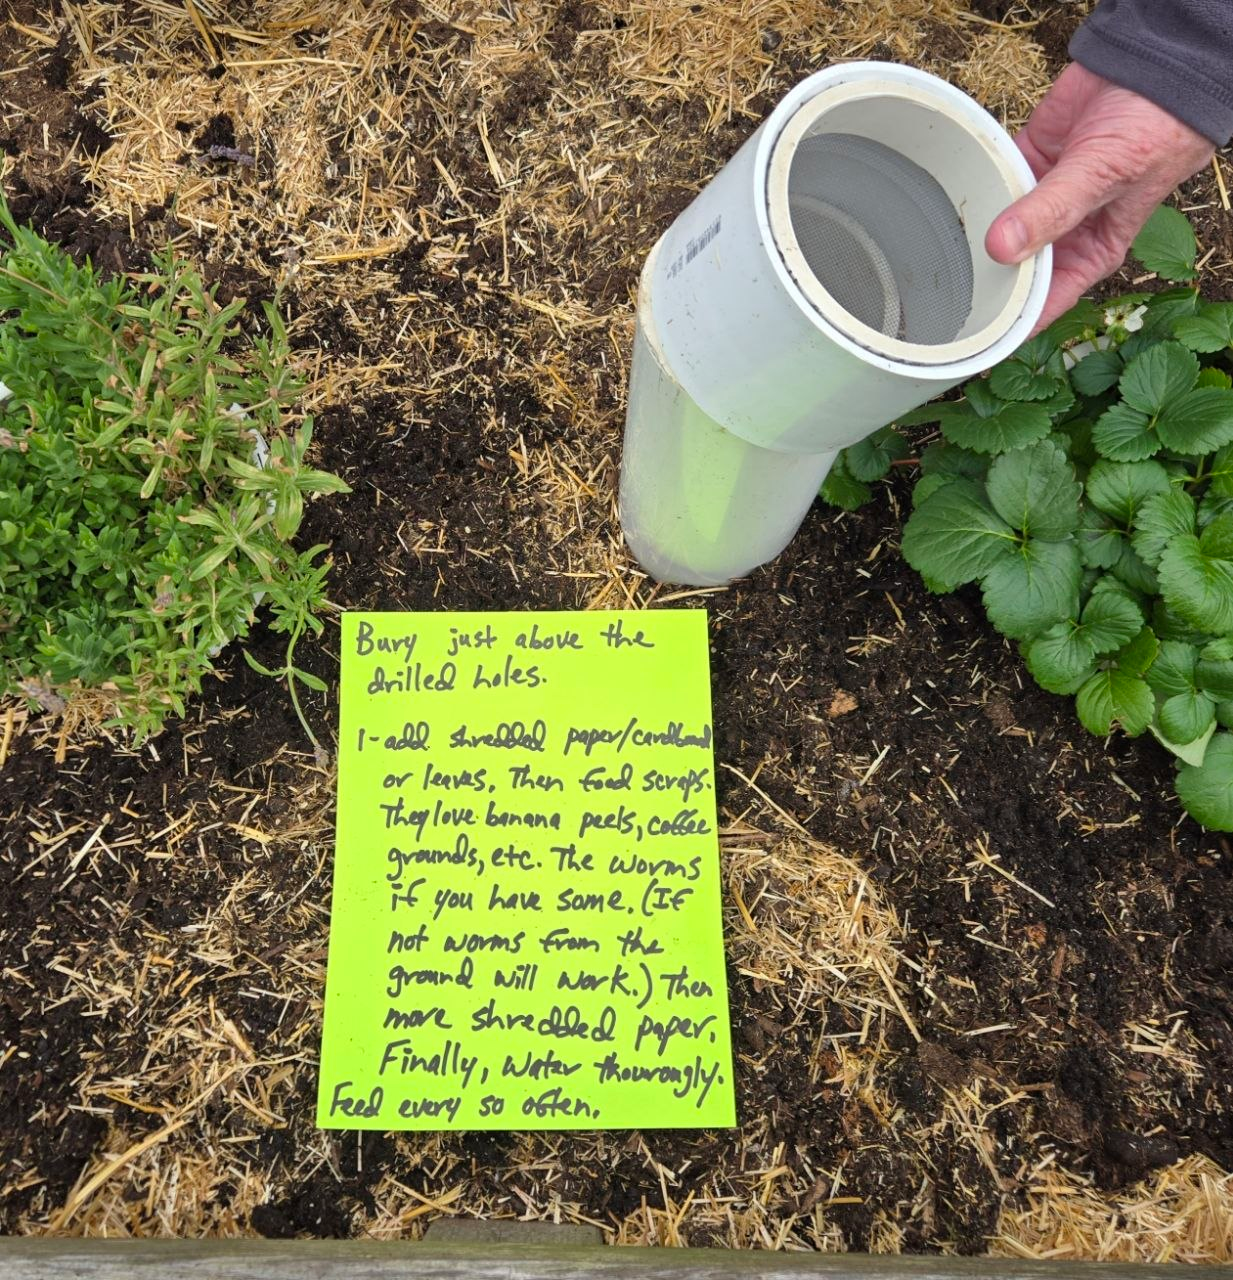
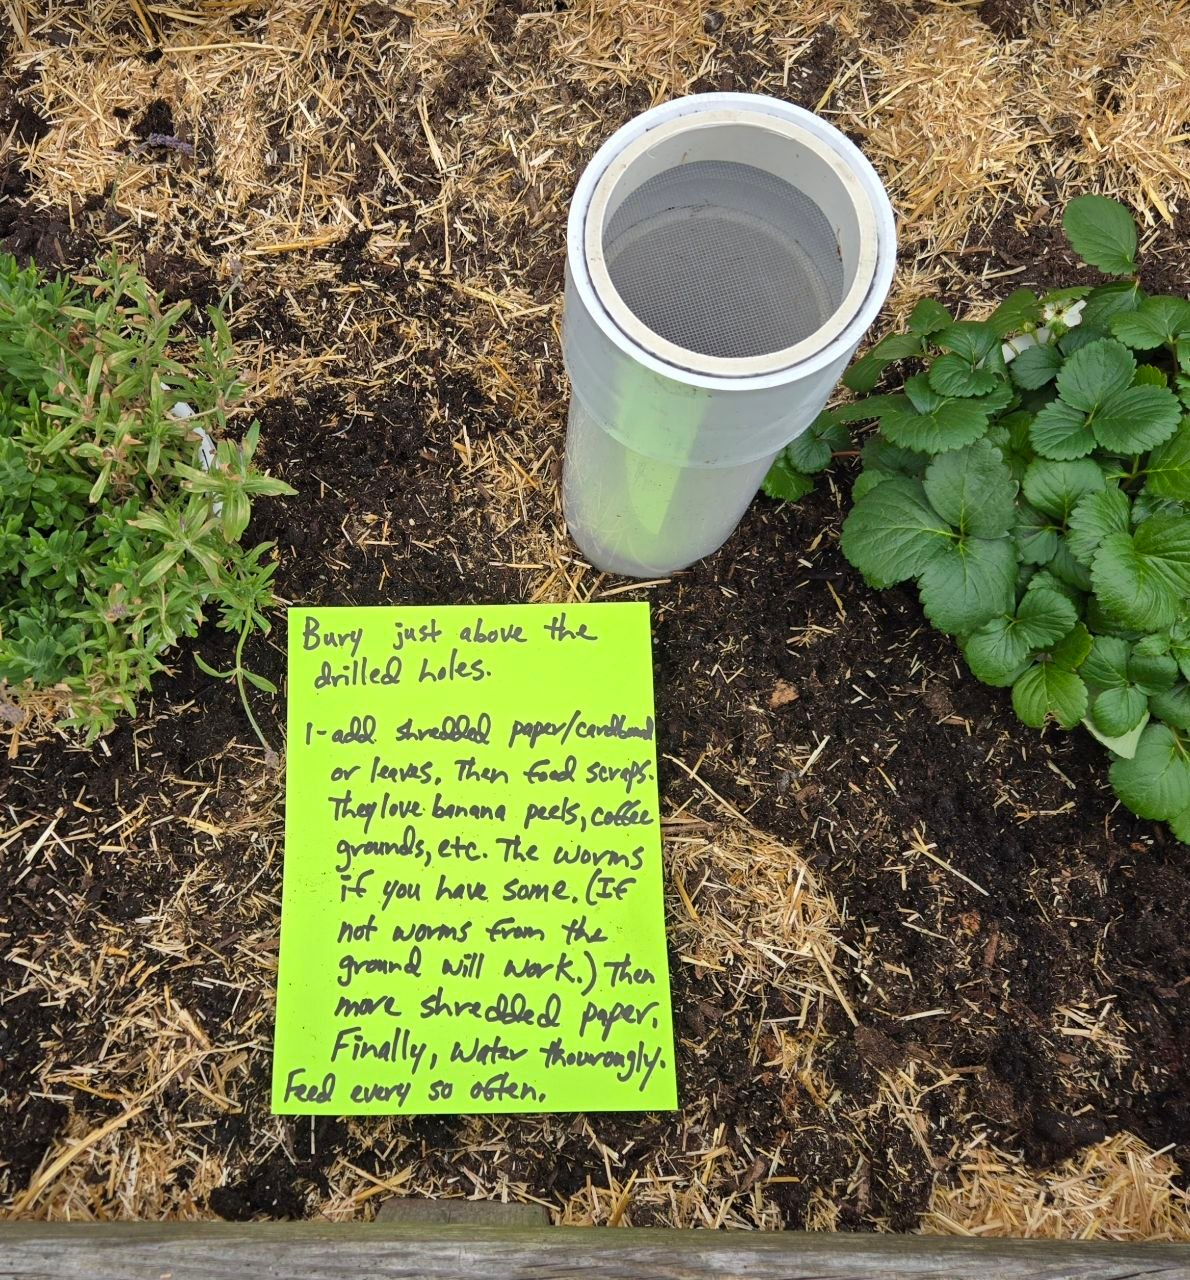
A simple in-bed worm composting tube gives your raised bed a place to take in kitchen scraps, build worm activity, and slowly feed the soil over time without making gardening more complicated.
If you are starting a raised bed from scratch, a good bagged raised bed mix is an easy honest way to get going. After that, it helps to have a simple system that keeps feeding the soil over time.
That is where this little worm tube comes in. It is not glamorous, but it gives kitchen scraps and worm activity a place to work right inside the bed, where your plants can benefit from it.
This may not be the prettiest thing in the garden, but the worms do not seem to mind.
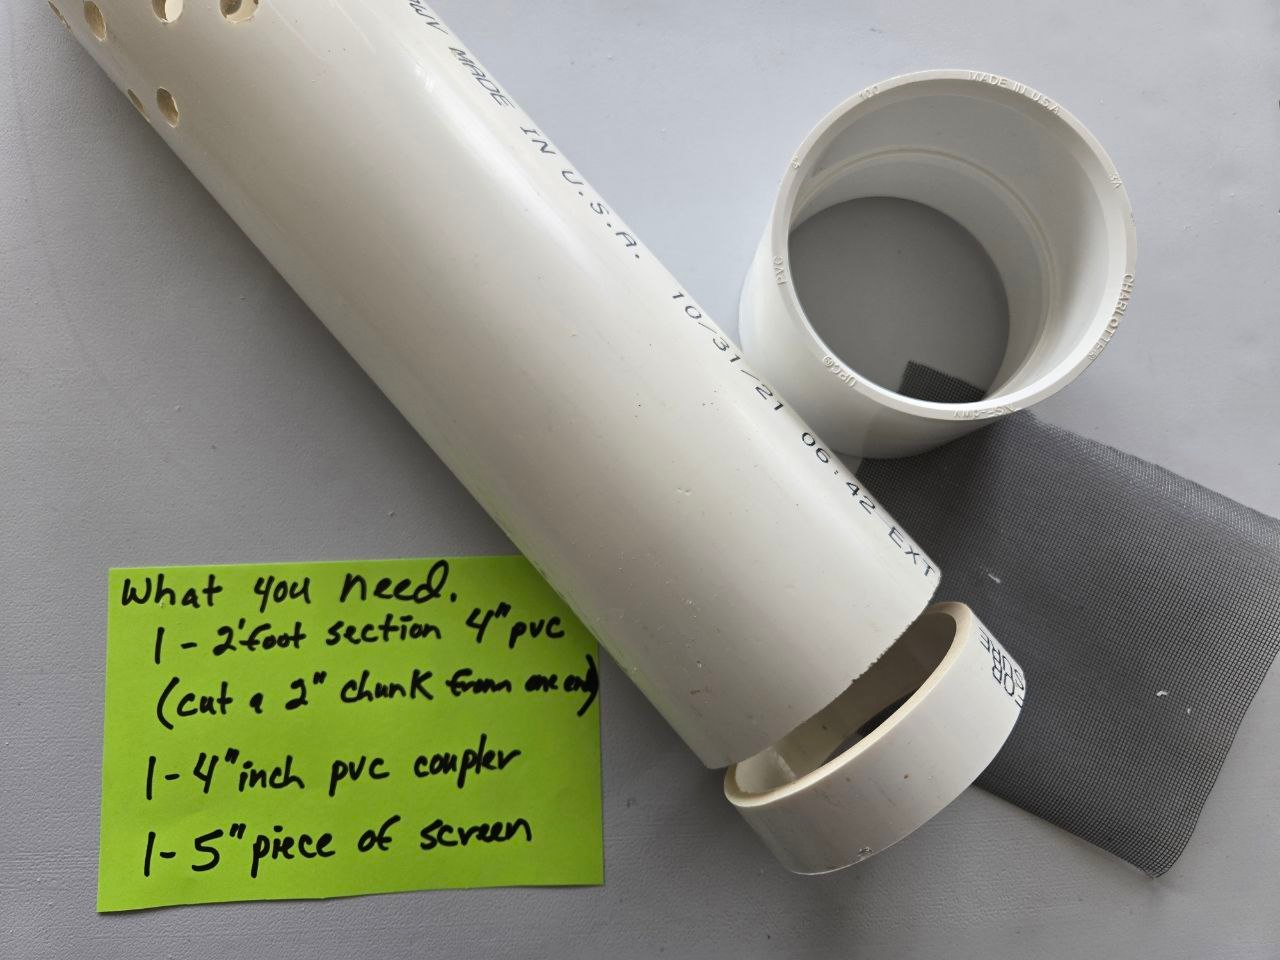
You need about a 2 foot section of 4 inch PVC pipe, plus a 2 inch piece cut from one end.
You also need a 4 inch PVC coupler and a small piece of screen or mesh.

Figure out which part of the tube will sit down in the bed.
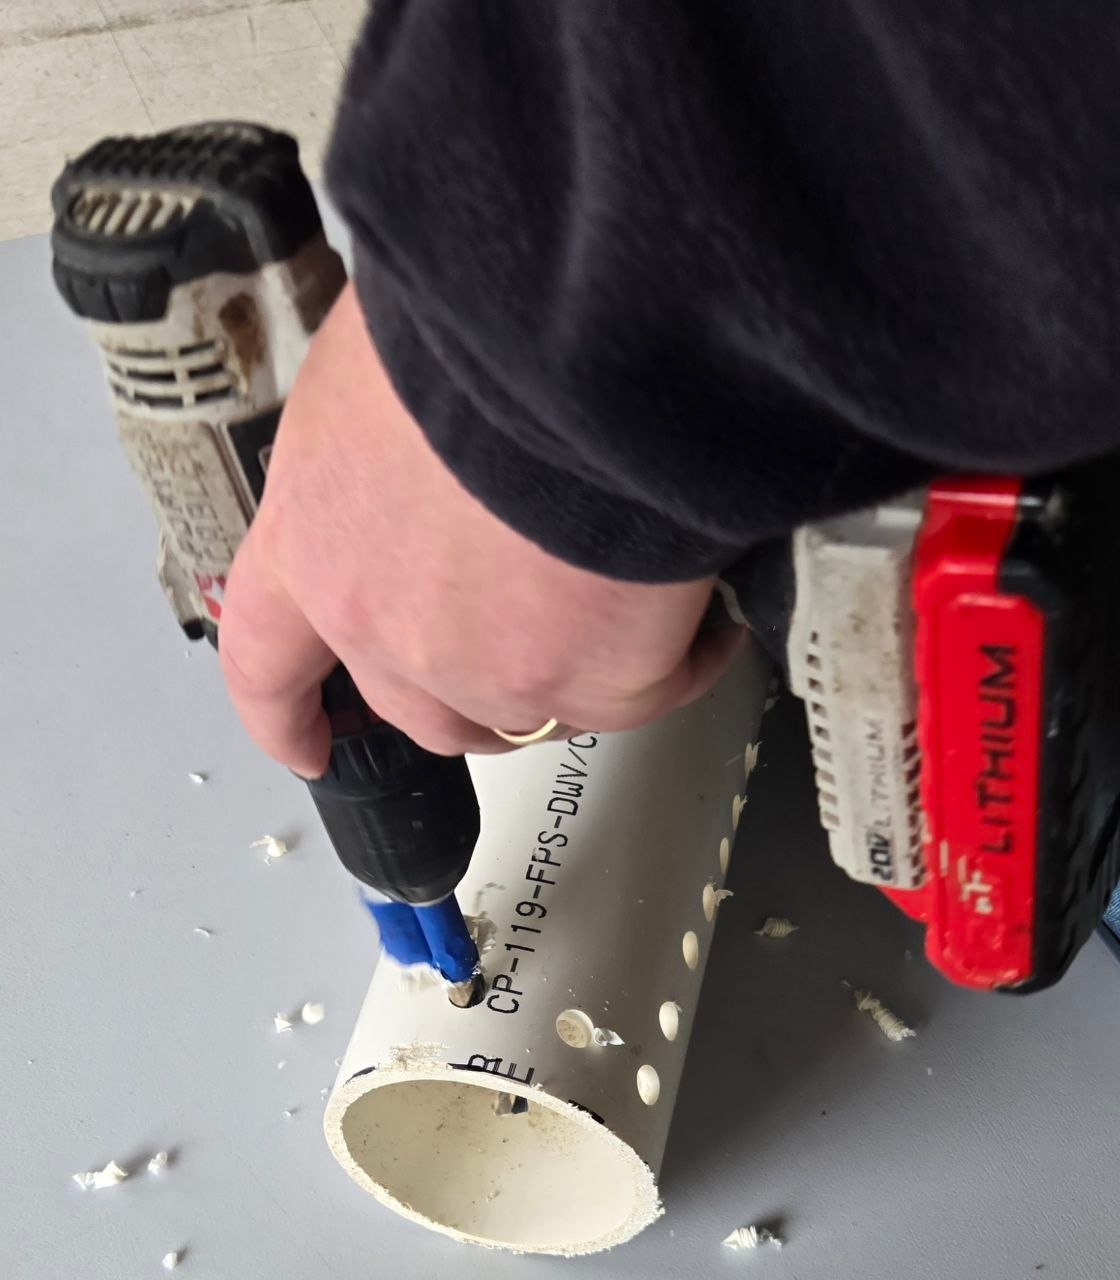
Drill plenty of holes so worms, moisture, and soil life can move in and out.
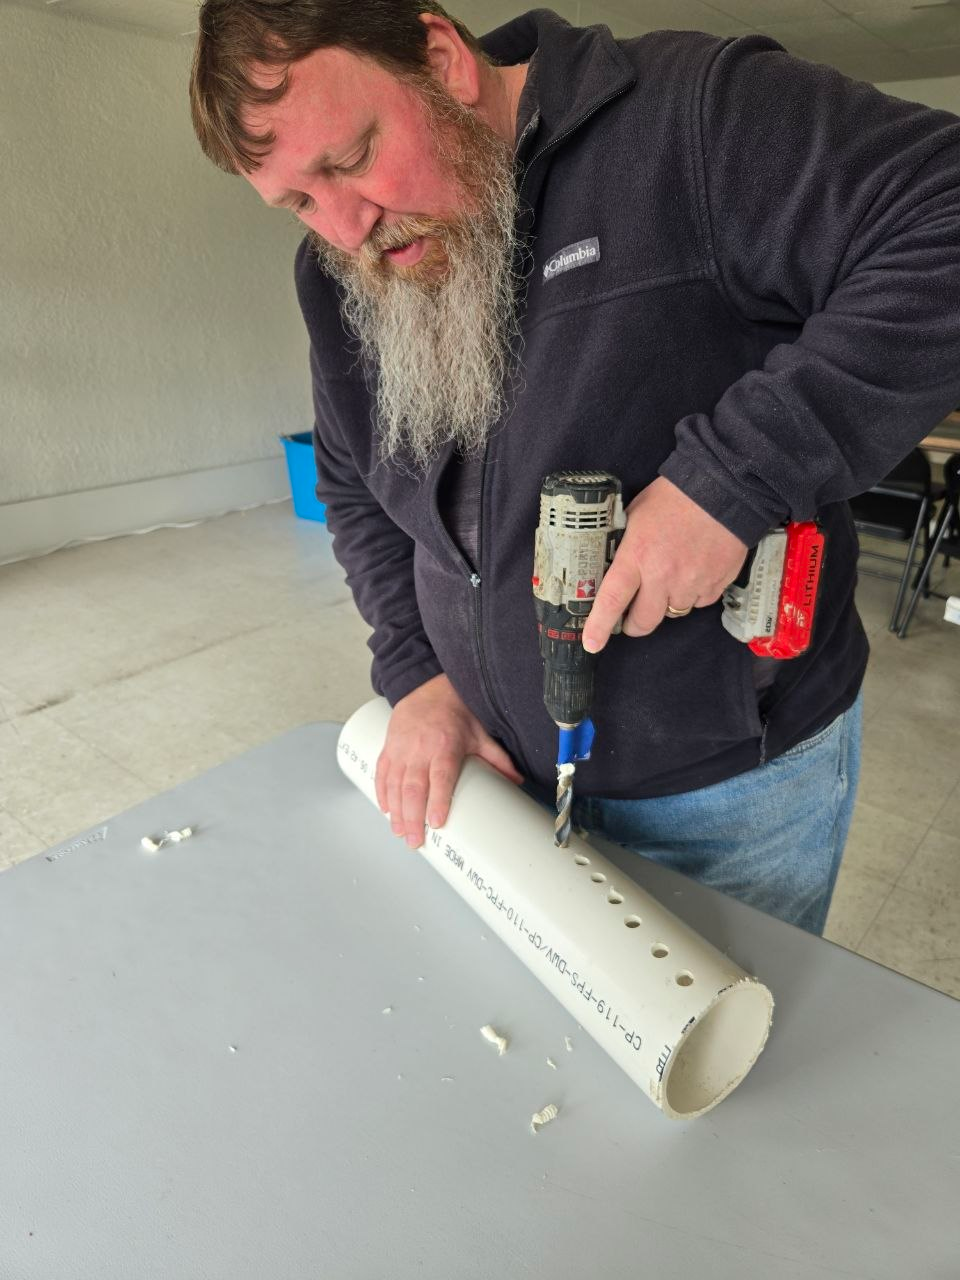
Keep the holes in the buried section, but leave enough solid pipe above the bed to make feeding easy.
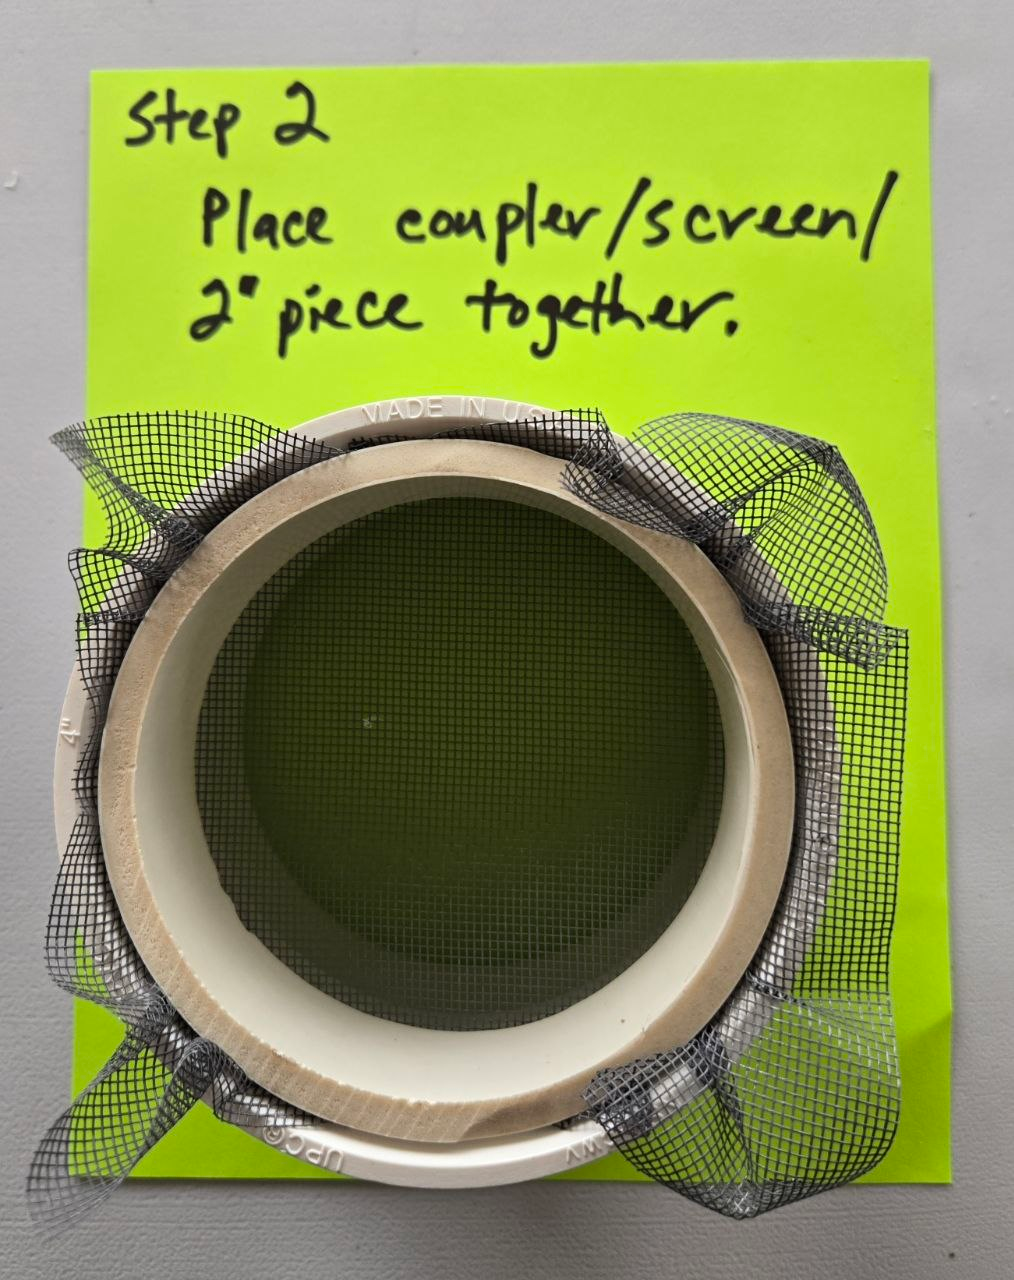
Clean the tube up and make sure it is ready to sit securely in the bed.
Set the tube up so feeding scraps later will feel simple instead of awkward.
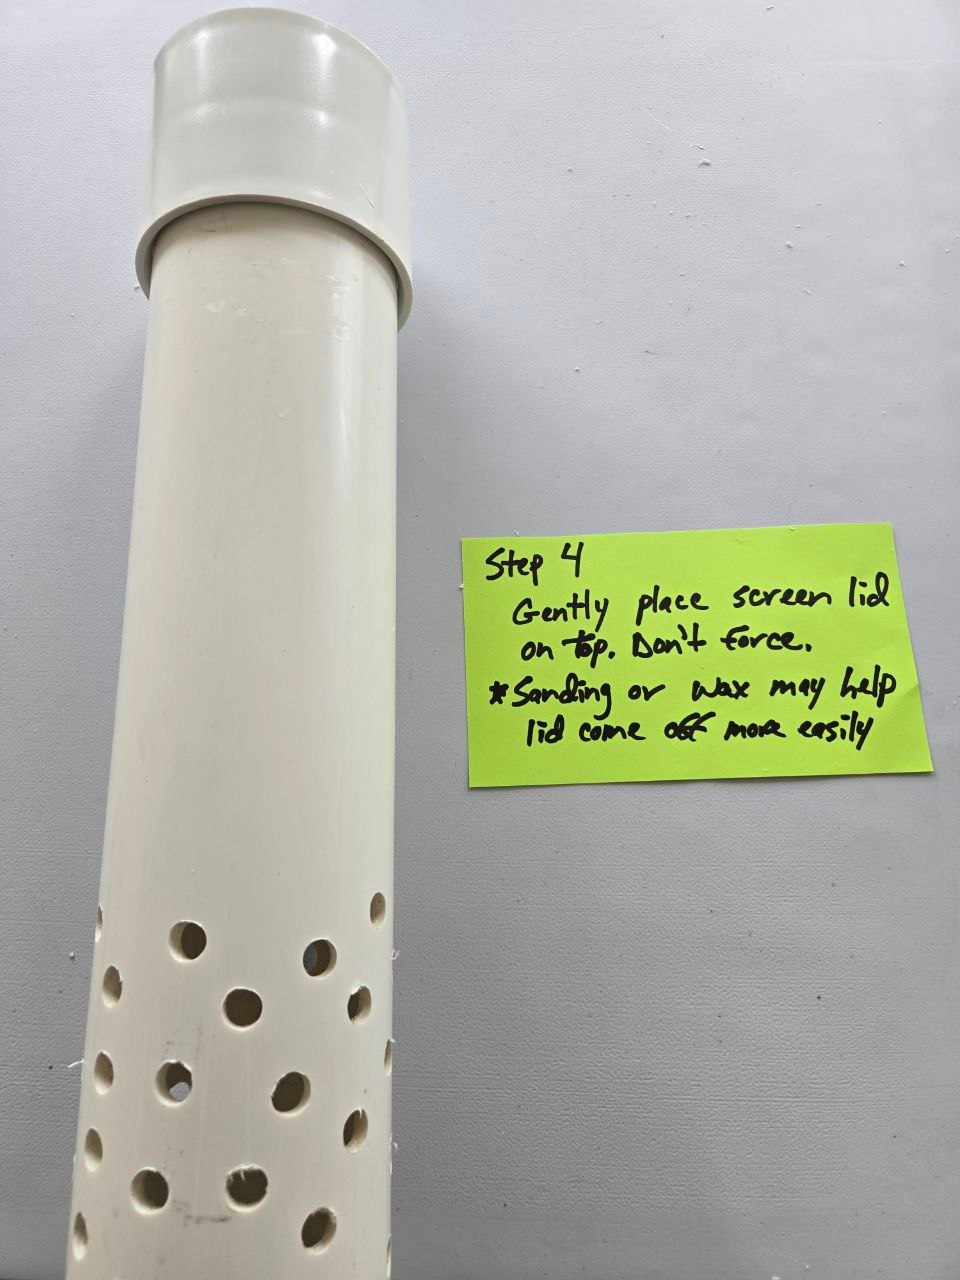
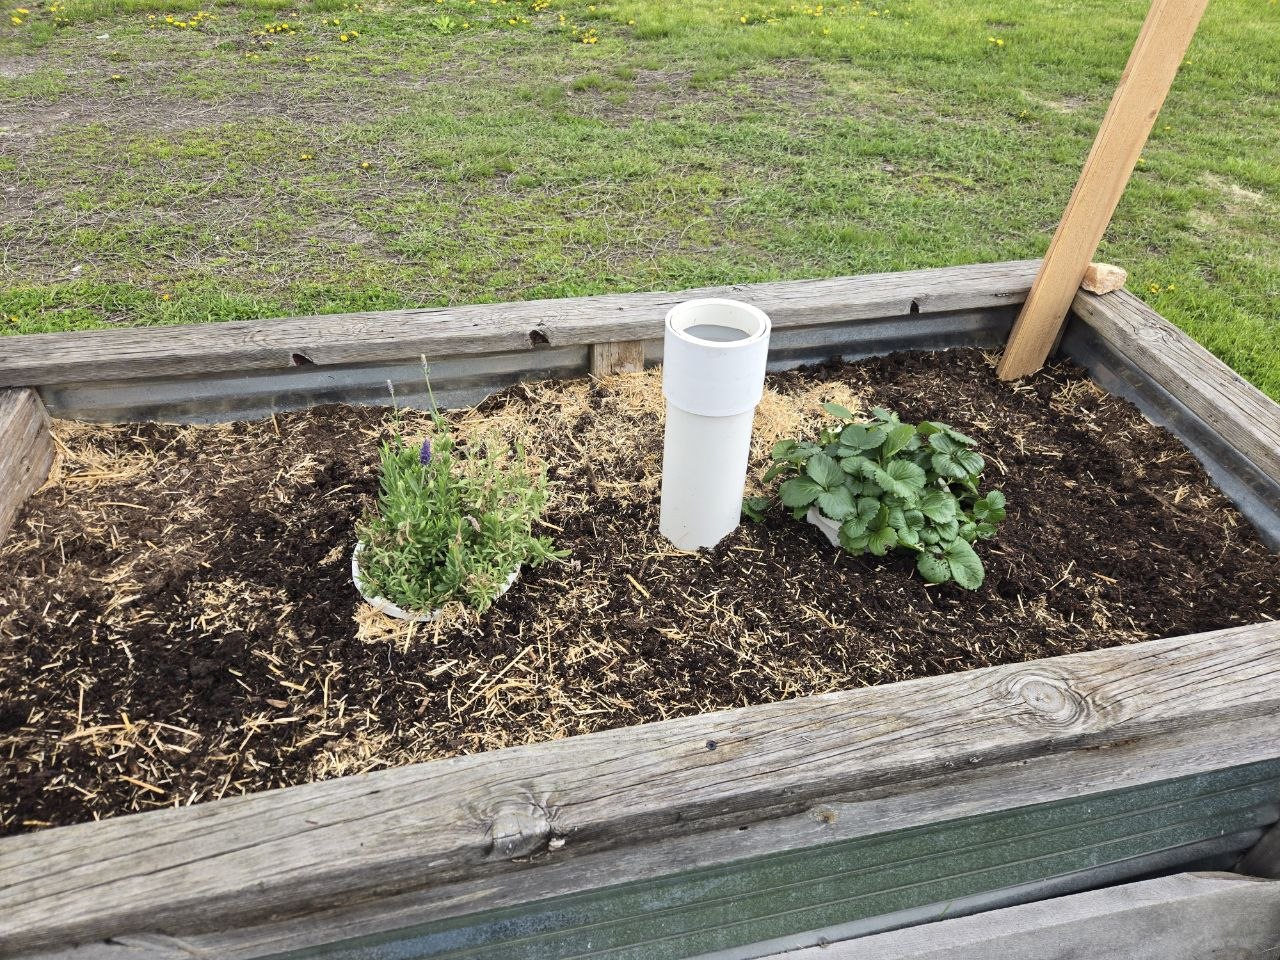
At this point, you should have a simple tube ready to bury and put to work.
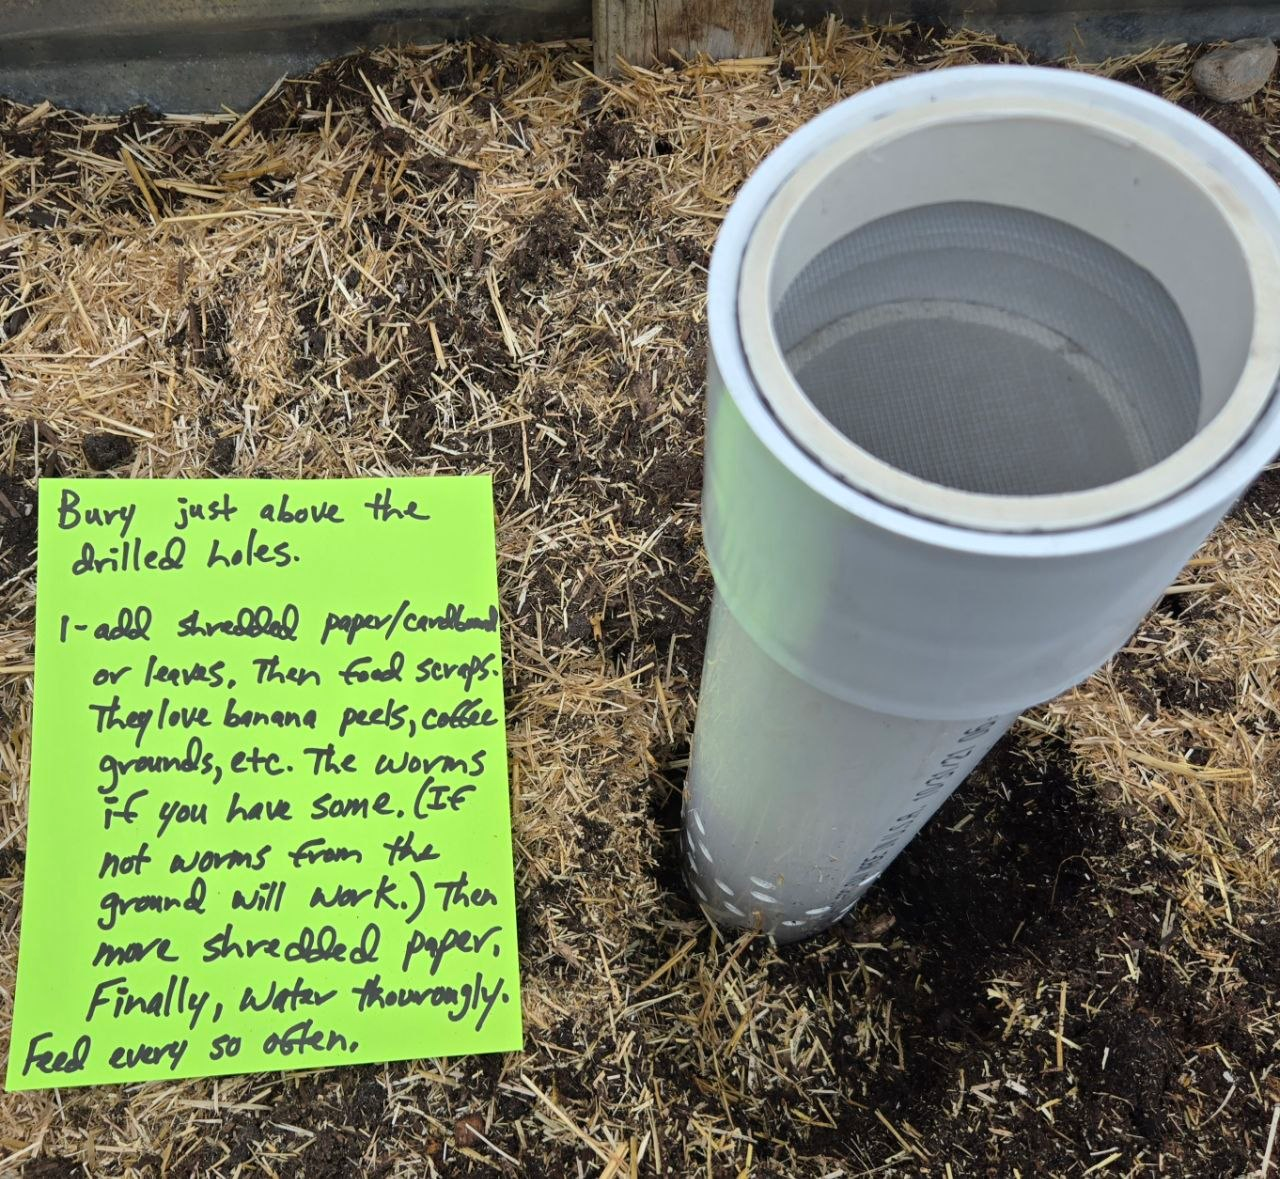
Choose where you want the tube to live and bury it securely in the bed.
Set it where nearby plants can benefit from the slow soil-building happening around it.
Once it is in, the setup should be easy to feed without tearing the bed apart.
Now the raised bed has a simple feeding station built right into it.
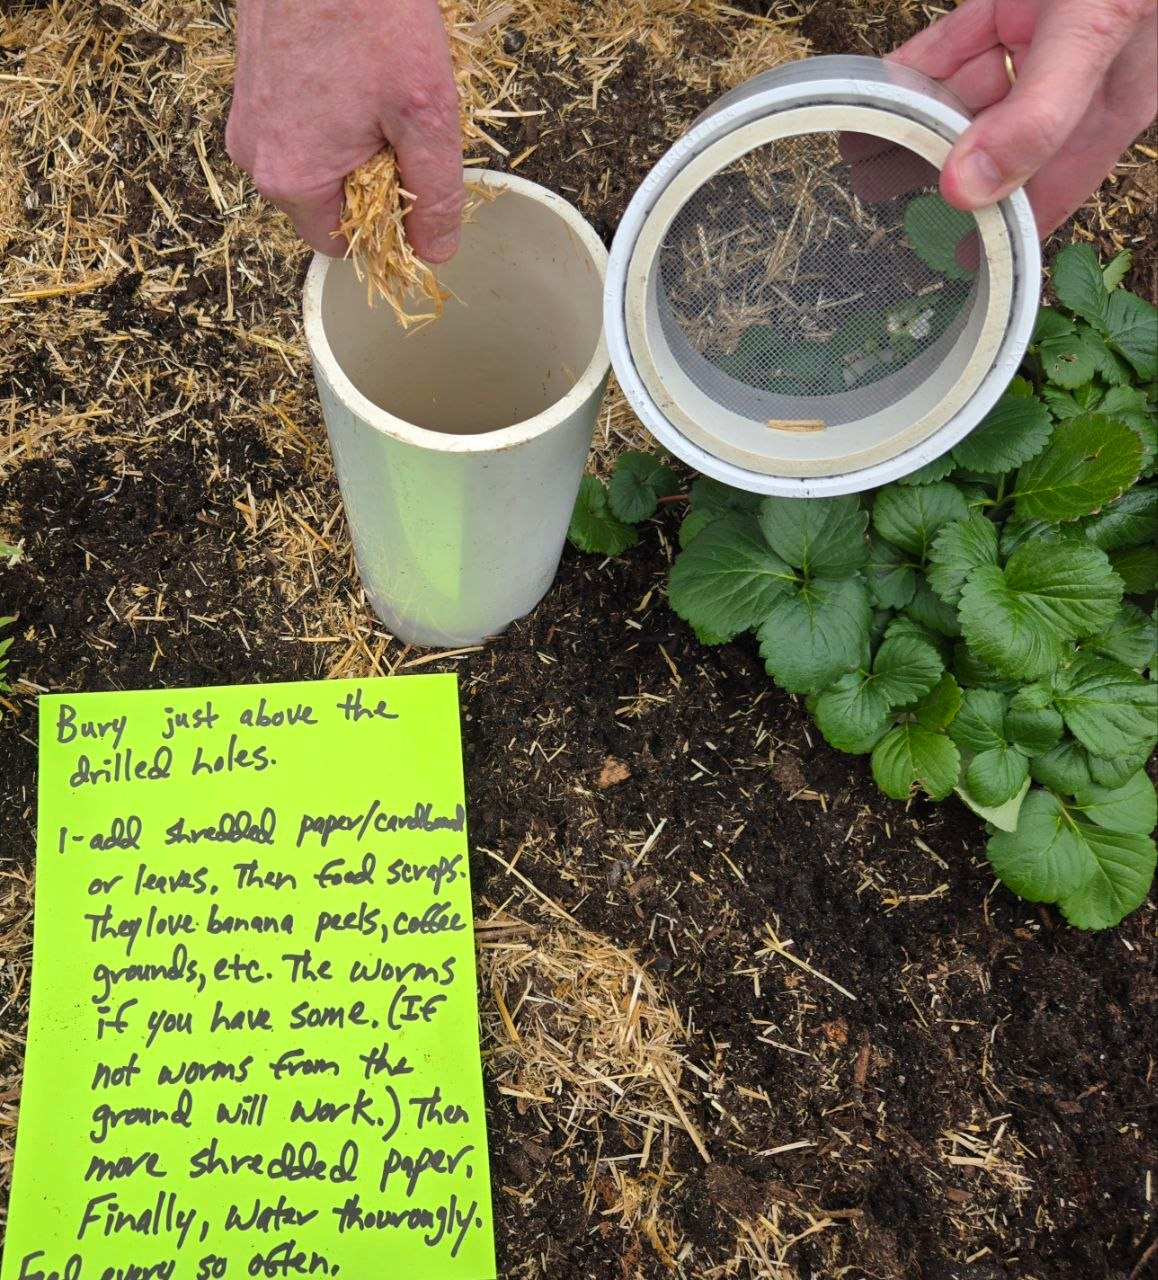
Add small amounts of kitchen scraps, soft plant material, and a little bedding like shredded paper, dry leaves, or straw. Keep it moist, but not swampy.
Do not overload it all at once. This works better as a steady little system than a giant dump spot.
Covering it helps keep smells, flies, and extra mess down. Turns out, worms are a lot less picky about kitchen scraps than people are.
Earthworms help break down organic matter into rich castings, and their tunnels can help air and water move through the soil. Healthy worm activity is often a good sign your soil is alive.
If you like this kind of low-maintenance support, an olla watering pot pairs nicely with it too.