We Made This 1 Cedar Fence Picket Into a Trellis for Our Raspberry Bush
This is not meant to be a rigid exact how-to page. It is more of a fun little backyard project, the basic idea, and the kind of simple build that makes a berry patch feel a little more cared for.
Sometimes the best backyard builds are the small ones that come together from what you already have, a simple idea, a little curiosity, and a plant that could use some help.
That is what this one felt like. We started with one cedar fence picket, turned it into a simple fan trellis for our raspberry bush, and ended up with a little project that felt useful, inexpensive, and honestly kind of cute out in the yard.
It is not really a blueprint page. It is more like a relaxed project page, the idea behind it, what we used, and the order it came together in.
One cedar fence picket turned into the whole idea
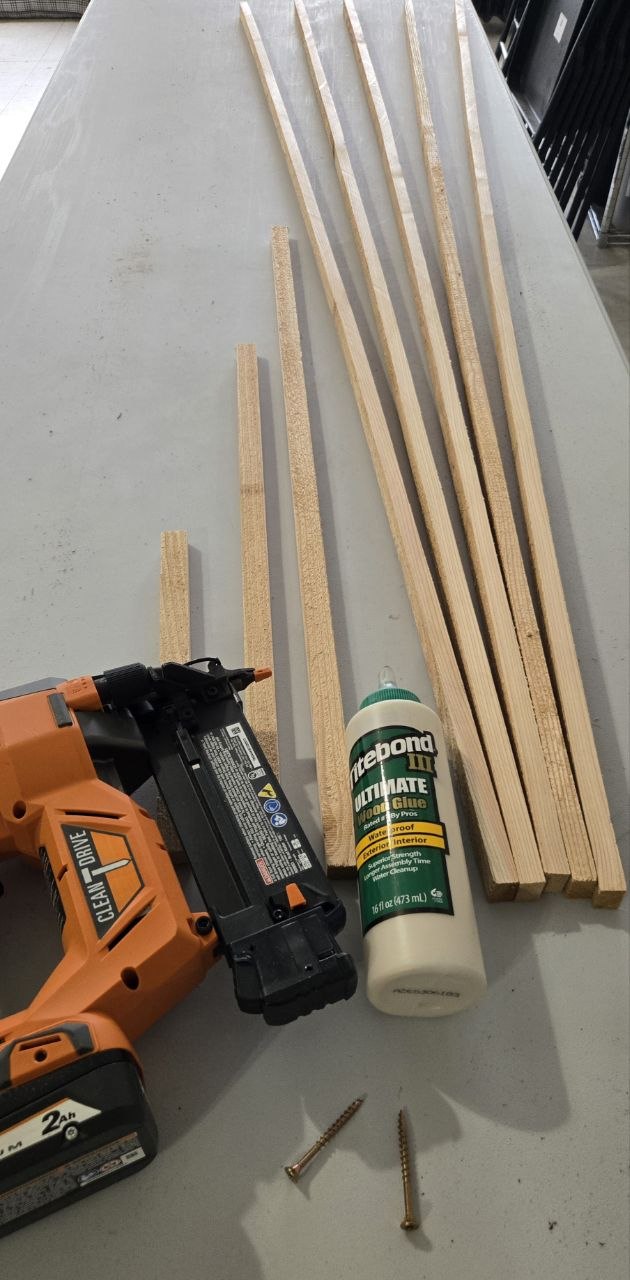
This is basically all we used to get started. We took 1 cedar fence picket and ripped it longways on the table saw into 5 pieces that were exactly 7/8 inches wide.
That left one skinny strip that was about 1/2 inch wide. We cut that leftover piece into 1 foot, 2 foot, and 3 foot sections, then discarded the rest.
That gave us the main fan pieces plus the shorter spreaders that would help open the trellis up later.
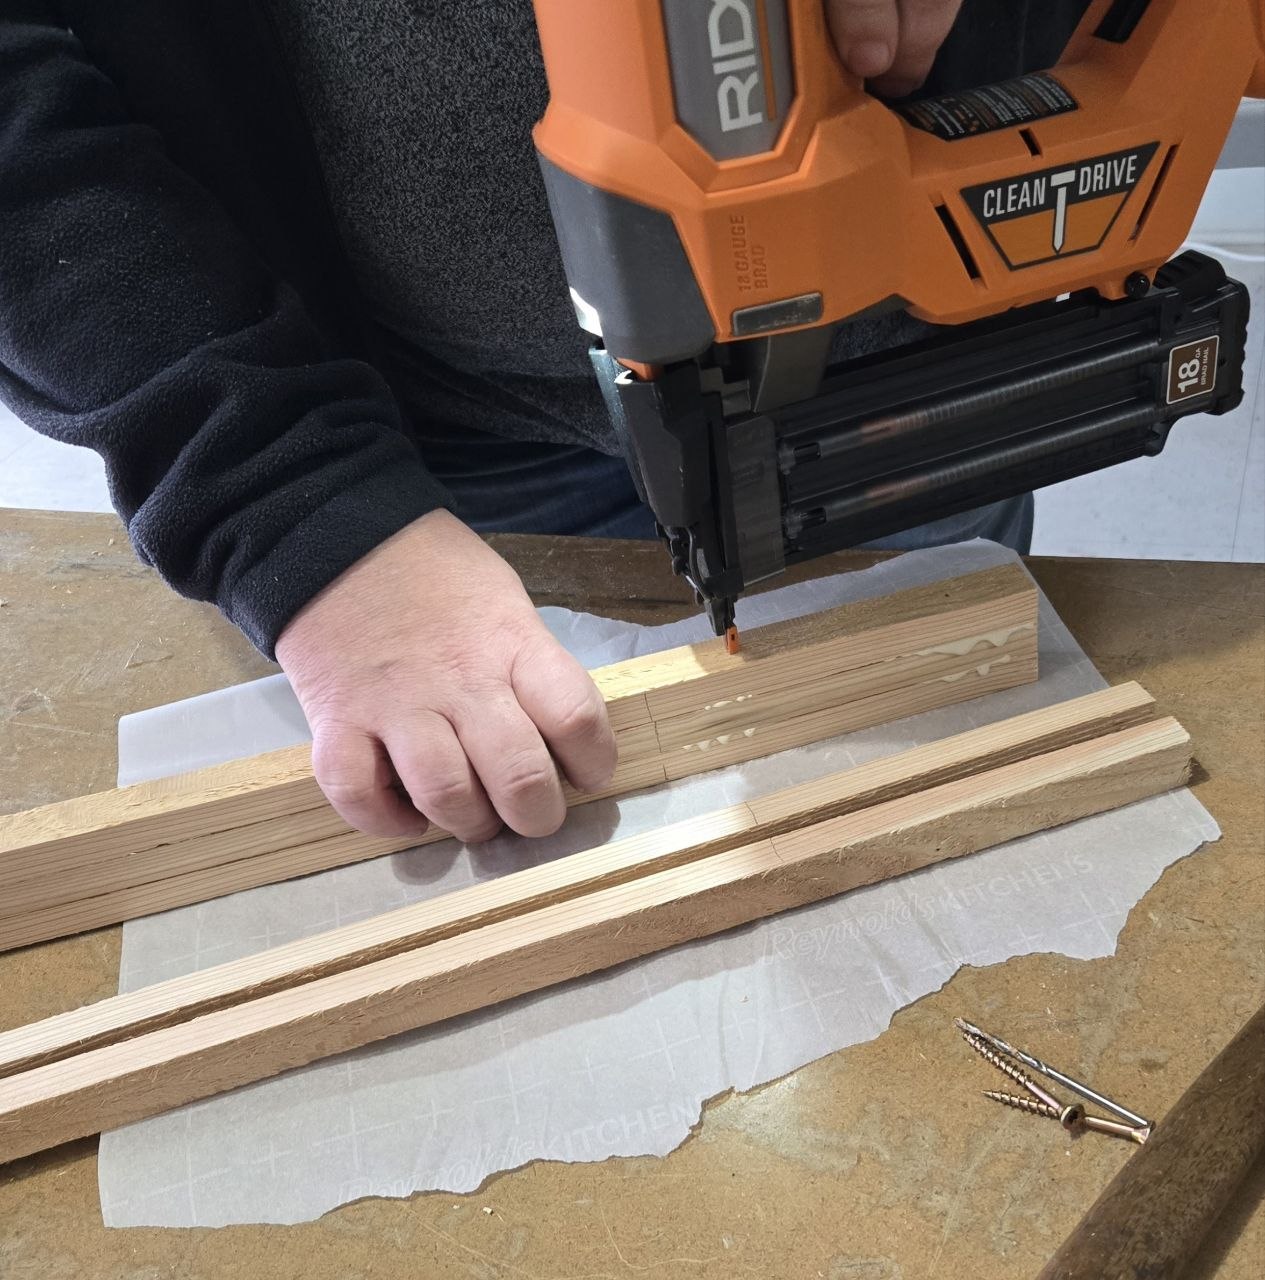
We measured up about 10 inches and fastened the fan base there
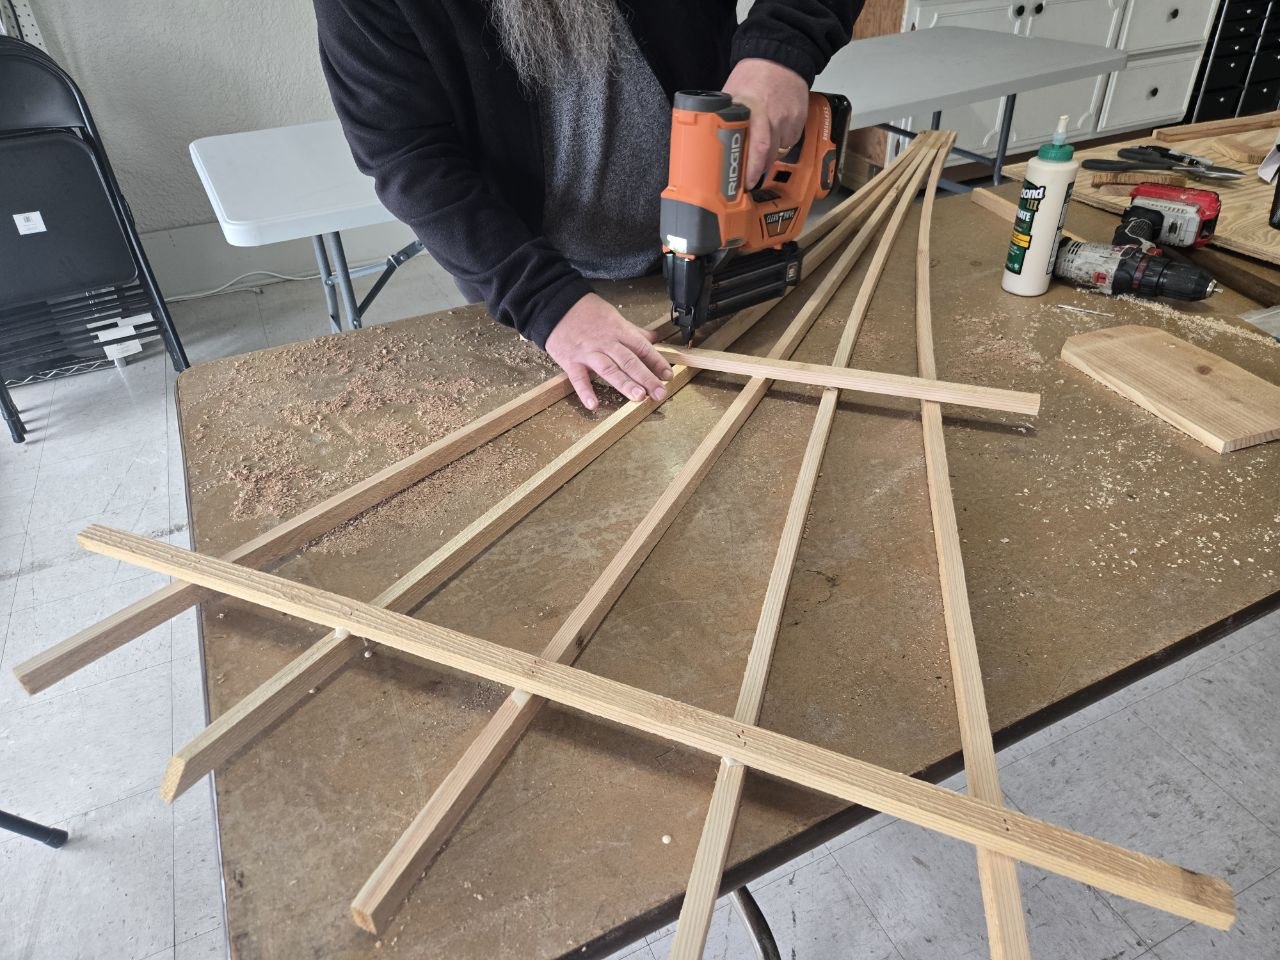
Next we measured up about 10 inches and glued and pin nailed all 5 fan pieces together at the base.
We also spread glue over that lower base area to help protect it from sitting directly against the ground.
One important thing we learned here, do not go any higher or you will not be able to fan the trellis out very well later.
A couple of screws made the base strong enough to fan out
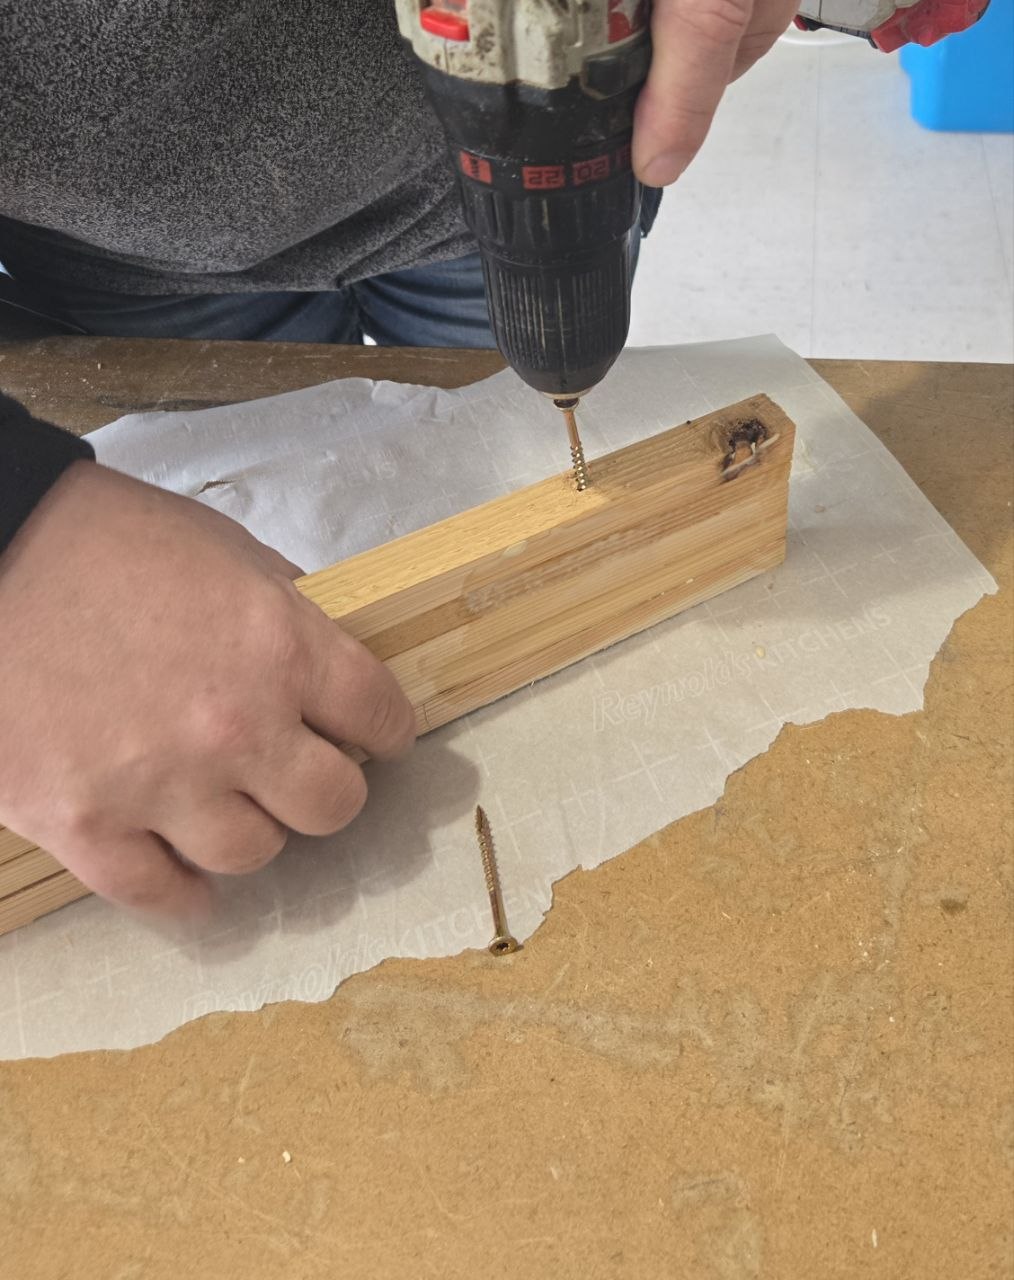
After that, I drilled a couple of holes and screwed the 5 fan pieces together to strengthen the base.
That extra hold mattered because it gave the lower section enough strength to stay together once the trellis started opening up into the fan shape.
The 3 foot spreader helped set the whole shape
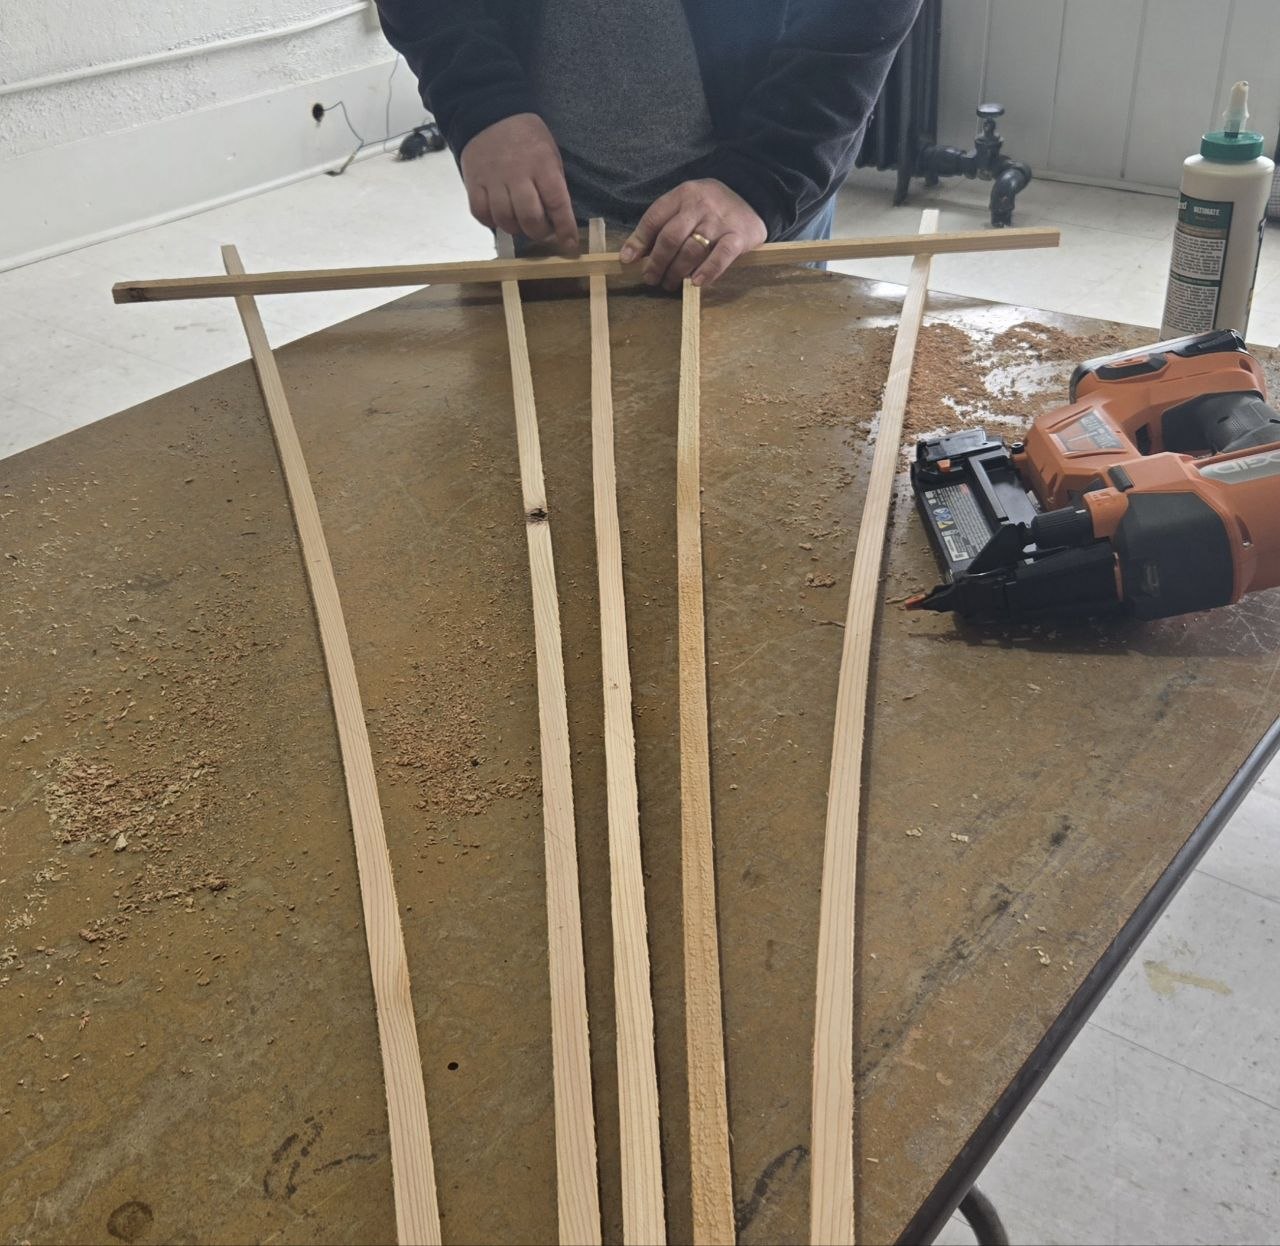
I started with the 3 foot spreader across the top of the trellis and roughly centered the spacing on the 5 fan pieces by eye.
Once everything looked balanced, I glued and pin nailed each fan into place so the top spreader could start holding that open fan shape together.
Then the 2 foot spreader, then the 1 footer
After that, I added the 2 foot spreader the same way, then the 1 foot spreader the same way after that.
The main thing was to stay a little away from that glued and screwed base section so there was still enough room for the fan to open naturally without crowding the bottom.
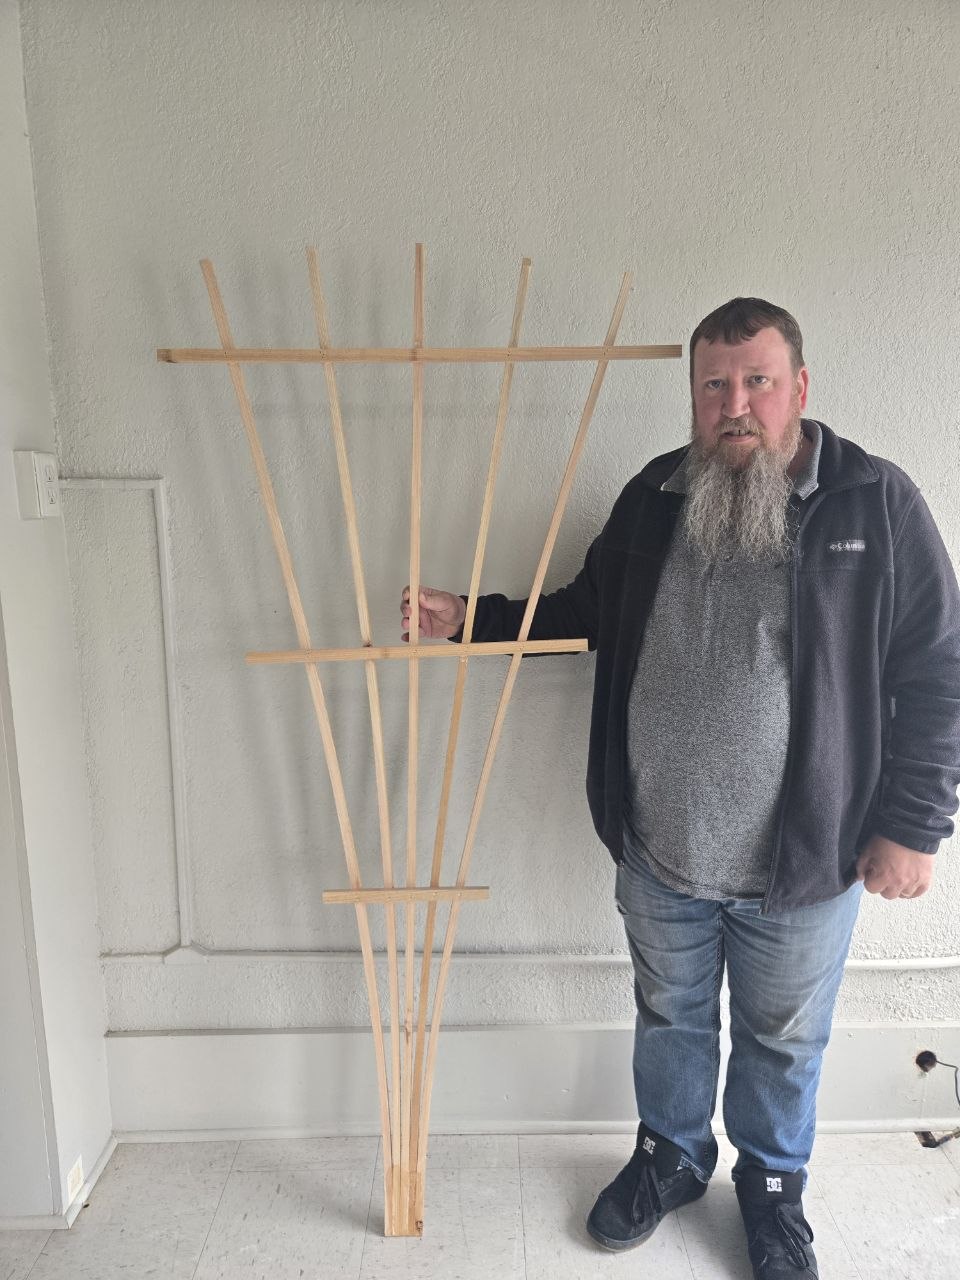
Here’s the finished look
And honestly, it does not have to be perfect. The raspberries do not care whether every measurement is exact.
If the shape looks good, feels solid, and gives the canes something to grow against, you did the job.
A garden fence post made it feel a lot more solid
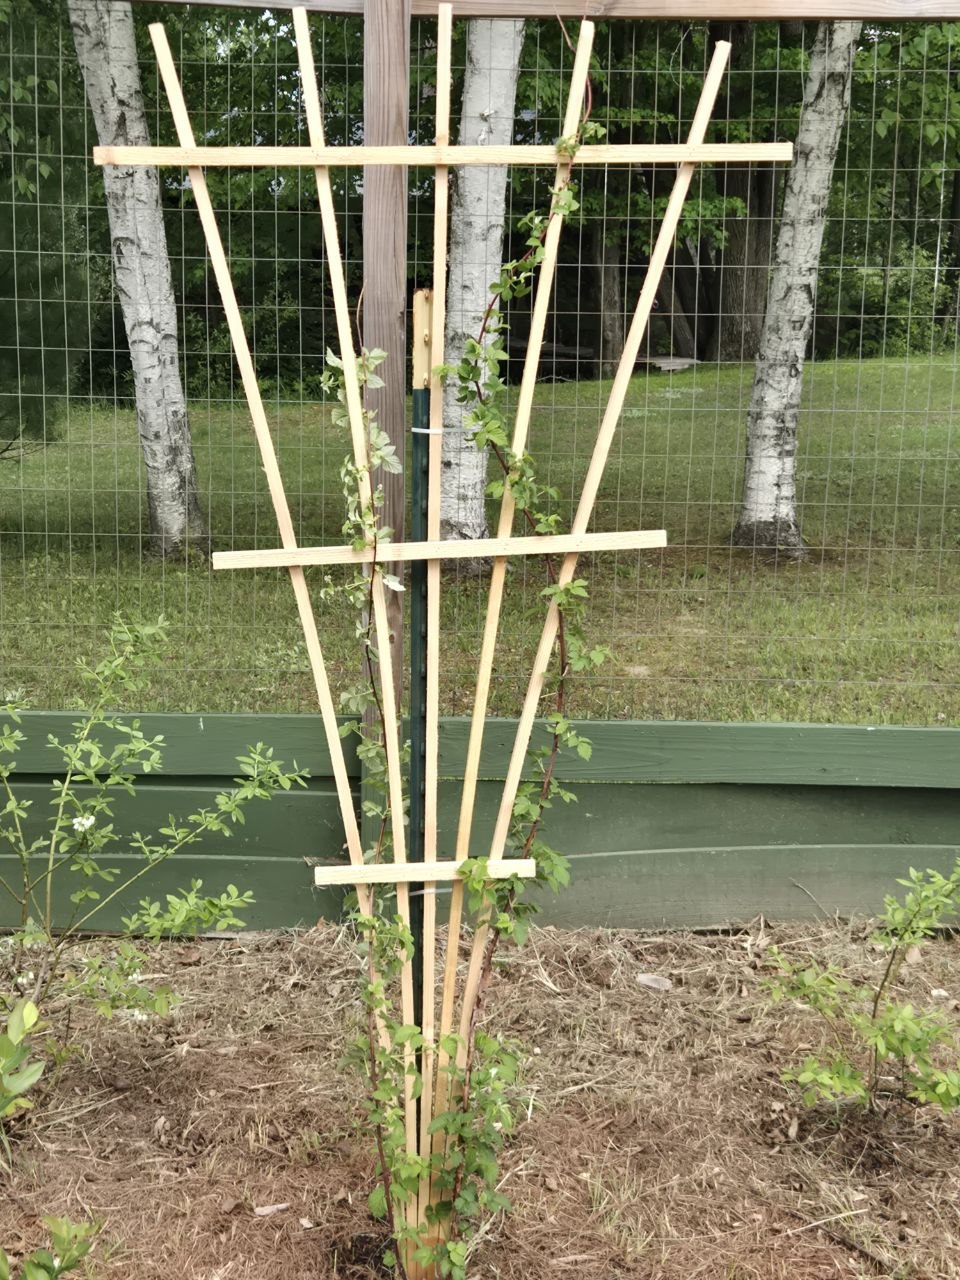
Once the trellis was built, I hammered in a garden fence post and attached it there so the whole thing would feel a lot more solid.
So I built another one too
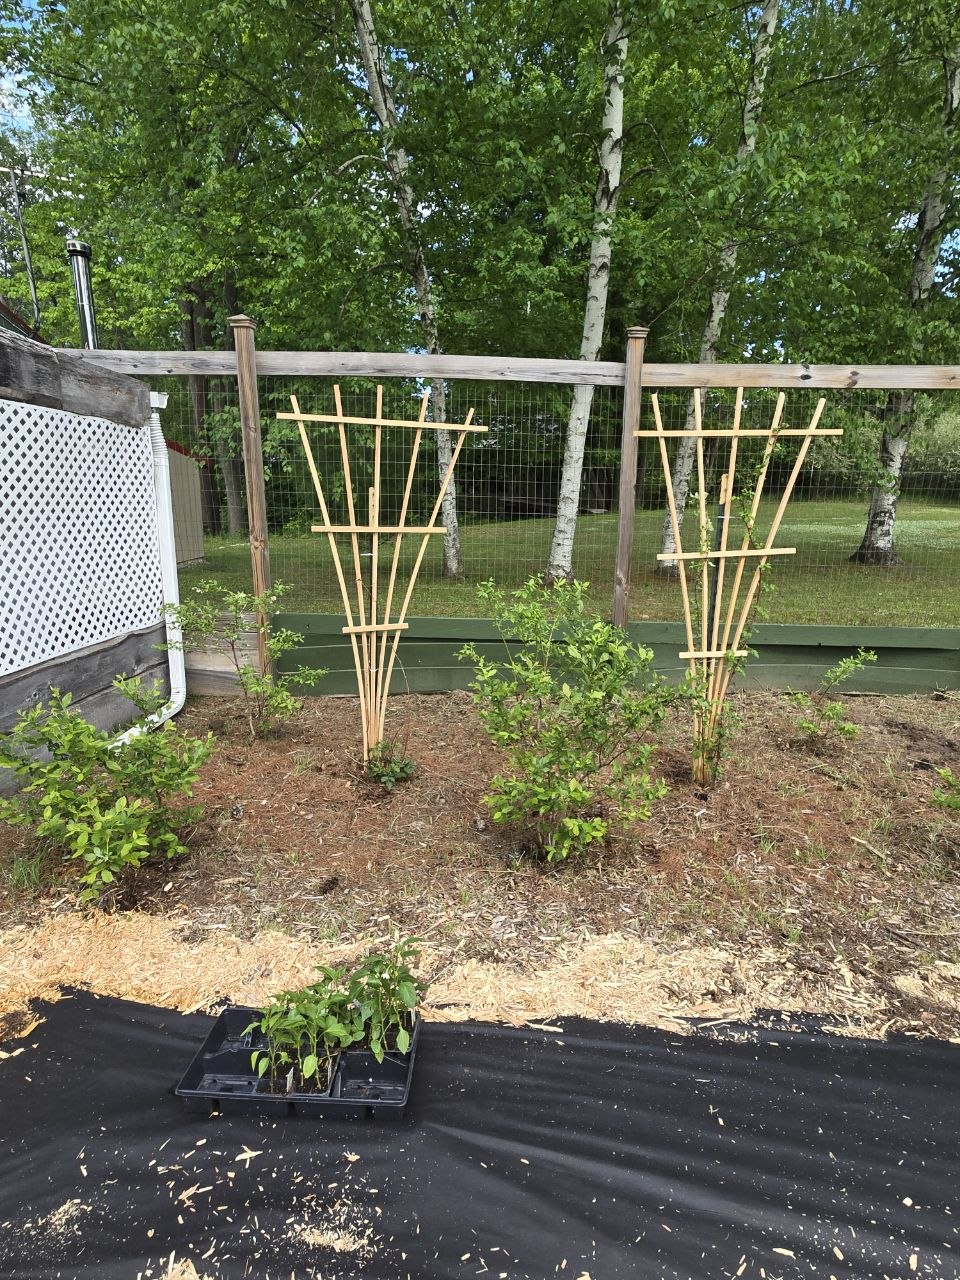
I was pretty happy with how the first one turned out, so I went ahead and built another one for the blackberry bush too.